How to Make Your Own Color Filters at Home
17 114 Share TweetBored of your typical color photographs? What you need is to wear your rainbow-colored glasses. A bit of surrealism and kaleidoscopic perspective will get you out of that creative rut with just a few color filters. No need to purchase them, you can easily do so with just a few things from your own home. Scroll down to learn more about this DIY color filter tipster.


Materials
Here’s whatr you’ll need for your own color filters. No need to head off to the stationery department, you surely have these at hand already!
- A small cutting plate and/or scissors
- Transparent tape and/or glue
- Transparent foil in yellow, blue, and red (you can buy them cheap and easily in a lot of craft stores).
- Cardboard
- Solid paper (black)
- Black marker
- Compasses
How to Make Your Own Color Filter
Step 1 – Cardboard frame: Use the small cutting plate or the scissors to cut out a square piece of cardboard. For the size of it, I used the protection cap of my lens and I drew a square about 1 cm around it. Next, cut a smaller square out of it, 1 cm from the edge. What you have left is a square frame. Take the color foil you wish to use, put the cardboard frame on top of it, and draw a line alongside of it.
Step 2 – Cut the foil: Cut out the foil and glue or tape it on the back of your frame. You can make several of these filters like this. You can keep them together in the empty box of your films.


The following steps are to make a color filter to put behind your lens:
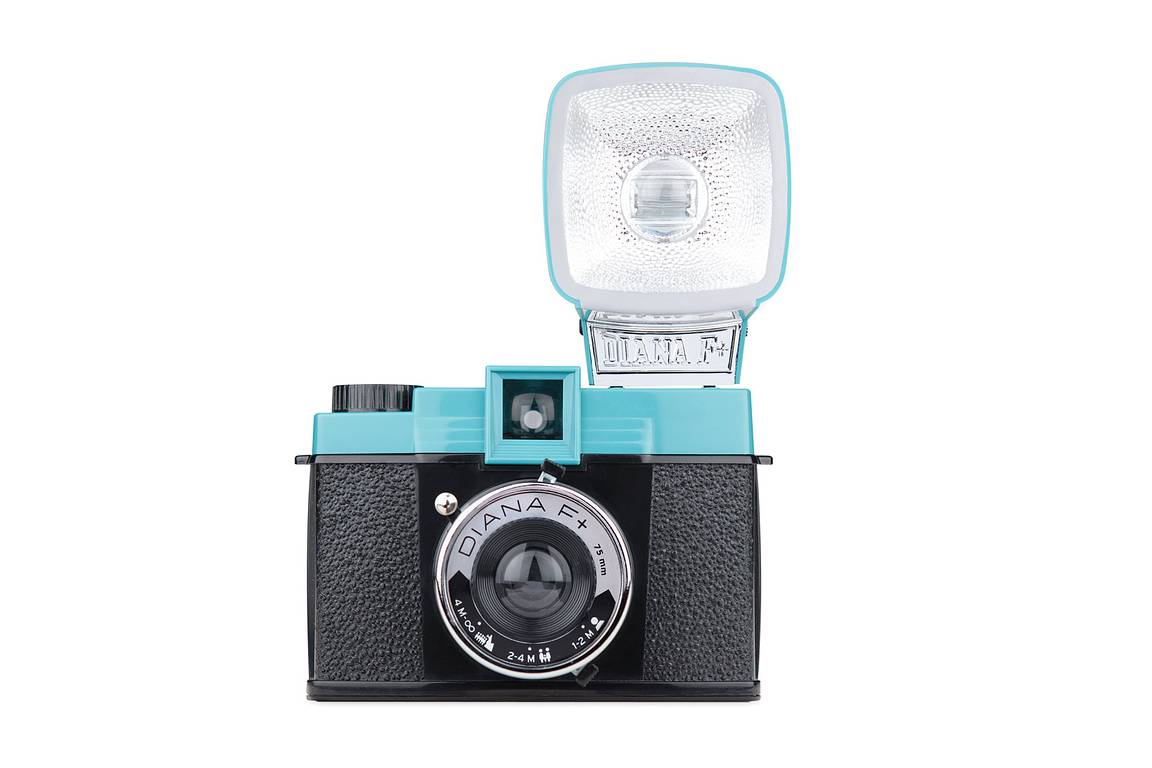
Step 3 – Put the frame in your camera: To make a color filter to put behind the lens of your camera, first take the lens off of your camera. I have a Diana F+ and with that, once it comes off very easily. In your camera manual, you will probably find a description on how to do it with your camera.
Now, use the compass to measure the size of the circle between the high edges. Hold the point of your compass a little bit above the lens (the circle of glass in the middle), so you don’t risk damaging it. After you have measured the circle with your compass, use it to draw a circle of the same size on the black solid paper. Cut out the circle and you will see that it fits right into the circle between the upper edges. This is necessary so the filter won’t move inside your camera. Now, use your compass/ruler/measuring tape to measure the size of the circle of glass in the middle (the lens). Now, cut out a square or circle in the circle frame you just made (I found it easier to make a square). The small hole has to be exactly in front of the lens.


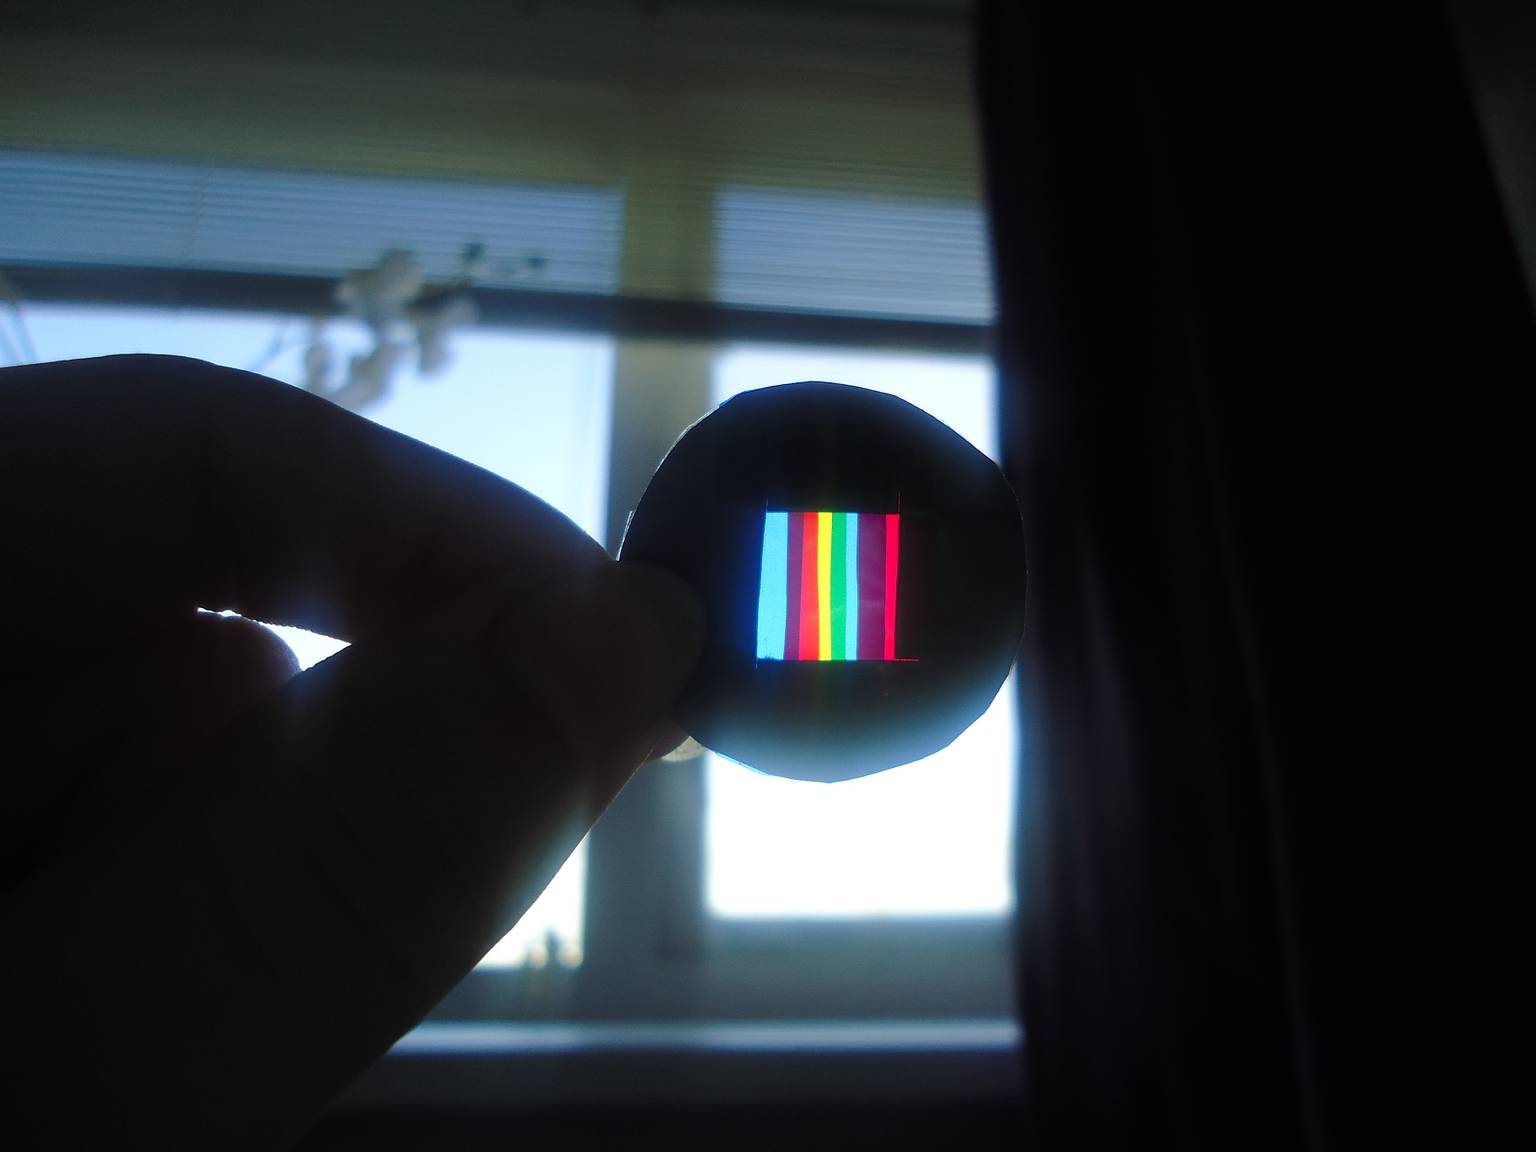

Step 4 – Color foil: Take the colors of foil you would like to have in your filter. Cut out really thin strips of foil. Note: they have to be very thin because the lens will make them bigger in your picture. Also, try not to leave fingerprints on it, as they could make your pictures a bit blurry. I used long strips so I could grab them easily and later cut the edges of when I had put them on the frame. So which colors can you make for your filter? Mix blue with red to make purple, mix blue and yellow to make green, and mix red and yellow to make orange. Just experiment a litlle bit with the strips and the colors and you will get a beautiful color filter. Tape the tips of the strips of foil on black paper. I used small pieces of tape, because the dampness of the glue can damage your camera. If you really want to use glue, leave the filter out of your camera for at least three days.
Step 5 – Your camera: Put the lens back on your camera with the filter in it.
Now, you’re ready to shoot! Here are some samples from Lomographers using their DIY color filters. Be surreal and kaleidoscopic! These filters work best when you use them on your multiple-exposure shots!


Don’t forget to upload your rainbow shots to your LomoHome!
written by dainy on 2012-07-04 #gear #tutorials #diy #rainbow #tutorial #colour #tipster #cheap #colour-filter #easy #lomography #foil #craft #hand-craft


17 Comments