12 Months, 12 Projects: March Of Caffenol
1 14 Share TweetMy list of resolutions for 2015 consists of 12 projects, one for every month. March was for caffenol. You have probably heard of the amazing fact that you can develop black and white photos with coffee, sodium, and vitamin C. I had tried this before but with less than stellar results. Somehow, there’s always something going wrong. Time to devote a few rolls to caffenol to finally get the hang of it.
I gathered my materials: cheap instant coffee I would only drink in an emergency (nope, ground coffee beans won’t work), washing soda (nope, baking soda is not the same and won’t work), and ascorbic acid (you can use vitamin C pills, but you’ll have to take into account that those pills usually contain extra stuff like flavor and sugar). I noticed that my soda had gotten a bit damp from being kept in an open bag in my kitchen so I put it at a low temperature in the oven to dry for a few hours. After a while I got bored and decided it was good enough.
Next, I had to decide on which recipe to use. You can find all sorts of super accurate recipes on caffenol.blogspot.com, but I’ve never had much success with those. It was not because the recipes are not good, but I guess I was just not accurate enough. So I opted for the method found on Photojojo and used the following recipe:
- 350 ml water
- 5 teaspoons of coffee, dissolved in half the amount of water
- 4 teaspoons of soda (a bit more that Photojojop recommends to compensate for the dampness of my soda), dissolved in the other half amount of water
- 0.5 teaspoon of ascorbic acid (added to the coffee)
Once coffee and soda are thoroughly dissolved in the water, mix everything together and be amazed by the foul smell.
My standard processing method was this:
- A minute or two soak in plain water
- Developing: constant agitation for the first minute, after that three times a minute
- Rinse three times in water
- Pour in fixer and agitate three times per minute
- Rinse thoroughly three more times
- Rinse one last time with a drop of dishwasher liquid added to the water
Here are my results:
Roll #1: Lomography Earl Grey 100 shot with a Zenit E
Developing time: 14 minutes
Fixer: 5 minutes
Result: My negatives were almost completely clear, but when I scanned them, there were images on them, anyway. A bit dark and grainy, but not a total failure. This meant I needed to increase my developing time. I did have a strange milky residue on my negatives. Google showed me this meant I should also increase my fixing time. Dipping the negatives in the fixer a second time helped clear up the milky spots.


Roll #2: Lomography Earl Grey 100 shot with a Holga 120 CFN
Developing time: 18 minutes
Fixer: 7 minutes
Result: The pictures may still look a bit dark, but that’s because it was a dark and cloudy day. In hindsight, not the best combination with a Holga and ISO 100 film. The negatives looked much better this time. Still a bit underfixed, but that may have been due to recycling my fixer a second time.


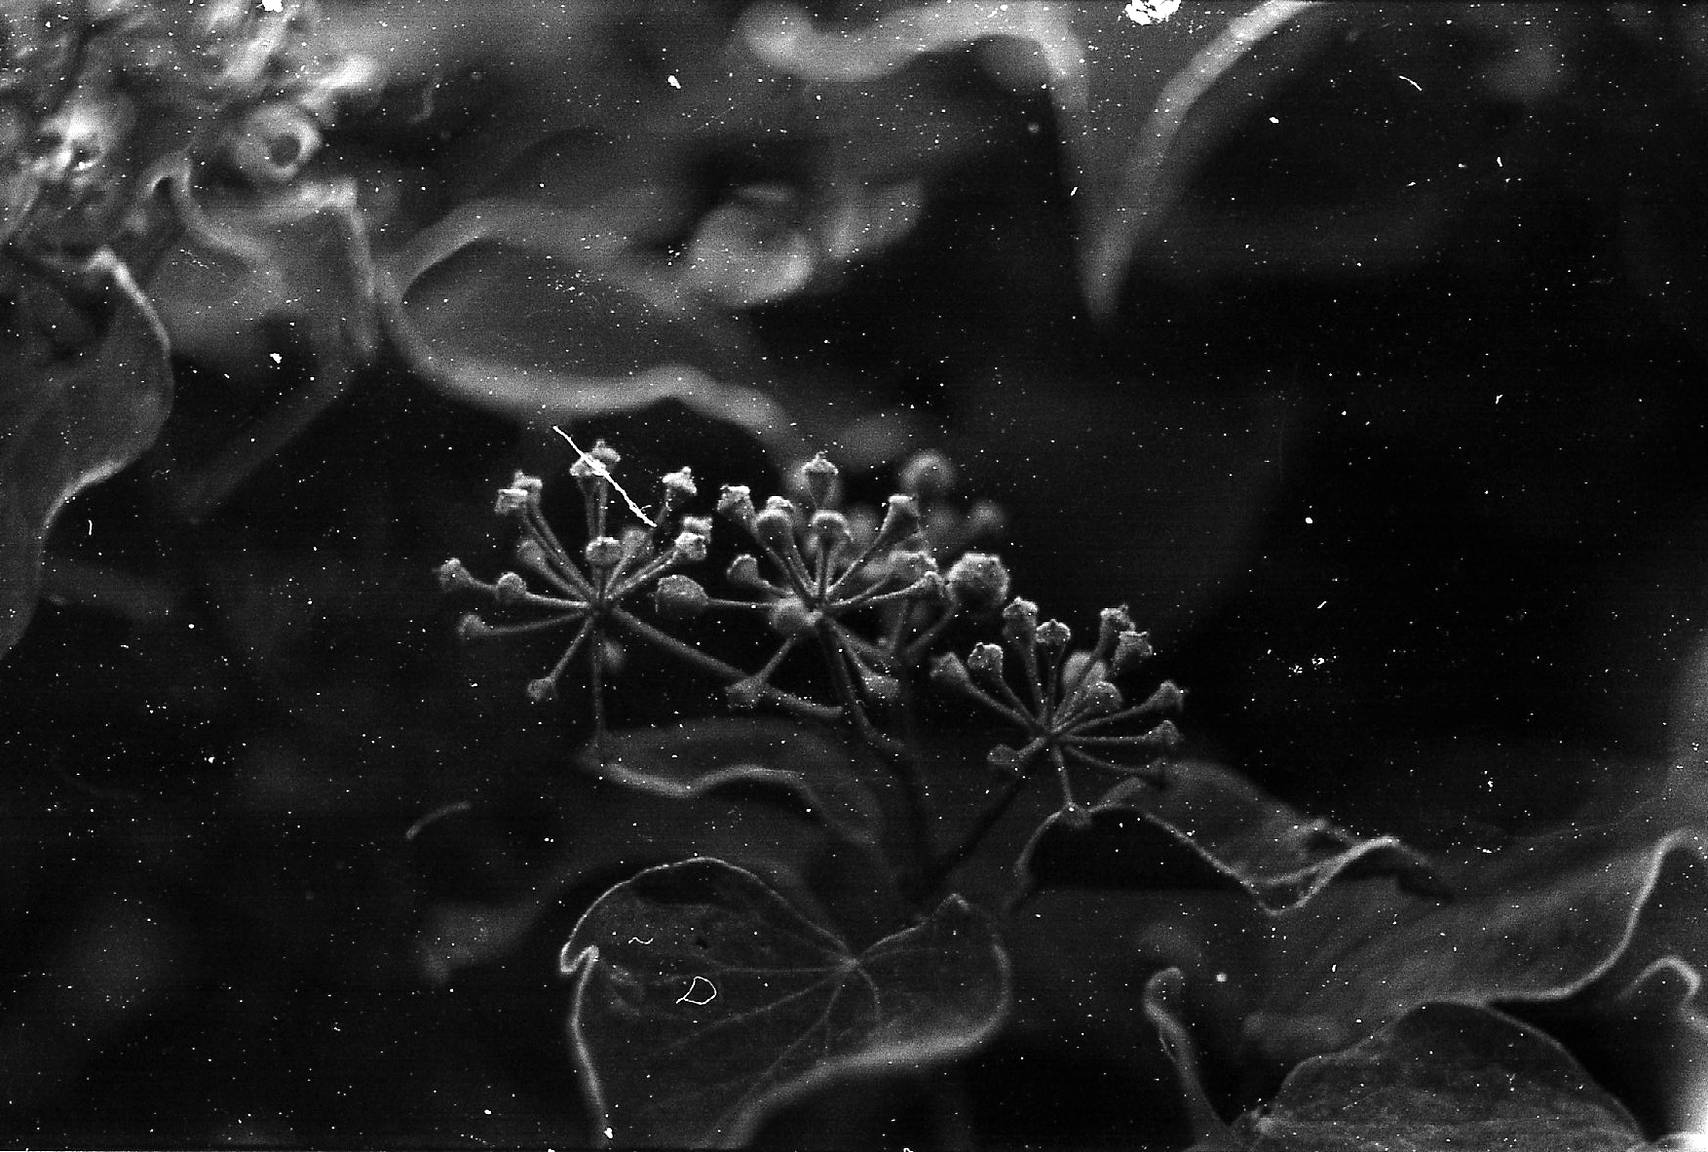
Roll #3: Lomography Earl Grey 100 shot with an Olympus OM-1
Developing time: 20 minutes
Fixer: 7 minutes (with fresh fixer)
Result: This time I got perfect negatives, except for a weird little underdeveloped edge which apparently the developer hadn’t reached or something. And they still look a bit dark because this time I also used a yellow filter and didn’t compensate enough. 8,000 pictures and I still make this kind of mistakes!


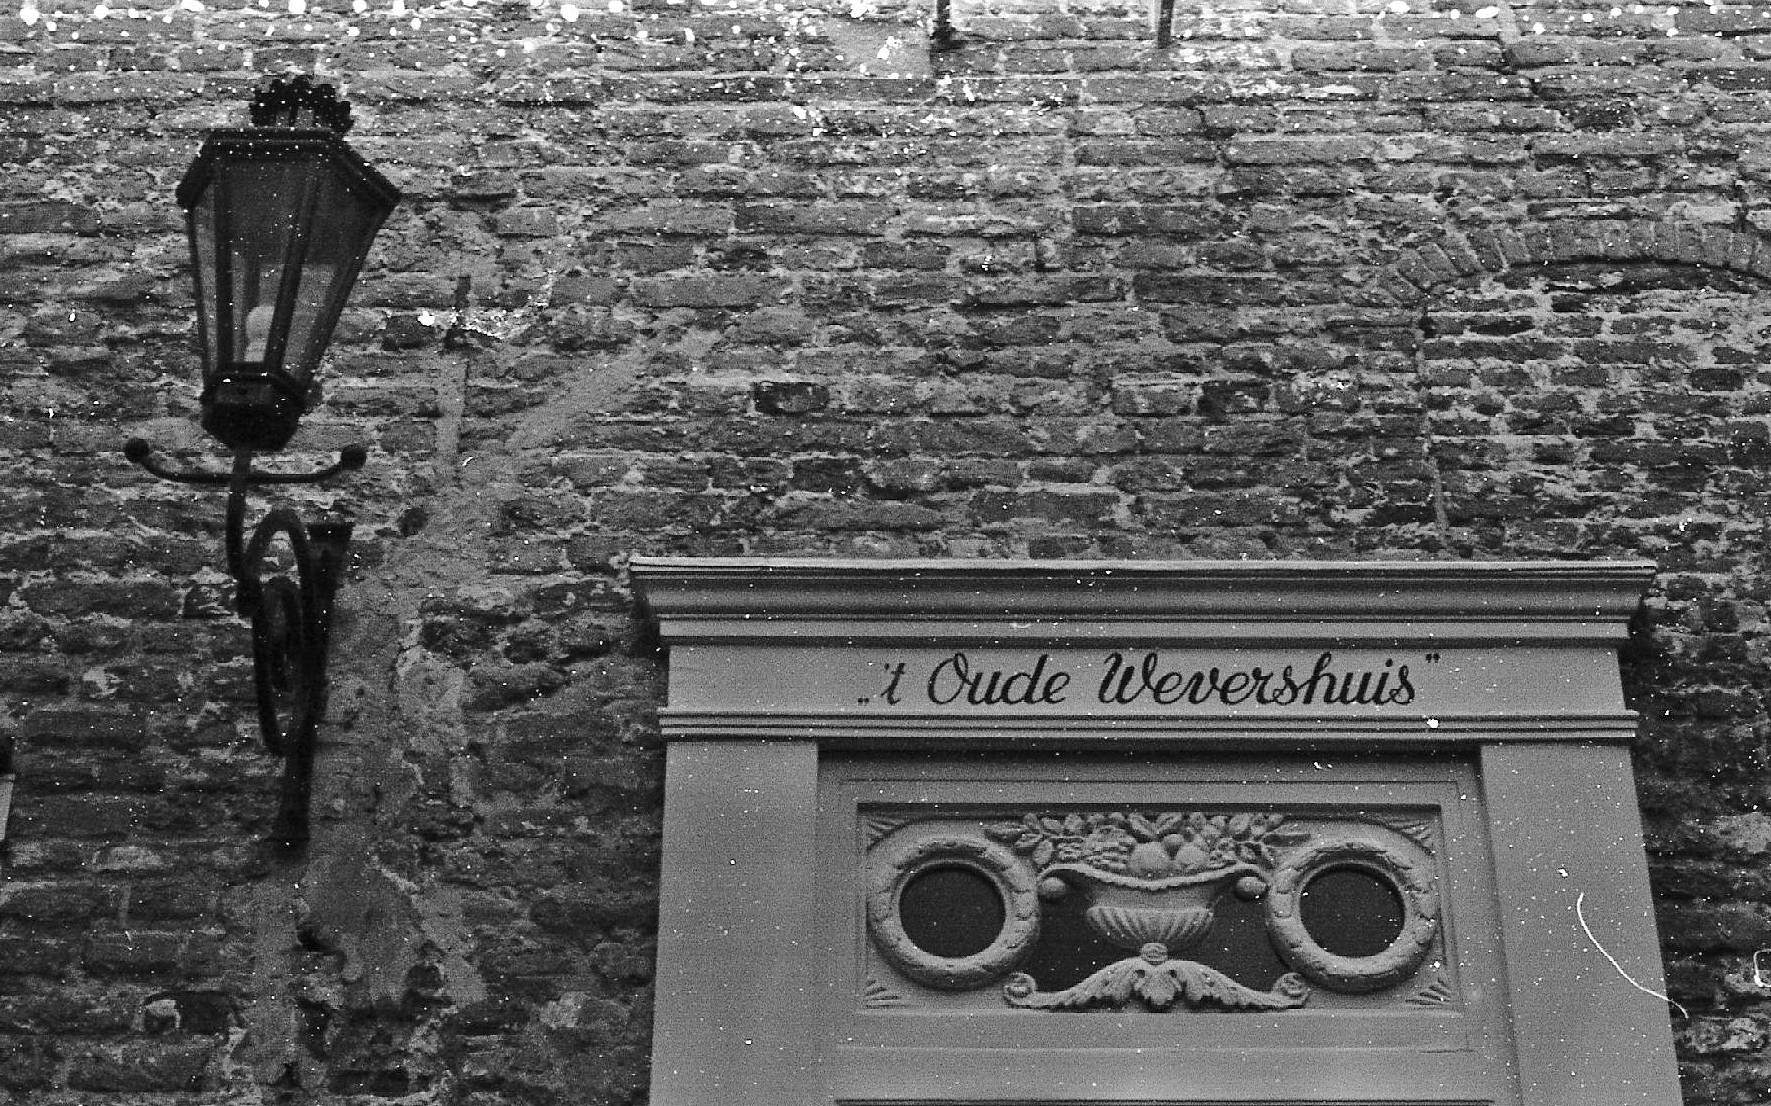
Roll #4: Fomapan 100 shot with a Horizon Perfekt
Developing time: 20 minutes
Fixer: 7 minutes
Result: I had decided I now know about Earl Grey (which is basically re-branded Fomapan 100) so I decided to take a little more risk and develop this roll I still had left over from my holiday. A bit blotchy perhaps, but good enough for me.


It was time to move on to a different film, the ISO 400 Lady Grey. Now, a higher ISO meant I had to use a longer developing time. But I had no idea how much longer, really. After studying some development tables, I decided on a third longer.
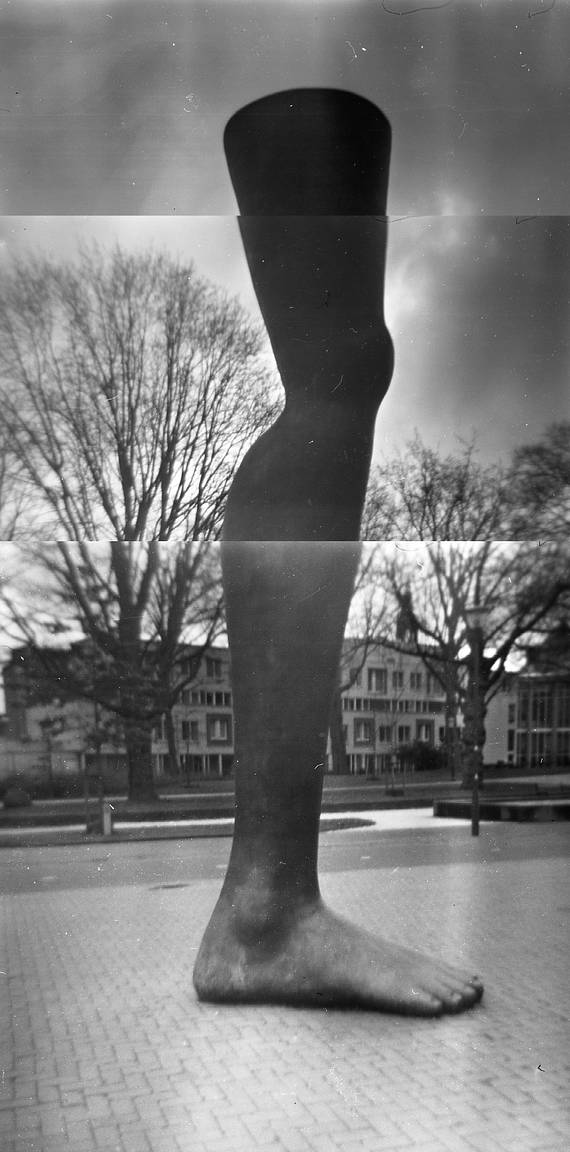
Roll #5: Lomography Lady Grey shot with an Agfa Isoly Junior
Developing time: 28 minutes
Fixer: 7 minutes
Result: Well, how about that? I got it right in one go. A bit blotchy, but good negatives, decent pictures. Yay!


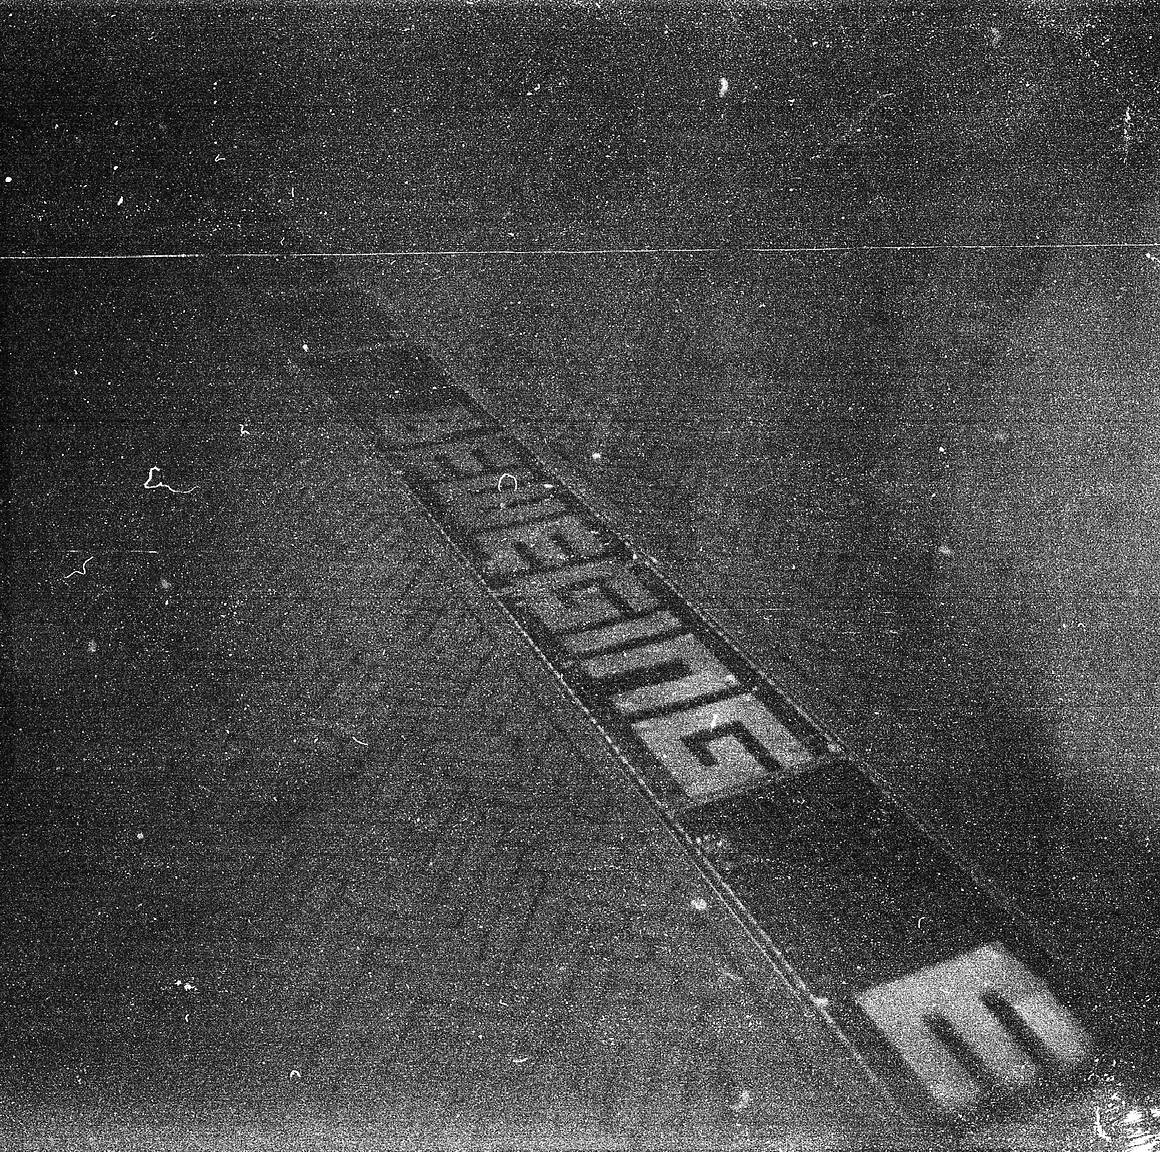
Roll #6: Lomography Lady Grey shot with an Olympus XA
Developing time: 28 minutes
Fixer: 7 minutes
Result: One last time then to confirm my results. A bit more weird markings this time, especially near the sprocket holes. Apparently when you agitate too hard, you get these surge marks near the holes. You live and learn. But hey, I’m happy enough with the results. And I did enough hand developing for a long time.


Do you want more details about caffenol developing? Check out this article and try it yourself. Here is the method from Photojojo that I used.
In April, I will try and take a long exposure picture of streaming water, like this gorgeous picture by @fotoflix.
Previously:
- Analogue Bucket List: 12 Months, 12 Projects
- 12 Months, 12 Projects: January - Masks and Filters
- 12 Months, 12 Projects: February - Nighttime Traffic
written by Maaike van Stratum (@stratski) on 2015-04-12 #lifestyle #developing #caffenol #black-and-white-photography #community-submission #12-months-12-projects


One Comment