Cameras in Depth (Handling an SLR Camera)
12 Share TweetAfter my two previous articles on ergonomics of pocket and rangefinder cameras, it is now time to analyze some of the most popular 35mm SLR, starting from the mythical and timeless Soviet-made ones: the Zenit E, EM, TTL, 122, 412 that you can see in the following photos:


Let’s start from the Zenit E, which for me is the training ship of analog photography, despite its serious limitations in terms of handling and quickness of use. It presents the defect of having a practically useless selenium cell light meter (little sensitive in low light, when it would be really useful) whose values must be read on a mobile index placed on top of the camera (as for the rangefinder Fed 5 or Kiev models). I recommend you to don’t use it, avoiding to waste precious time: in daylight you can use the Sunny 16 Rule to calculate the correct exposure.
This is a “slow” camera: the selection of the shutter speed is not immediate: you have to raise the wheel to rotate it. There is also the limitation to manually close the lens blades (by rotating a ring that is coaxial to the aperture selector) before pressing the shutter button. Finally, it is quite heavy and uncomfortable to hold: it weighs about one kilogram and has no hooks to attack a strap. Despite these limitations, for those who like slow, thoughtful shots, studying the depth of field before shooting, this is a nice entry-level model to learn about all manual adjustments on a small format camera. Similar considerations apply to the Zenit EM , almost totally similar to the preceding, but faster to use thanks to the introduction of the automatic closure of the diaphragm when you press the shutter. For all Zenit cameras of this article, except for the E model, you can estimate the depth of field pressing the shutter button halfway.
The Zenit TTL, 122 and 412 are much more practical to use and to carry around: all have a connection for a shoulder belt, the times selector can be rotated without lifting up it, the exposure values (with a more sensitive cell) are indicated inside the viewfinder (a needle for the TTL model, LEDs for the other two) and there is the automatic closing of the diaphragm as in the EM model. The TTL has a quite dim viewfinder, and it is quite heavy (the body is made entirely of metal), while the other two, with the body in plastic material, are much more comfortable to hang around your neck. The 412 has the advantage of reading the DX code, and it is therefore suitable for novices inexperienced about ISO setting.
The M42 lens screw connection of all these cameras is obviously little indicated for those who must quickly change the focal length, but has the advantage of being very robust and reliable in time. Be careful: don’t use some Pentax or Takumar lenses on Zenit bodies; there is a tiny button on the back of the lens that get stuck with the screws that secure the front ring of the camera! If it happens this accident, you can safely remove the stuck lens using a razor blade inserted between the camera body and the lens.
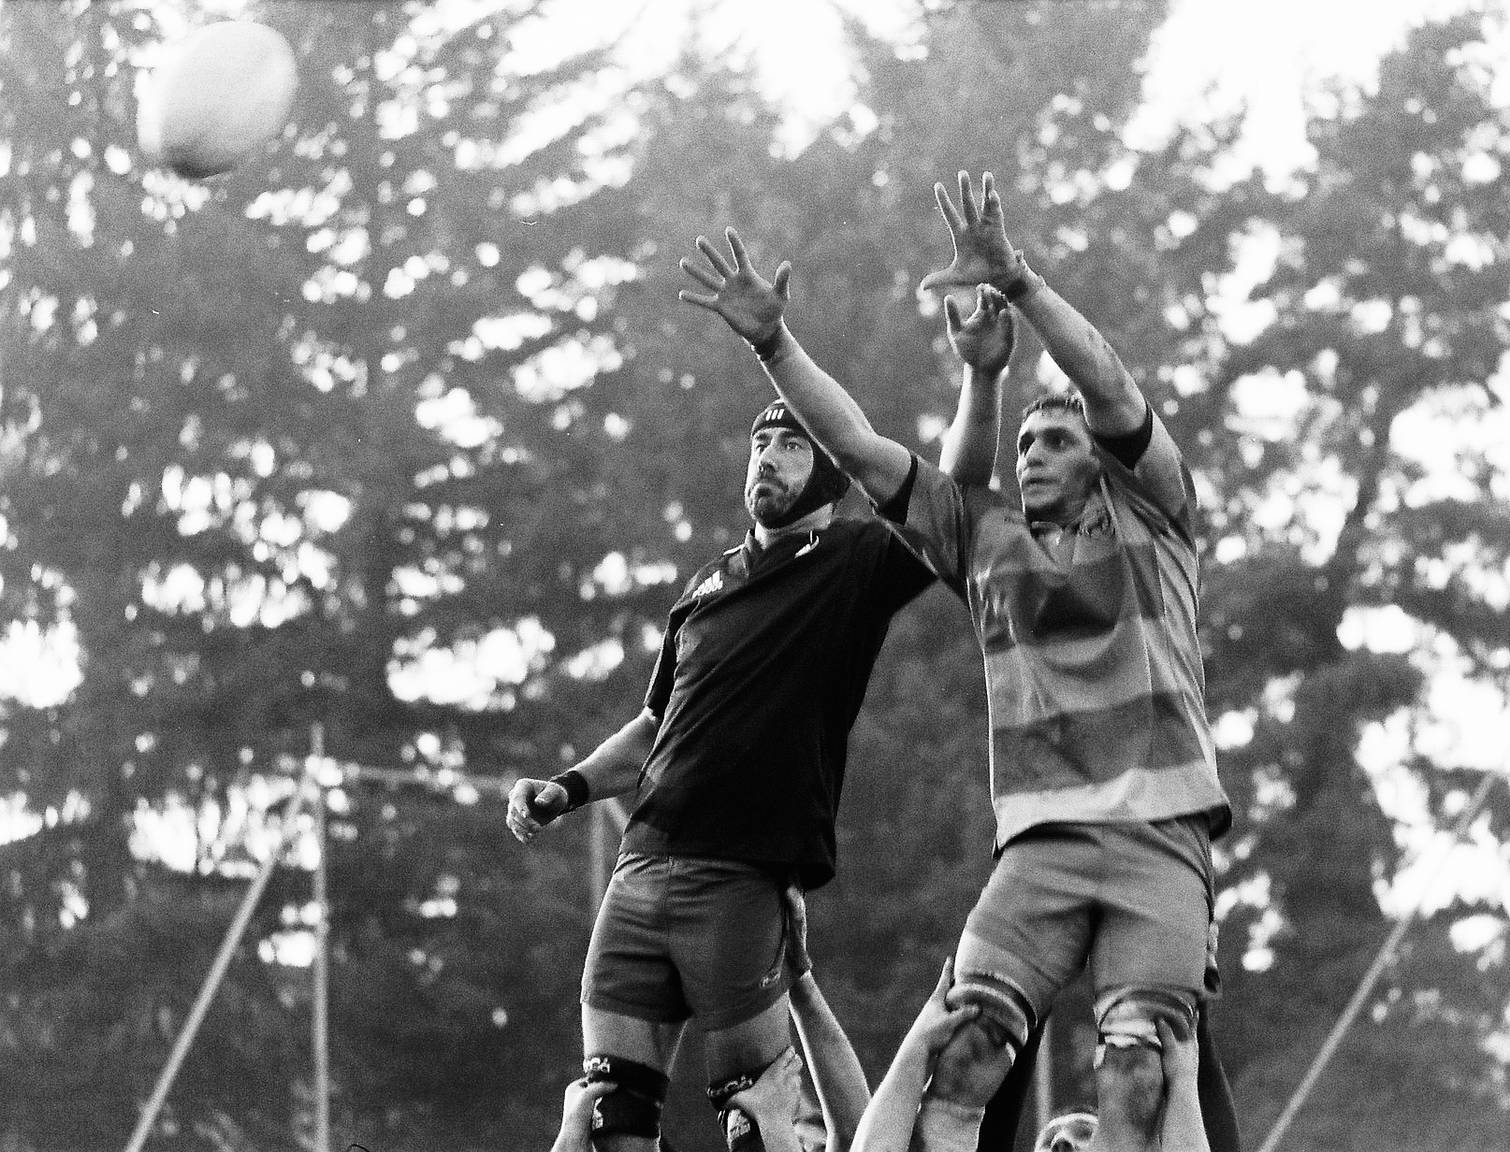
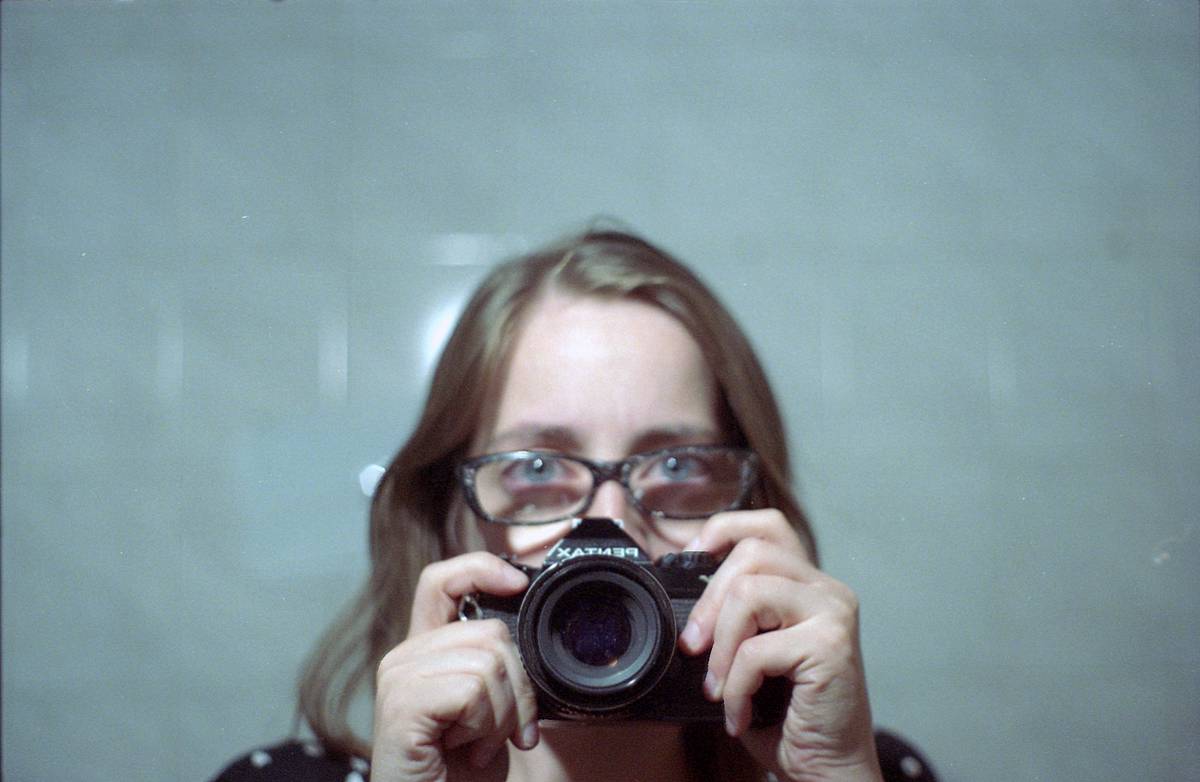
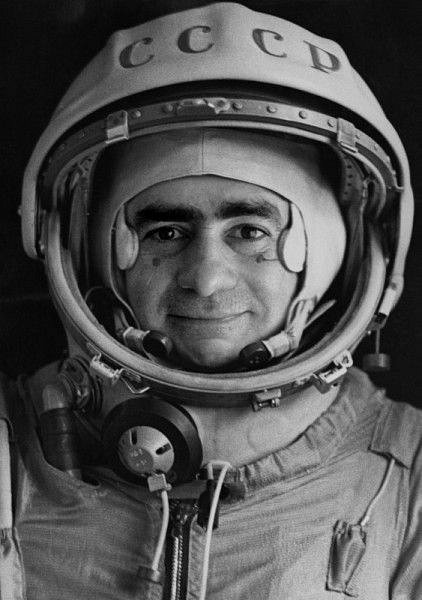
Below a series of my photos, taken with all these cameras, in the order they were presented.


Among my favorite SLR, especially for their completeness and for the possibility of mount a very large number of lenses (the screw M42 attack is very popular), there are the Praktica. I have these models LB, MTL 3, Super TL1000, MTL 5, 5b and MTL 50.


Completely mechanical like the Zenit, they have the advantage of the slow times (from 1/15 to 1 second), missing on Soviet models, to be quite light and comfortable to hold, and to have the shutter button strategically placed, in the front of the camera!
Except for the LB model, which has an external exposure meter (like the Zenit E), all others ones have an exposure meter incorporated in the viewfinder (a needle, except for the MTL 50 which use two LEDs). For these cameras, between the shutter button and the M42 mount ring, there is a lever to measure the exposure in stop down mode. Thanks to this design, you can kill two birds with one stone, measure light and estimate the depth of field at the same time. With two fingers of your right hand placed on the front of the camera you can both measure the exposure and press the shutter button; moreover the hand position assures a solid grip, excellent for shots with slow times. Furthermore, with the thumb and index finger of this hands hand you can easily adjust the speed wheel, placed on the top of the camera, leaving the left hand for the focus and for the aperture setting. I know no other full manual cameras with an ergonomic so brilliant!
All these models, except the LB one, are very similar, except for little changes in the focus screen, in the shape of the exposure meter, and in the material used for the advance lever (metal or plastic). Some models have a self timer, others no (I have an MTL3 and a Super TL1000 with the self timer, and other two without it).
Finally: unlike Zenit cameras, there are no problem mounting Pentax M42 lenses on these ones.
Here a series of photos I took with all these cameras, always in the order of presentation. As you can see, the easy of use makes these models great (except the LB) for street photography and reportage!


Another mechanical camera in my possession is the Pentax MX , a jewel of precision, robustness and reliability. It is built with high quality materials (my trusty
photo repairer assured me that all the critical mechanical parts are made of metal, with no intrusion of plastic parts). This is a camera designed for professional use, with a good exposure meter (LEDs) and with interchangeable focus screen. All the buttons are in the right place, with the shutter one in the classic position on the top of the body. Pushing the self timer lever toward the lens you can preview the depth of field closing the diaphragm. The light measurement is made at full aperture, ensuring you to don’t waste time with a stop down procedure. Its quick advance lever is fantastic. This masterpiece of mechanical engineering, has only a small defect: the shutter speed wheel is small and too close to the advance lever, and therefore it is a little uncomfortable to adjust, especially if you are wearing gloves. Unlike its direct competitor, the Olympus OM-1n, it lacks a mirror lifting mechanism, useful on slow times to avoid micro-blur when you are shooting with the camera placed on a tripod. (It should be noted that the problem does not exist shooting hand held, as I explained in my previous article).


A couple of my pictures taken with this camera:


The Olympus OM-1n is my second professional SLR; it is externally identical externally to the previous OM-1 model, with only internal improvements.


It is also completely mechanical, another jewel of precision and reliability, with a pretty body! As for the MX, the focus screen is interchangeable. Its light meter is a unobtrusive small needle in the viewfinder. This camera has a small lever (placed on the right of the body, near the lens attach) to raise the mirror. The controls are located in a different position respect to the previous cameras: the wheel next to the shutter button is not the time selector but it serves to set the ISO speed (this position is for me rather inappropriate, it would be better to put it coaxial to the rewind crank film). The shutter speed setting is made by turning a ring coaxial to the lens ring. After a bit of practice with this unusual positions you can realize the potential advantages of this design: times, aperture and control of the depth of field (pushing a small button placed on the lens) are all within the thumb and index fingers of the right hand. A compact and lightweight SLR, surpassed in miniaturization (for few millimetres) only by the Pentax M series!
A couple of photos taken with my Olympus OM-1n:


Let us now turn to some electronically controlled cameras, beginning with the family Pentax MG, MV, ME Super, a pleasure to carry and to use thanks to their compactness and light weight:

The models MG and MV works in aperture priority mode. In the first one the shutter time is displayed by lighting of a LED inside the viewfinder, while for the second one there is a simple LEDs traffic light indicating green light for safer times, yellow for slow times below 1/30s and red in the case of overexposure (in this case, you must select a narrower aperture). The first one is more comfortable and versatile, while the second is suitable for beginners, due to its minimal exposure meter informations that do not distract from the composition; there are sufficient to avoid mistakes and blurred photos. The ME Super deserves a separate discussion: it is much more complete allowing to operate also in manual mode (by selecting the shutter speed with two buttons placed on top of the camera, an unusual and not very comfortable procedure). All these cameras has also a mechanical time (1/100 for the first two, 1/125 for the ME Super) that allows you to shoot even when the batteries are exhausted. Designed for an amatorial or semiprofessional use, they don’t allow to preview the depth of field, and the focus screen is not interchangeable. It is however noted that they are excellent cameras in terms of reliability and accuracy. The ME Super is really little disturbing, this camera has perhaps the quietest shutter among all SLR film cameras ever!
The Pentax ME Super has been used successfully in the last decades of work by the great social photographer Willy Ronis, who was fully satisfied with this camera which was equipped with a simple amateur zoom lens!
In case of backlight, bright or dark subject, you can correct the exposure changing the ISO speed (the selector is coaxial to the rewind crank) for the first two cameras, while the third one has a ring coaxial to the ISO selector that allows you to correct the exposure of 1 or 2 stop both in excess or in defect. Personally I find both methods rather equivalent, and both inferior to the great design idea on the Canon AV-1, which I explain below.
Here three photos taken with these cameras:


If you aren’t interested about compactness, there are two excellent Canon models, rather interesting: the AV-1 and the AE-1 Program:


The AV-1 is quite similar to electronic Pentax M series just examined, but with a larger body (it is more suited to people with big hands); it also works in aperture priority mode. The shutter speed is indicated by a needle inside the viewfinder. Genially, the critical time of 1/30s (below this one there is a risk of blur due to the camera shake using a normal lens) is placed in the middle of the scale, and in this way just a quick glance at the needle position is sufficient to know whether you are shooting with a safe speed: when the needle is pointing up the shutter speed will certainly be equal or faster than 1/60 of a second. A wheel on the top of the camera also allows you to select the B pose, the self-timer mode (with and without flash), and the 1/60s synchronization time for the flash. An ingenious idea of the manufacturers has been to put a small button on the left, near the lens attach: when you held pushed down this button while shooting, you obtain a 1,5 stop overexpose, very useful in backlight, on the snow or on a sunny beach, allowing you to avoid to change the ISO speed to adjust the exposure. This is one of my preferred SLR ever, for convenience and quickness of use.
The AE-1 Program is of similar size, slightly heavier, but with the possibility of full control of time and speed. This camera can operate in fully automatic mode (by setting the shutter speed dial in Program mode, and the aperture ring in A position), shutter-priority (with the aperture value displayed in the viewfinder with a series of LEDs red numbers: in this case you have to set the aperture ring on A position), or in full manual mode. Classical in the arrangement of the controls, it is a camera for a semiprofessional use or amatorial use definitely complete except for the lacking of the mirror lift-up command. A lever on the left of the lens attach allows you to estimate the depth of field; just push it toward the lens. It is important to note that the focus screen is interchangeable, a rarity for a non-professional SLR! Despite having all the commands in the right places, I prefer to use the AV-1, for its light weight!
Finally it should be noted that, unlike the electronic Pentax M, these two cameras don’t work without batteries.
Two photos taken with these cameras:


In the next article I will talk about the ergonomics of medium format cameras. Stay tuned!
Cameras-in-Depth is a series dedicated to a comparison between film cameras, illustrating some hidden details to help you to choose the right camera for you! The previous articles were about Plain Glass Viewfinders, SLR Viewfinders, Handling a Pocket Camera and Handling a Rangefinder Camera.
written by sirio174 on 2016-12-06 #gear #slr #zenit #canon #praktica #pentax #regular-contributor #ergonomics #cameras-in-depth #handling
translated by sirio174


No Comments