LomoHacks: The Lomo'Instant Automat Glass
7 14 Share TweetIn the ongoing series "LomoHacks", Alienmeatsack explores the ins and outs of beloved Lomography cameras and offers his expert advice on how to make the most of them.
It’s no secret that I love the Lomo’Instant Automat camera and now that there’s also a wide-angle Glass edition with a shallower depth of field. I had to take it for a spin and push its boundaries to see what it could do, especially with the focus!

First off let me just say this, the click-stop focus points on this camera are just there to give you a jumping off point. As always with Lomography, don’t let rules and settings stop you from doing whatever you think fits the look or feel you are going for. That is especially important to note on this camera because of it’s f/4.5 aperture and the much more shallow depth of field it offers vs the Lomo’Instant Automat. The LIA has an f/8 aperture so much more is in focus in a shot. It doesn’t seem like much of a difference, but that few stops of light difference and the depth of field changes it brings into play are huge and require some more patience and thought to be put into the use of the camera at first. I think this makes the camera especially fun to use because it challenges you to work for your shots a little more. And when you hit the right spot, you are rewarded with magical shots with a shallow depth of field and a wide angle view that make this little monster a must have to go along with your Lomo’Instant Automat.
Two things that stand out to me about the Lomo’Instant Automat, the wide angle lens, which is about as wide as the LIA with the Wide Angle Lens attachment, but so much sharper. And if that doesn’t grab you … that wonderful f/4.5 aperture and the delightful Depth of Field it creates should. By opening up the aperture a little, Lomography has invited you to focus a little more, giving your shots a sense of carefully planned focus on the subject and not just “everything is in focus”. But trust me, you will have to work for it, patience and possible a pack or two of film will be required for a trial by fire to learn this camera, and its magical focus zones and the secrets that can be unlocked.
So, I thought I’d make a list of some of the things that I think are important to note when using this camera. Some of them apply to the LIA too, but some are specific to the LIAG, or Lomo’Instant Automat Glass, AKA my new best friend.
First, let’s talk focus,
The stock lenses Focus Zones are as marked:
Close - .3m (30cm) = 1' approx (11.76")
Medium - .6m (60cm) = 1.97' approx (23.64")
Infinity - 3m (300cm) = 10' (120") and beyond
Like its brother, the LIA, the LIAG has 3 focus stops, Close, Medium and Infinity. However, those are just there to guide you, and IMHO can be ignored and you can do your focusing based on feel. Use them to find the nearest focus point, then carefully twist that focus dial a little so it’s between stops, how far between is up to you and your tastes and the location of the subject matter.
Use that space between the 3 marks, just because the lens "clicks" into 1 of 3 spots does not mean you are limited to those three locations. The closer you are, the more important it is you use the space between the focus points of Close, Medium and Infinity. In particular, for closer shots, Close and Medium have a lot of space in between them that can mean the difference between a sharp photo and a slightly out of focus photo.

Learn the length of your arms and how they relate to the focus zones from Close to Medium, and just beyond that, depending on your arm's length. Make sure when measuring that you also accommodate for the camera in your hand from the lens itself to the object you wish to focus on. If it's a selfie, aim for your eyes. If it's an object, aim for the center point or the point of interest.
Views from the camera with the tape measure at 1’ and Focus set to Close, view from the camera with the tape measure at 1.5’ and between Close and Medium, and then a selfie at CM and 1.5’ to show what the end of the tape measure would see:
Save a pack or two of film just to test focusing. I know it's not fun to waste film, but, a pack or two used to get to know your LIAG's focus points and capabilities will benefit you in the long run. By trying different distances and focus marks and the spots in between the focus points on the camera, you will learn where to set the focus for future shoots. And the more you shoot, the better aquatinted you will become with the distances required. Think of it like this, if you've shot an LC-A+, it has 3 focus zones, but the aperture itself changes based on the light the camera senses, so you just set it and see what you get out of the shot later when developed. But, with the LIAG, you have a set aperture of f/4.5, which has a more shallow depth of field, and therefore, a few test shots in advance will reveal the cameras sweet spots to you. And since the aperture never changes, those sweet spots will not change either. So once you understand them, you are familiar with them for every shot after that.

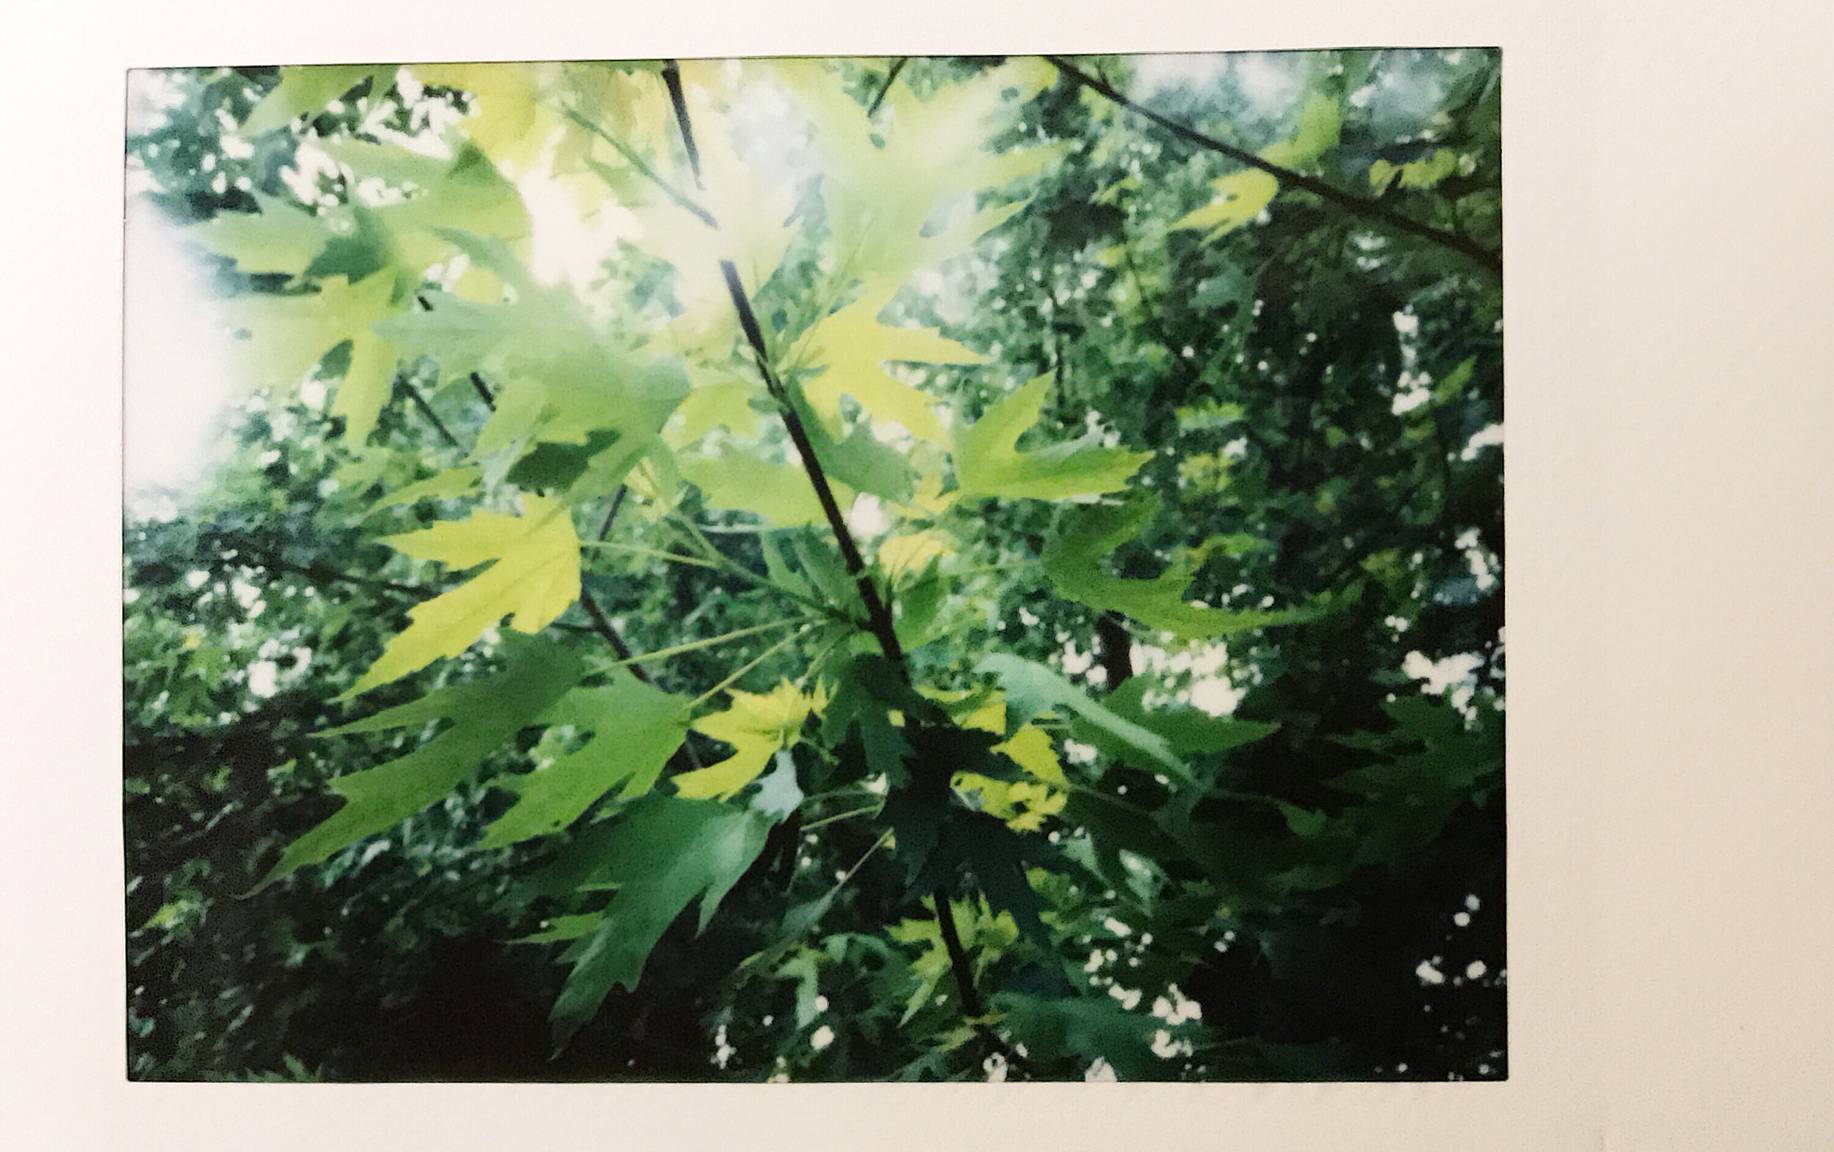
Depth of Field (DoF) - Because the LIAG has a f/4.5 aperture, it's DoF is more limited, giving you a much more stylized photo when it develops. Once you master this, you will find your photos feel more unique than when everything is in focus. Many of us who shot Rangefinder, SLR and DSLR cameras crave those super fast, super wide aperture lenses that go to f/1.8 or f/2.0 and so forth for the depth of field and bokeh. The LIAG brings some of this to Instax (and Instant) by going from f/8 down to f/4.5. A small but very significant difference that you will come to appreciate as you shoot.
Lighting - The LIAG lens is light hungry. Even on close photos, once you get somewhere around half-way between Close and Medium, your light from the flash will start to fall off, so keep that in mind when shooting. Don't be afraid to use that Exposure button to add a stop of exposure, or even a 3rd party hand held light or lamp as a light source if possible in lower light situations, particularly indoors. And anything from around 2’ (60cm), the flash is just going to fall away, vanishing leaving you with a dark photo. So look for natural light or the above-mentioned handheld lighting to help bring more light into your shots.
You can see here how adding a stop of exposure can help with the flash falloff and illuminate your shot a little better. Also, notice the lovely DoF among the assorted objects. A bonus of the f/4.5 lens of course.
This camera’s lens LOVES light, especially outdoor/natural light, so do yourself a favor and take it out into the sun. And turn off that flash, both to conserve battery and because, well, when it’s sunny out, you don’t need the flash. And like the LIA, you are shooting Fujifilm Instax Mini which is ISO 800, so outdoors, it’s not too difficult to blow out a shot, so keep that in mind as well.
Use the Strap wisely. You'll notice it's marked in Centimeters. When installing it onto the camera, make sure you connect the end with 10cm marked on it so that it's strapped so that the 10cm point on the strap actually falls at exactly 10cm PLUS the distance to the glass in the lens, which is about 4cm, so you want that 10cm mark to fall around 14cm in real life from the connector on the camera to the 10cm mark. If connected correctly, and you measure from the glass lens to the 10cm mark, you should get exactly 10cm on your tape measure. By doing this, you can then use the strap to adjust and measure shot distances by simply extending the strap outward to
Since the strap is normally attached in 2 spots on the body, you might find it easier to attach the 10cm end on the camera and then carefully attach or tie the other end to the loop on the strap end left near the camera so it's easy to untie and extend. A more industrious shooter would attach a quick release on the other end to make undoing the strap to measure quick and easy. Note that the Strap goes to 60cm, which is about 2' (23.64"), which is also the Medium focus point's approximate focus point. You can also use the strap to measure your arm and distances as mentioned before and just install it normally on the camera and use your arm to judge distances as well. You'll find that once you've used the camera a while, this will come naturally to you.
When going from Medium to Infinity, the distance between the two marks vs the amount of actual space between you and the subject will increase incrementally. Meaning, when shooting from Close to Medium, even a small adjustment makes a small adjustment of object(s) in focus vs the placement of the camera and a large amount of depth of field change. But, when going from Medium to Infinity, a much larger space increase occurs. This is because the Close mark is about 30cm (or about 1'), the Medium mark is about 60cm (or about 2') and the Infinity mark is 300cm (or about 10'). So, doing a quick tally, that means that you have about 30cm distance to focus between the Close mark and the Medium mark. But, you have over 240cm between the Medium Mark and the Infinity mark. And, this distance is not constant. Meaning, it ramps up or increases the further towards Infinity you focus. So, let's say you want to shoot a photo of something or someone that is 70cm away, you'd set the focus just above the Medium focus mark towards the Infinity mark. But, if you wanted to focus on something, say 200cm, you'd move it much closer to the Infinity mark and the distance covered would increase dramatically. That's a distance of 130cm (51").
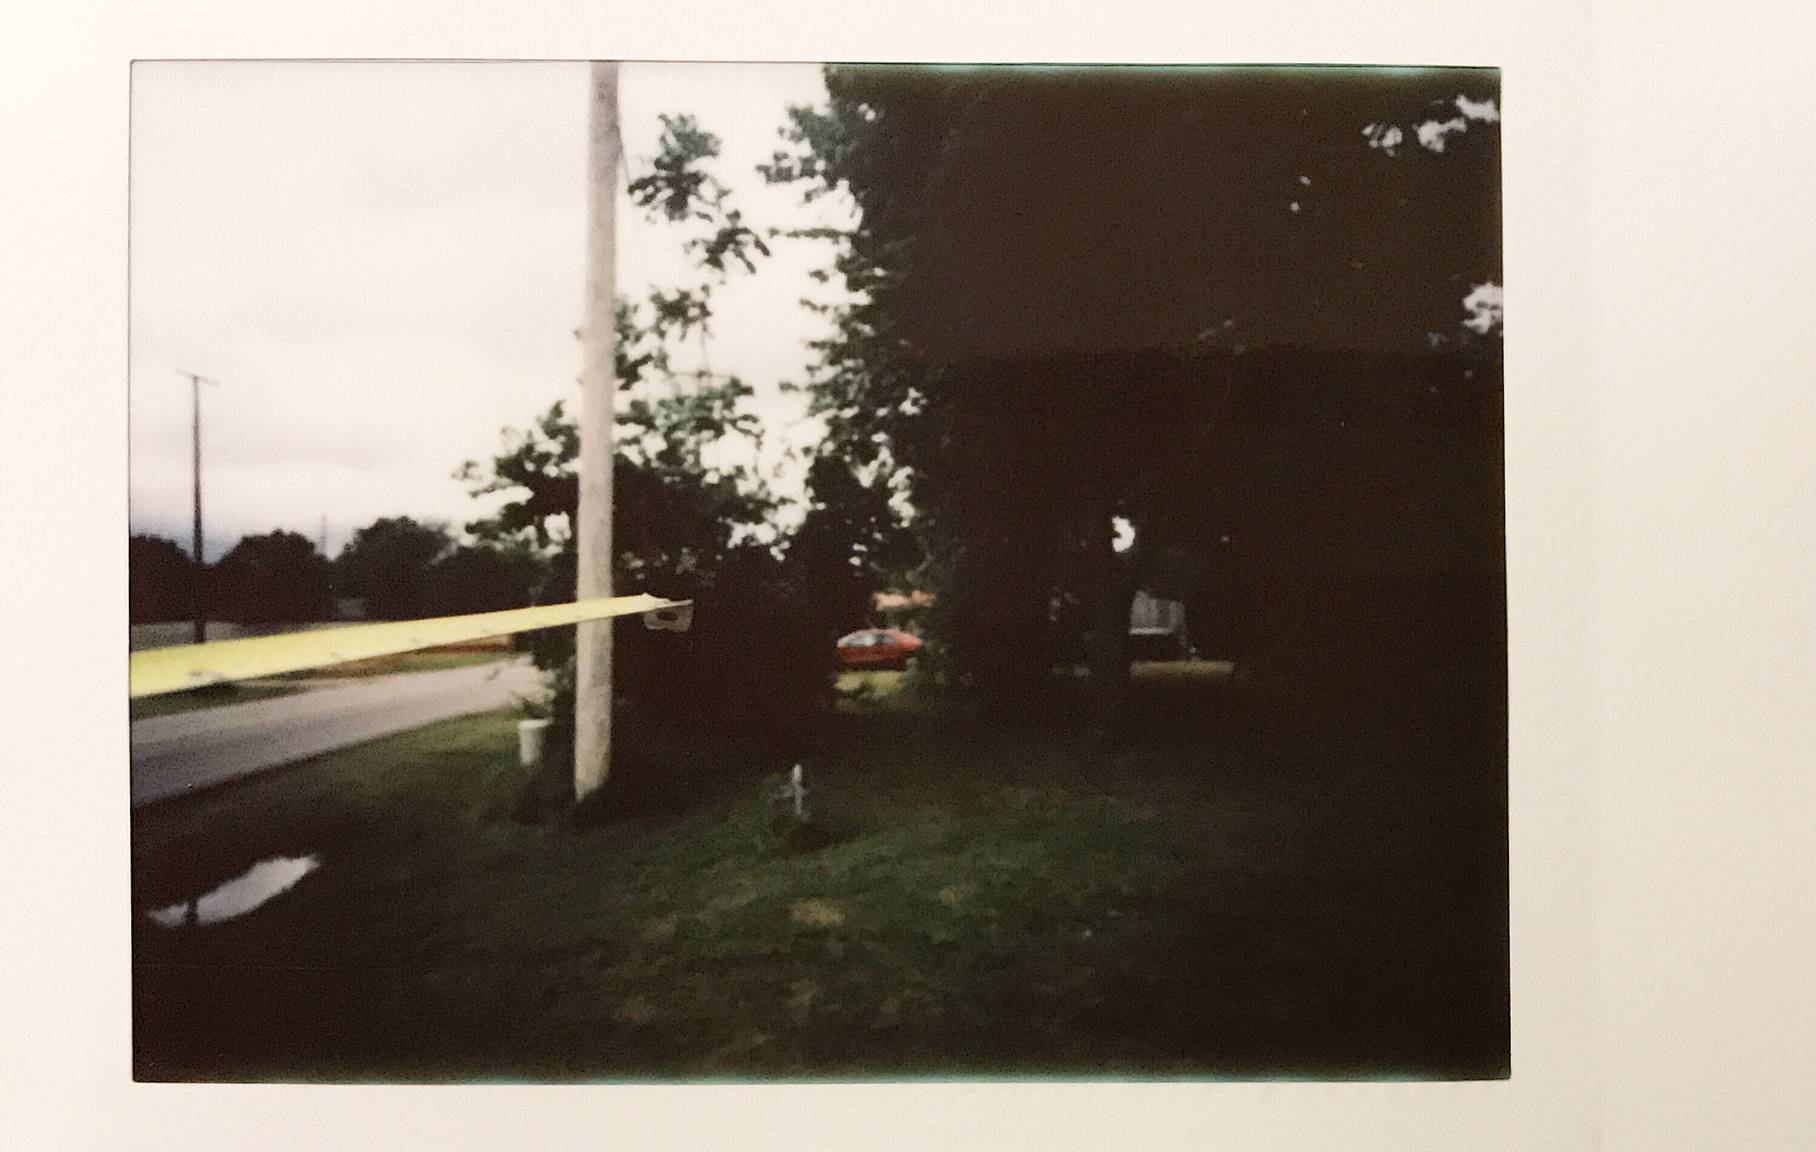
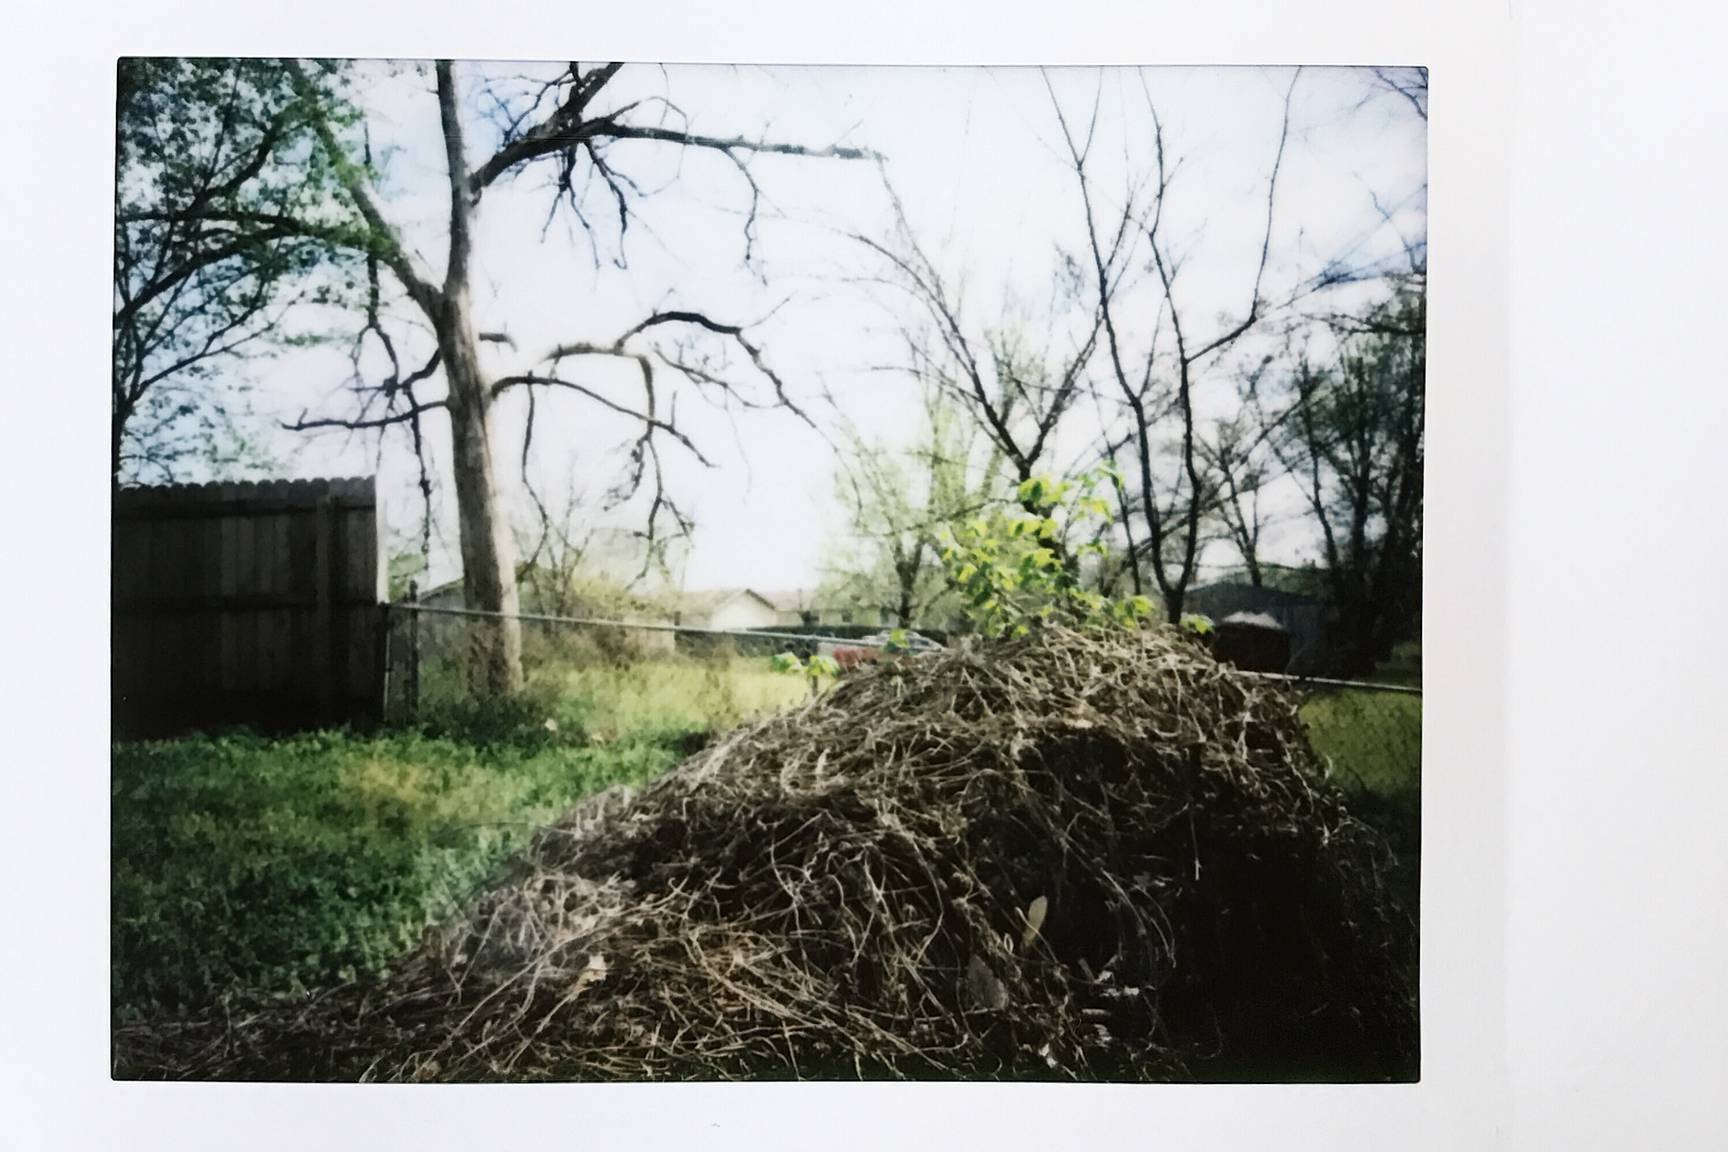
In this example, the flash is so close to the tree it blows out the tree, but you can see how the depth of field and focus come into play between the two. And notice that even though it’s set to Infinity in the 2nd shot, the tree is still somewhat in focus, as is the distant background.
Selfies - Depending on your arm's length and how far away you hold the camera, you will need to adjust the focus carefully. For example, for me a comfortable distance is about 35cm or just over 1', but fully extended is about 71cm or 1' 16". So fully extended or somewhere a bit closer than that, I use somewhere between Close and Medium depending on how far I hold the camera. Even a few inches can make a difference between a clear focused image and a slightly out of focus image when close. I recommend holding the camera out and measuring a comfortable selfie and a fully extended selfie, from the camera's glass lens to your eyes. Once you know this, it will make taking selfies easier to focus, as well as help you judge a distance of any close objects. For my measurements above, I'd get a little better focus if I moved the focus knob maybe 1/8th the way towards Medium if I was holding the camera comfortably away from me. This will vary for each person as everyone's arms are different lengths.
When you turn on the flash, the camera does strange and interesting things when shooting selfies as seen in these shots. I like to think of this as a little Lomographic mojo in the camera to keep things fun.
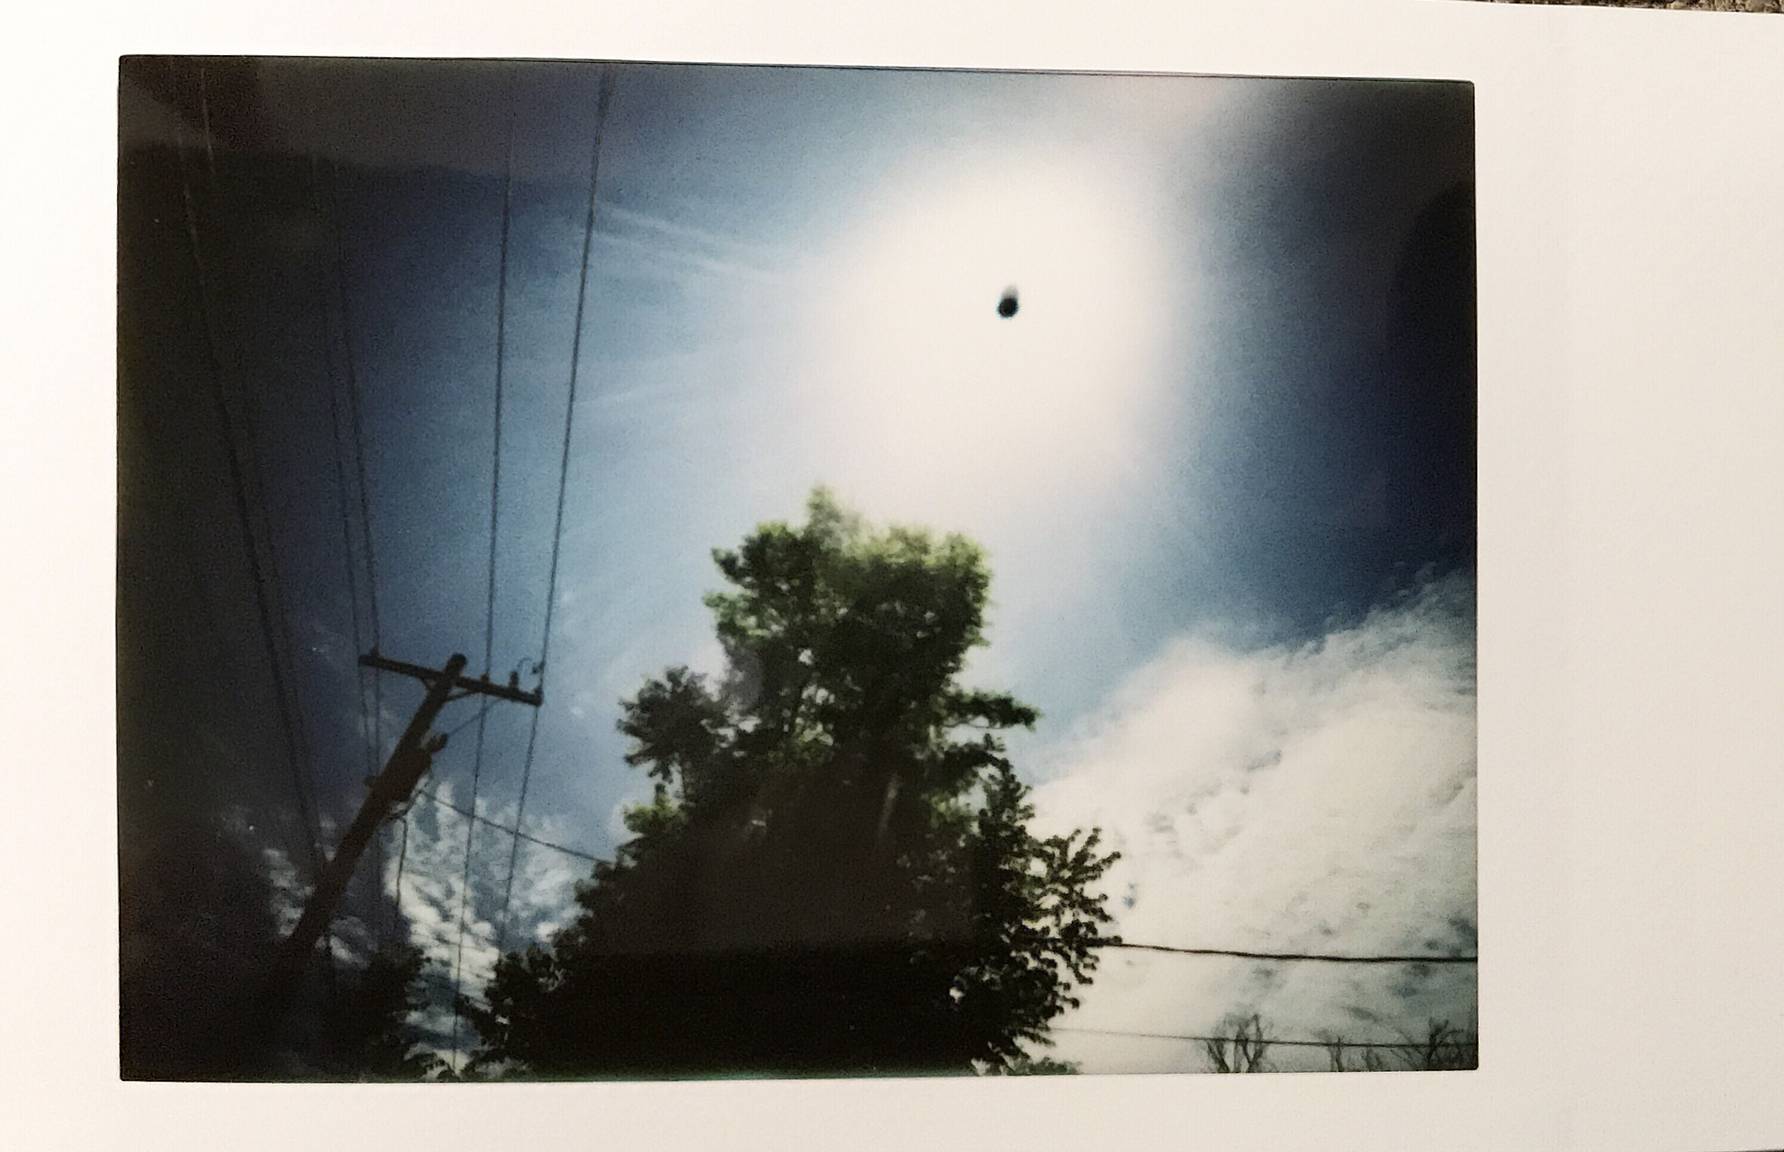
Playing in the Sun. As I’ve mentioned before, you are shooting a camera who’s lens loves light, who’s film is fast at ISO 800 and has a f/4.5 aperture. So the sun is going to either treat you right or give you a little more exposure than you want. One of those 1 or 2 stop ND filters or polarizing filters can help with this. Or you can learn to aim your camera so it’s not pointing into the sun too much. But don’t be afraid to get a little sun on the lens, it makes really cool glare marks giving your shots some personality. It’s also important as I said before to turn off the flash in the sun unless you are shooting very close (less then 2’) and have some dark spots you need to be filled, otherwise, you will end up blowing out some of your shot. Here’s a little trick for you as well, stick a piece of transparent tape or 2 over the flash to diffuse it a bit, or cut out a thin strip of diffused clear plastic that will slide into the slot on the flash to help reduce the flashes power when in the sun. I use a few pieces of transparent tape and it works great.
Just like the LIA, this camera benefits greatly from the use of a +1 or +2 ND filter or graduated polarizing filter when shooting into the sun as seen in these shots, first without an ND filter, then with a +2 ND filter, shot directly into the sun.
And finally, let’s compare the LIAG to the LIA, lens wise. Since the LIAG has a much wider angle lens, the field of view is quite different. How different? Well, I put that to the test by doing a few photos using the LIA, the LIA + its Wide Angle Lens attachment and then the stock LIAG. As you can see, the LIAG is not quite as wide as the WAL attachment on the LIA but it’s close, and I think it’s the perfect width to really take in all the wonders of the world around you as a result.
In order: Stock LIA, LIA with Wide Angle Lens attachment and then finally LIAG:
As you can see, the LIAG has a lot to offer, even if you have its brother, the LIA. That show depth of field, the glass lens, and the super wide angle lens are all quite fun and bring a lot to your shots. Sure, maybe you don’t want another camera in your collection, but I think you owe it to yourself to check out the LIAG. It’s super fun and will earn a place in your heart and your collection as soon as you’ve spent a little time with it.
Want more LomoHacks? Learn Alienmeatsack's secrets about the Sprocket Rocket or the Lomo'Instant Automat.
written by alienmeatsack on 2017-06-16 #gear #tutorials #instant-photography #alienmeatsack #lomo-instant-automat-glass














7 Comments