Secrets to a Great Multiple Exposure Revealed!
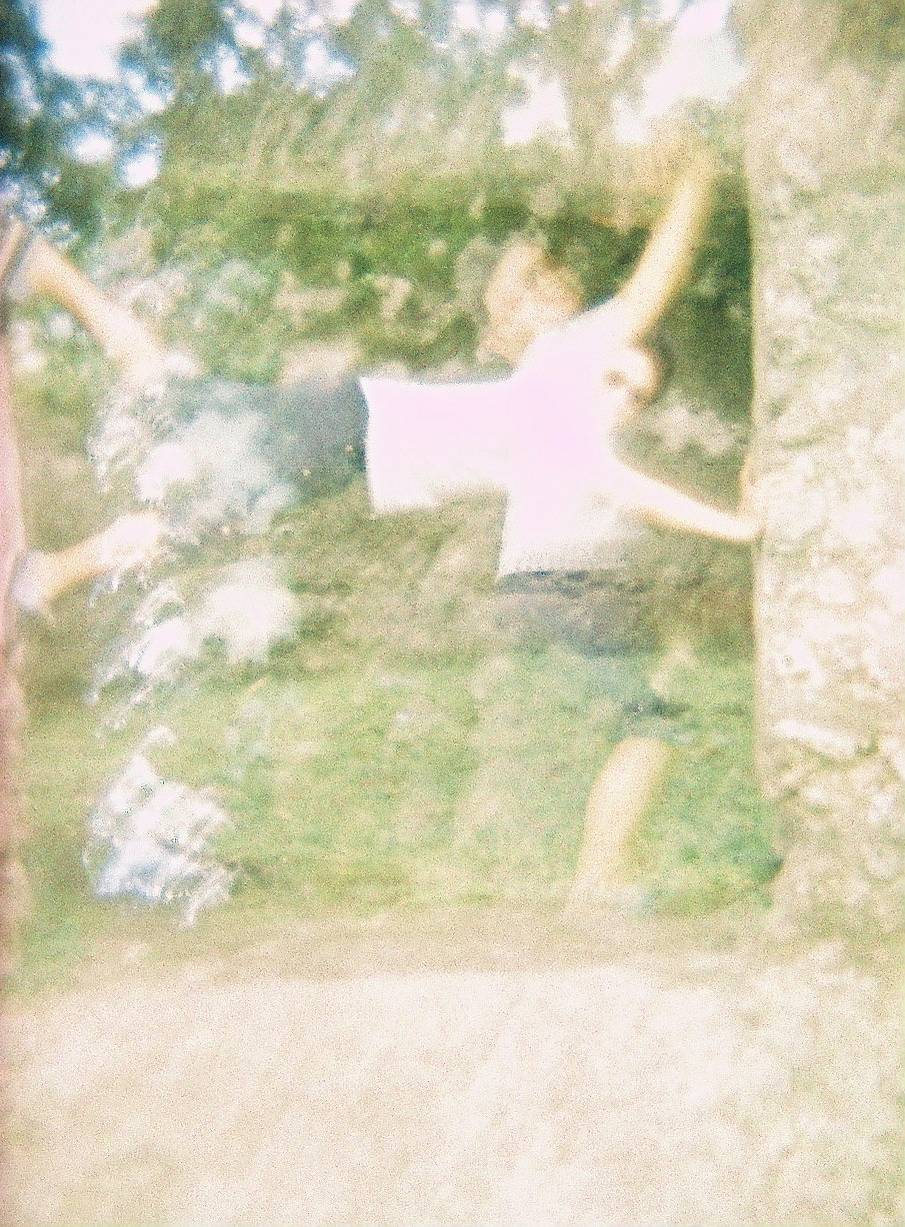
32 228 Share TweetI started out with Lomography using a Holga TIM (Twin Image Maker). I was excited to try out doing multiple exposures, but to my dismay, my pictures never came out the way I wanted them to be. Most of the time they're either too bright that you could barely make out what’s in the picture or they just end up like a mess of two photographs. Here is an example of an over-exposed double exposure. This happens when you expose your film to too much light. Notice that the picture is washed out and there is barely any contrast between the two images:
As I mentioned, multiple exposure can give you amazing results, but there is more to it than just simply pressing the shutter twice. Here are some things to keep in mind:
Properly Expose Your Film
Double exposure means exactly that, exposing your film to twice the light. Therefore, if you do not make some adjustments on your camera, then you will end up overexposing your film! Your camera has the "sunny," "cloudy" and "very cloudy" settings. These are actually aperture settings. Aperture is the hole that lets in light into your camera to expose your film. The "sunny" has the smallest aperture while the "cloudy" setting has the biggest aperture to let more light in. To avoid overexposing the film, switch to the next smaller aperture before taking pictures. On cloudy days, set your camera to “sunny” if you want to do double exposures. On very cloudy days, set your camera to “cloudy” settings.
You may worry since most Lomography cameras only have three aperture settings and one shutter speed setting (amount of time the shutter opens to let light in). What if it’s very sunny and you can no longer switch to the next smaller aperture? Don’t fret, because film can tolerate a certain degree of overexposure. This means that even if you over-expose your film, your picture will not be washed out and will retain a certain degree of detail. Just take note that black and white film can tolerate the most amount of overexposure. Color negative films can tolerate more amount of overexposure compared to color slide film.

Notice the picture above. This picture was taken on a sunny day when I was at the port of Misamis Oriental, Philippines. Since there is no “very sunny” aperture for my Holga, I could no longer set the aperture to the next smaller size. Due to this, I ended up overexposing my film. The boat was rusty, yet you could barely see the rust in the picture. The picture also seems a little too light. But overall, the photograph still looks nice since my film can tolerate a certain amount of over-exposure.
A Picture, More Dominant Than the Other
Now that you know the principle of properly exposing your film, you can now play around with these aperture settings. When doing multiple exposures, if you want your first picture clearer and more dominant than the second picture, then you should set two different aperture sizes. For example, shoot a picture with a "cloudy" setting, then shoot your 2nd picture with the "sunny" setting. The picture shot with the "cloudy" setting will be more dominant than the picture shot with the "sunny" setting; which will seem more like a ghostly image.

This is where you can start being very creative. Above is a picture of a Tuk-tuk, a mode of transportation used in Bangkok, Thailand. It’s the perfect way to “move” around the busy streets.

Munich Airport? Nope, never been there. I don’t even have a visa. This was shot at Bangkok’s Suvarnabhumi’s airport. I took the picture of the airport, adjusted my aperture to a smaller one then shot a sign that says “Munich Airport.”
Plan Your Picture
As I've said, doing double exposures is not all about pressing your shutter more than once. To some extent, a little (or a lot) of planning is needed. Did you see the winning pictures of the Multiple Exposure Rumble? These were not just random double exposures. Here are things to keep in mind:
Imagine how your picture will turn out. Ask yourself, how can I combine Photo A with Photo B to come up with Photo C? Avoid combining two very busy pictures because you will end up with a picture with twice the "busy-ness."
If you really want to take two busy pictures, then try the previous tip where one picture is more dominant than the other.
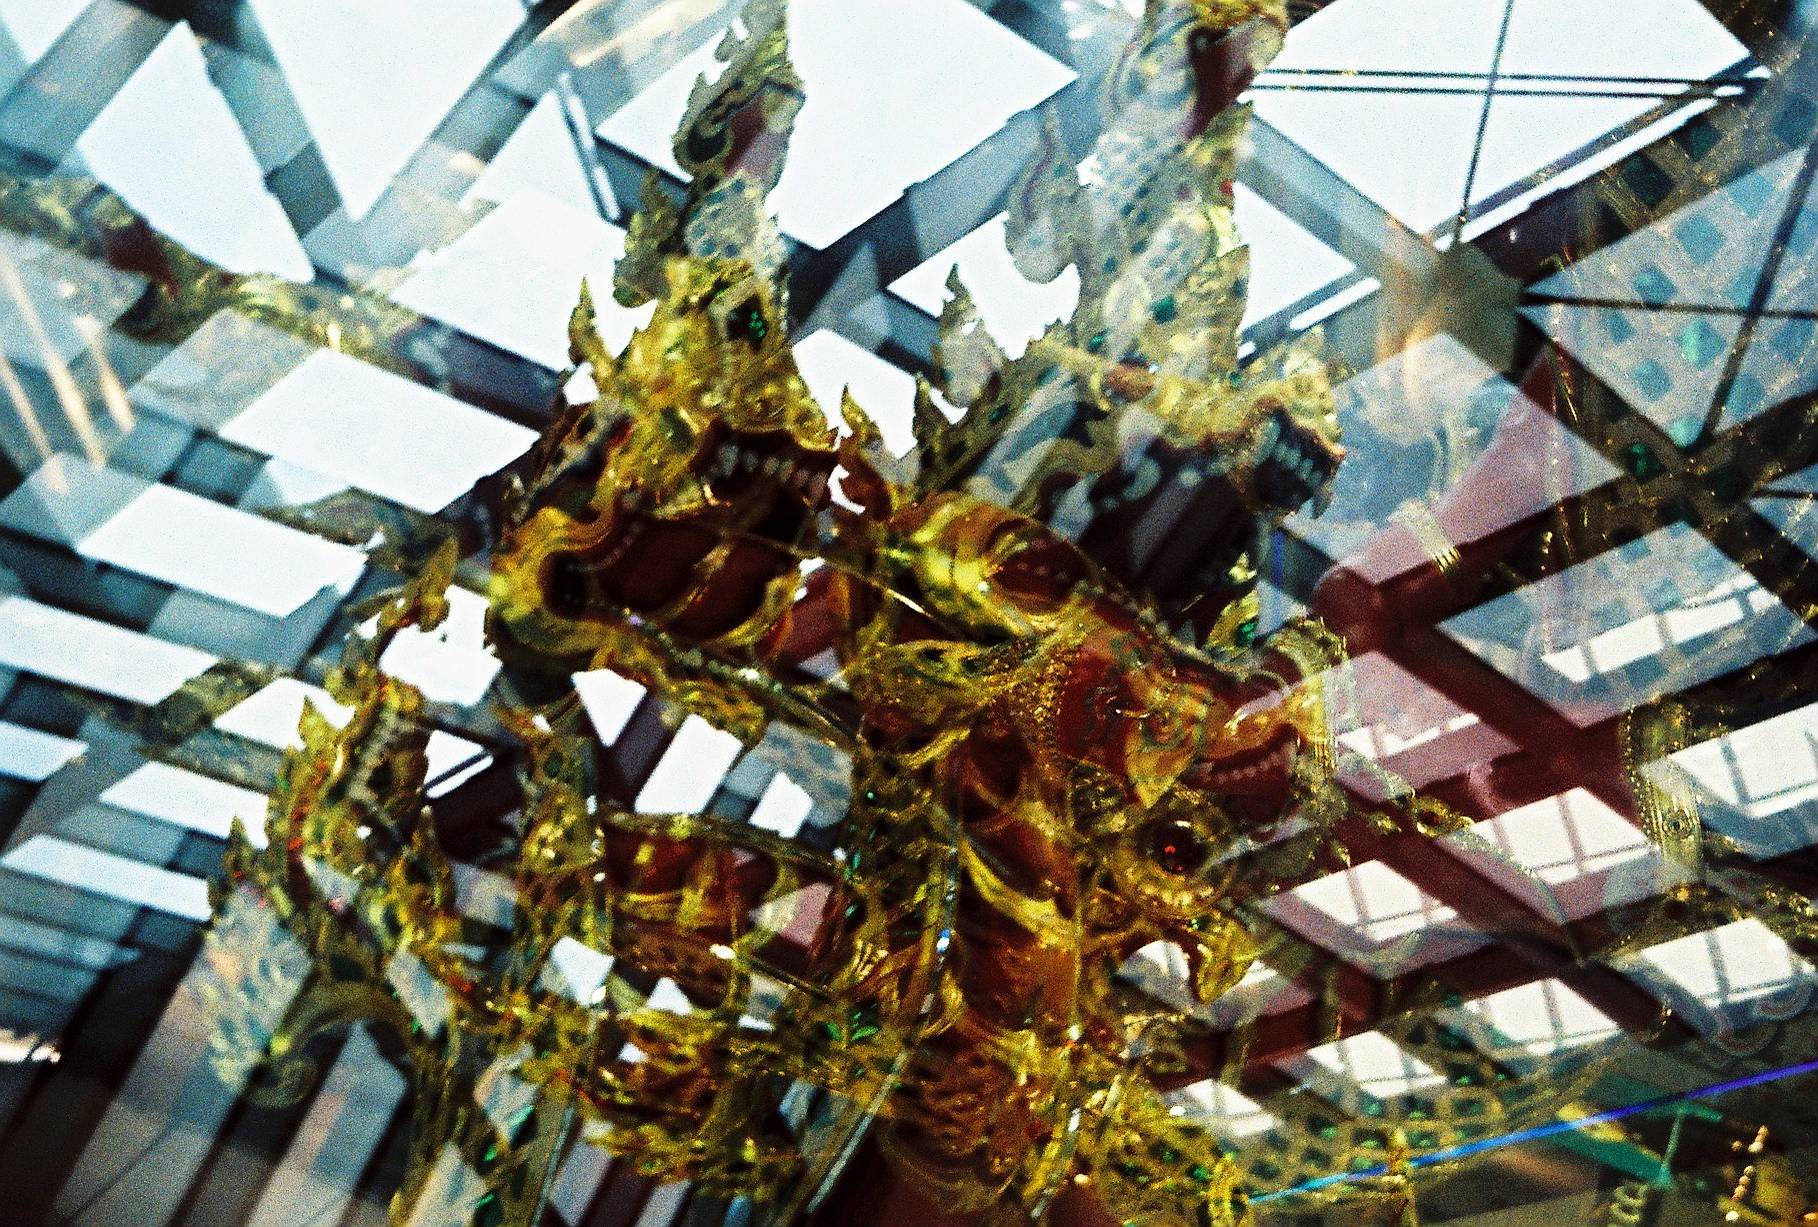
Take Note of the Black Areas
Take note of the black areas and shadows in your picture. We need to emphasize this because this is probably the most powerful gun in your multiple exposure arsenal.

Let's start off with the picture of my puppy, Boris. Boris is a boston terrier. They are well known for their black and white markings because they resemble a tuxedo. Look closely at the picture above, notice that Boris’ black markings let the 2nd photo’s detail through? Shadows, the color black together with other dark colors lets the 2nd photos detail become more noticeable. In the picture above, you can clearly see the tiles and wooden floorings on Boris’ black fur.
How does this apply to your photographs? With a little planning, you can come up with stunning double exposures.

The first photo here is the picture of the man. I did this in a dark room while shining a red light on him. This allowed my first picture to have a lot of shadows. Taking note of where the shadows are in the first picture, I double exposed it with my 2nd photo and viola! A photo half tiger, half man with shades.

Here is a picture of another man trapped inside a leaf. The photo of the man was also shot in a dark room with a red spotlight that created a lot of shadows. The 2nd picture is that of the leaf. I made the leaf glow with color by shining a light behind it. Notice the veins of the leaf are bright. This allows the veins of the leaf to shine through, especially on the upper right-hand part of the photo, even though there are no shadows around this area.
These are the tips and tricks I accumulated during my first 4 months of experience with Lomography. I’m sharing these tricks so that newbie lomographers won’t waste as many films as I did. But above all, I’m sharing these tricks to help lomographers become more creative in their photography. Remember that Lomography is an artistic and experimental form of photography. Do not limit yourself with the tips and guidelines I gave, yet challenge yourself to discover more tricks with multiple exposure!
Have you tried combining long exposures, flash photography and macro photography all in one photo?

I'm sure you can think of more thing to keep in mind while making double exposures, why don't you share them here?
Make sure you have a good supply of film for your multiple exposure experiments. Hoard on film by visiting our online shop or any of our worldwide gallery stores!
written by paperplanepilot on 2011-02-19 #gear #tutorials #art #shadows #tips #tutorial #exposure #mx #guidelines #guide #tipster #ghost #multiple #tricks #beginners #image #top-tipster-techniques


32 Comments