Monochrome Madness: Rodinal Stand Developing
7 16 Share TweetRodinal is my favourite developer and you can develop almost anything in it. Using this developing method is my favorite way and works with every film I have tried to develop in it. Read this tipster and learn exactly how you can do it.
Rodinal was patented on January 27, 1891 by Dr. Momme Andresen. It was the first product sold by Agfa and is the oldest photographic product still available (2010). After the patent expired, Rodinal has been supplied under different names by other companies. Rodinal is a concentrated liquid developer with very long storage life; the working developer is used once.
As some of you may know, I only shoot black and white film, no color negatives at all, and I develop all my own film. In this Tipster, I will teach you how I develop majority of my films, and if you follow each step this will work for you.
Okay now here are some things you will need:

The Rodinal itself. There are a few different brands of rodinal about the one I use is R09 though this will work for any of them. I have heard that the best one is the Adox Rodinal as it follows Agfa’s recipe exactly.
Fixer. The particular fixer I use is Ilford rapid fixer, it was relatively cheap but no matter which one you get they all do the same thing.
A developing tank. Obviously, you are going to need a developing tank to develop your film in. I’d recommend the plastic Paterson ones for a beginner. For 35mm and 127 I use a single reel 35mm tank and for 120, a Paterson Universal 4.
Measuring jugs. You are going to need something measure out your chemicals, I simply have 2 different 1 liter plastic jugs—one for developer and the other for the fixer.
Syringes. These are vital when measuring out fine measurements of developer and getting your water to the correct amount.
You will of course need an exposed roll of film that you are going to develop.
Optional things you can use:
Stop Bath. To stop the developer from developing your film, however since the dilution of the developer is so high one isn’t need as water is just fine.
Thermometer. Usually, you need to get temperature of you chemicals just right. However, since this is such a long developing time, temperature really doesn’t do anything, just use the water at the temperature it comes out of the tap.
Stopwatch. The developing time is so long you can just use a clock and check the time rather than having a stowatch on the go, however i have started to actually use one.
Wetting agent. This makes the film dry without drying marks. However, I just use some water with a bit of washing up liquid in.
Okay, so now you have everything you need, now what do you do with all your stuff?
1) Prepare your chemicals. Mix the Rodinal concentration with 290 ml of tap water for 35mm, 380 ml for 127 and 500 ml for 120 add 1 part Rodinal for 150 parts water—so that’s 1.9ml for 35mm, 2.5ml for 127, and 3.3 for 120. To prepare, do exactly the same but with the dilute it says on you fixer’s bottle for me that was 1+4, so 1 part fixer to 4 parts water.
2) This step has to be done in complete darkness, for which I just go under a few quilts. Load your film onto your film reels, put into the tank, screw the top of your tank on, and put the cap on. There are many video tutorials on YouTube on exactly how to do it, and is very easy;, curly 120 film is the enemy!
3) Now, go in the light again. Get your stopwatch out. If you choose to use one, which I do, take the cap off your tank and pour in the developer and hit start on your stopwatch, then agitate for 30 seconds. Agitation is basically turning the tank upside down and around. Once 30 seconds has passed, tap the tank on a hard surface to dislodge any air bubbles.
4) Leave the tank untouched for 30 minutes; Eat something, watch TV, fix a camera, whatever. Do something for 30 minutes of your life.
5) After the 30 minutes has passed, come back to the tank and agitate it twice, yes just 2 times! Again, tap on a hard surface to dislodge air bubbles.
6) Leave for another 30 minutes. Eat some dessert, listen to the radio, shoot with a camera—just make sure you do something for 30 minutes.
7) Pour out the developer. Now, onto rinsing the film. Fill the tank with water, agitate 5 times, pour out the water, fill again, and agitate 10 times. Fill one last time and agitate 20 times, and then empty.
8) Before we get to fixing the film, wash out the jug your developer was in and fill with tap water and add a bit of washing up liquid, though this isnt going to be used yet it will be later.
9) Right so onto fixing the film, reset your stopwatch, remove the cap off your tank and add the fixer and start the stopwatch agitate for the initial 30 seconds then tap on hard surface. When the stopwatch reaches 1 minute, agitate 3 times and then tap on surface. Do this every minute for 6 minutes, then empty out the fixer and store in an old water bottle, as it can be used again, and again, and again.
10) Now, on to the last step: washing and hanging the film. Fill the tank with tap water, agitate 5 times, and empty it. Then, fill it again and agitate 10 times, then empty it again. Refill and agitate 20 times, then empty again.
Now, fill the tank with the water and washing up liquid made earlier. Agitate 40 times and empty the tank. Unscrew the top of your tank, take the negatives off your reel, and “squeegy” by putting the film in between your two fingers, and pulling them down to removing the bubbles. Afterwards, simply hang the negatives to dry with a weight on the bottom so they dont go curly. Once dry, do whatever you please with them.
This is my favourite method as it is so easy to do and works with any film. Also, if you have exposed a film but not sure at what ISO it is, then use this method and it should be fine.
Here are some results i got using this method.
35mm film:


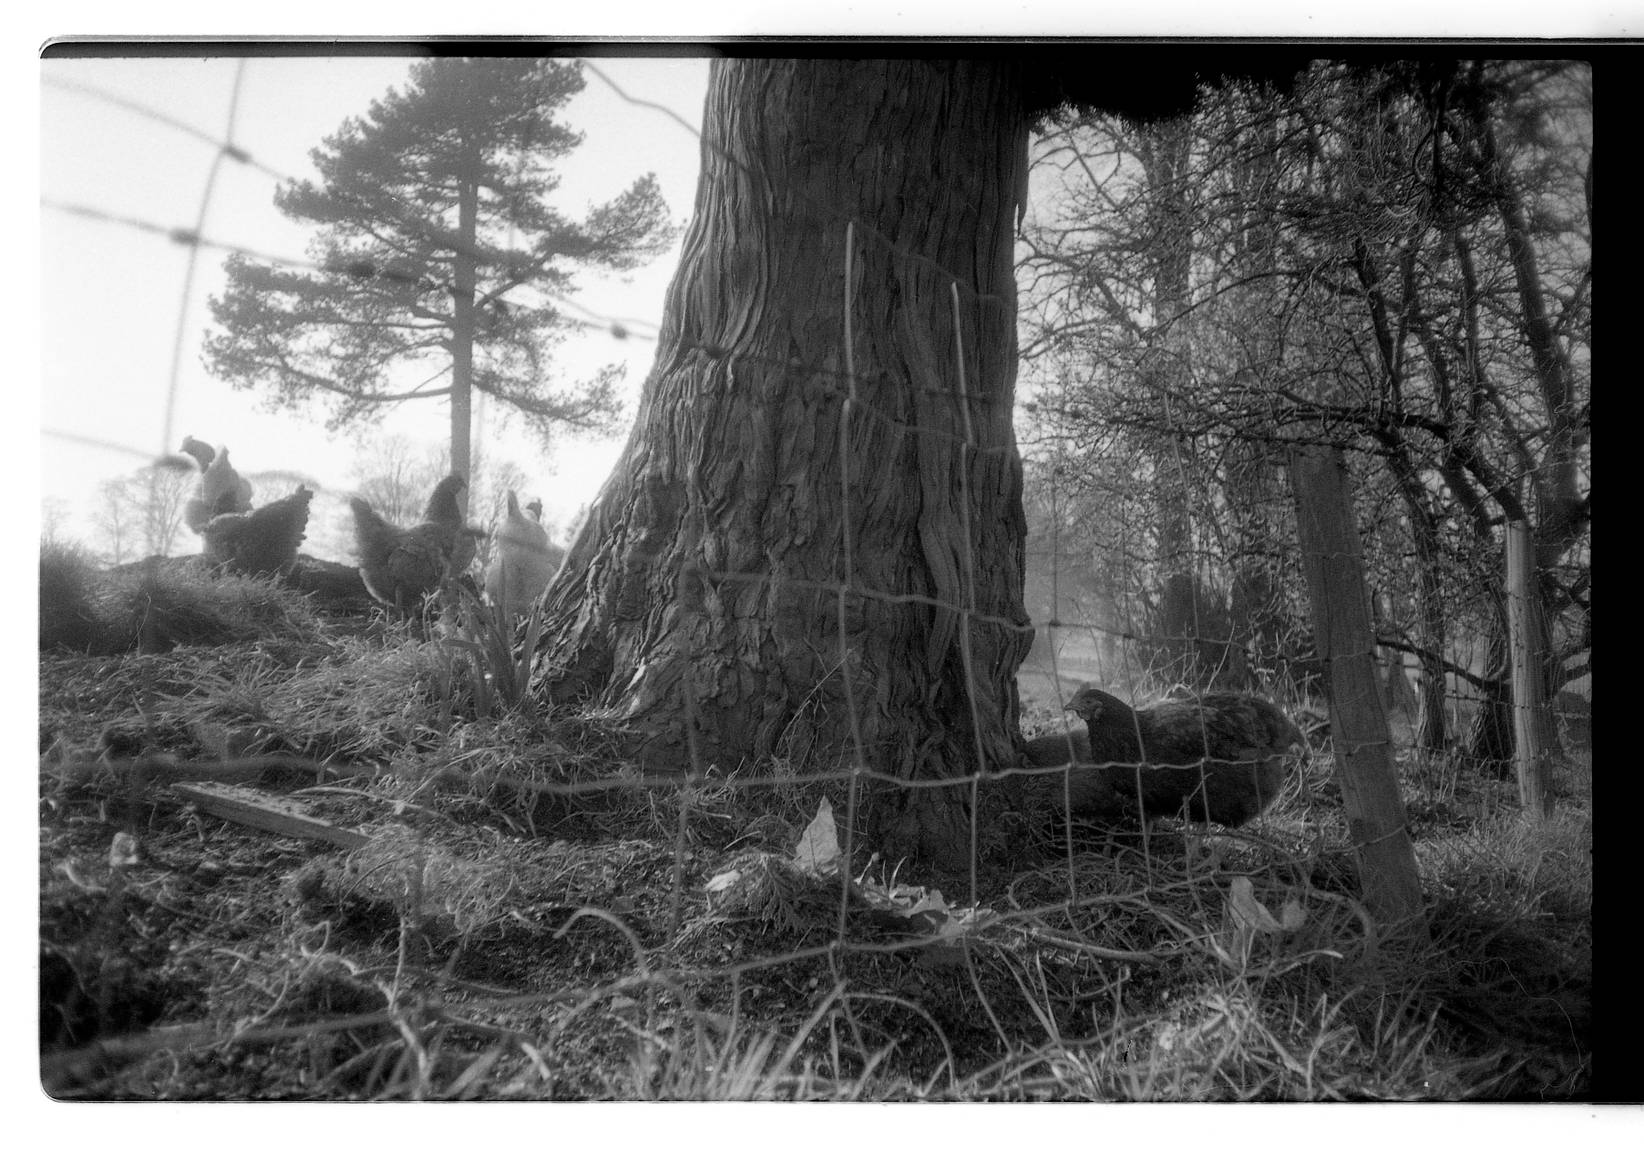
Lucky SHD 100


and 127 film:


and last but certainly not least, 120 film:


As you can see it works great with all fims. It also creates fantastic tones and keeps great detail. I have also used ths method with 1600 and 3200 ISO films, however, I would probably recommend it for films ISO 400 and under simply due to the fact it will increase grain on faster films, though if your after that look then it doesn’t matter.
Rodinal is my favourite and only developer due to the fact it is so flexible. Plus, using such small amounts means it lasts for ages. My 125ml bottle will be good for 65 35mm films, or 50 127 films, or 37 120 films. For about £7.00 that’s an absolute bargain.
Thanks for reading this Tipster. I hope you found it of use! Keep Shooting!
Going for the elegant, old-school look? Add a timeless touch to your images with Black and White films. For that classic appeal, check out our black and white film selection.
written by brandkow93 on 2012-05-22 #gear #tutorials #developing #monochrome #tutorial #rodinal #tipster #development #lomography #lucky-shd-100 #ilford-hp5 #lomography-b-w-100 #film-processing


7 Comments