How to Peel Your Instax Film
6 48 Share TweetYou know that neat, rough looking border you can get on your pack film photos when you peel them apart? You can get the same effect with your Instax photos! Here’s how.

Recently, while scanning my pack film negatives I discovered that I really liked the borders that were left on the negatives.
This led me to wonder if you could somehow achieve the same look with your Instax Mini photos. After doing some research, I found out you can! I found a video showing this process, and I decided to create my own photo tutorial to accompany it for those who prefer photo tuts/text to videos. It’s so easy to do, and you probably have all the materials at home already.
I used a photo I didn’t care if I destroyed in the process (I was using it for the “deface a photo” page in my Wreck This Journal), so if you’re doing this for the first time you might not want to use your favorite photo. That being said, this process is so simple, you’d be hard-pressed to damage anything too terribly.
Here’s what you’ll need
- Scissors and/or an X-acto knife
- An instax photo
- A self-healing cutting board (This one’s optional, of course. It’s just for protecting the surface you’re working on.)

- Step One: Cut a tiny little strip off the top part (or the little side) of your photo.

- Step Two: Cut off a sliver of the bottom part (the larger section) of your photo.

- Step Three: Turn to the back of your photo and peel the little section on the bottom off.

- Step Four: Take your X-acto knife and start picking at the tiny black strips on both the left and right side of the picture. Your goal is to peel those black strips off.

- Step Five: Now separate the plastic from the image, and peel whatever is left of the black strips off.

- Step Six: Looking at the front of your photo, peel up the white border.

And you’re done!
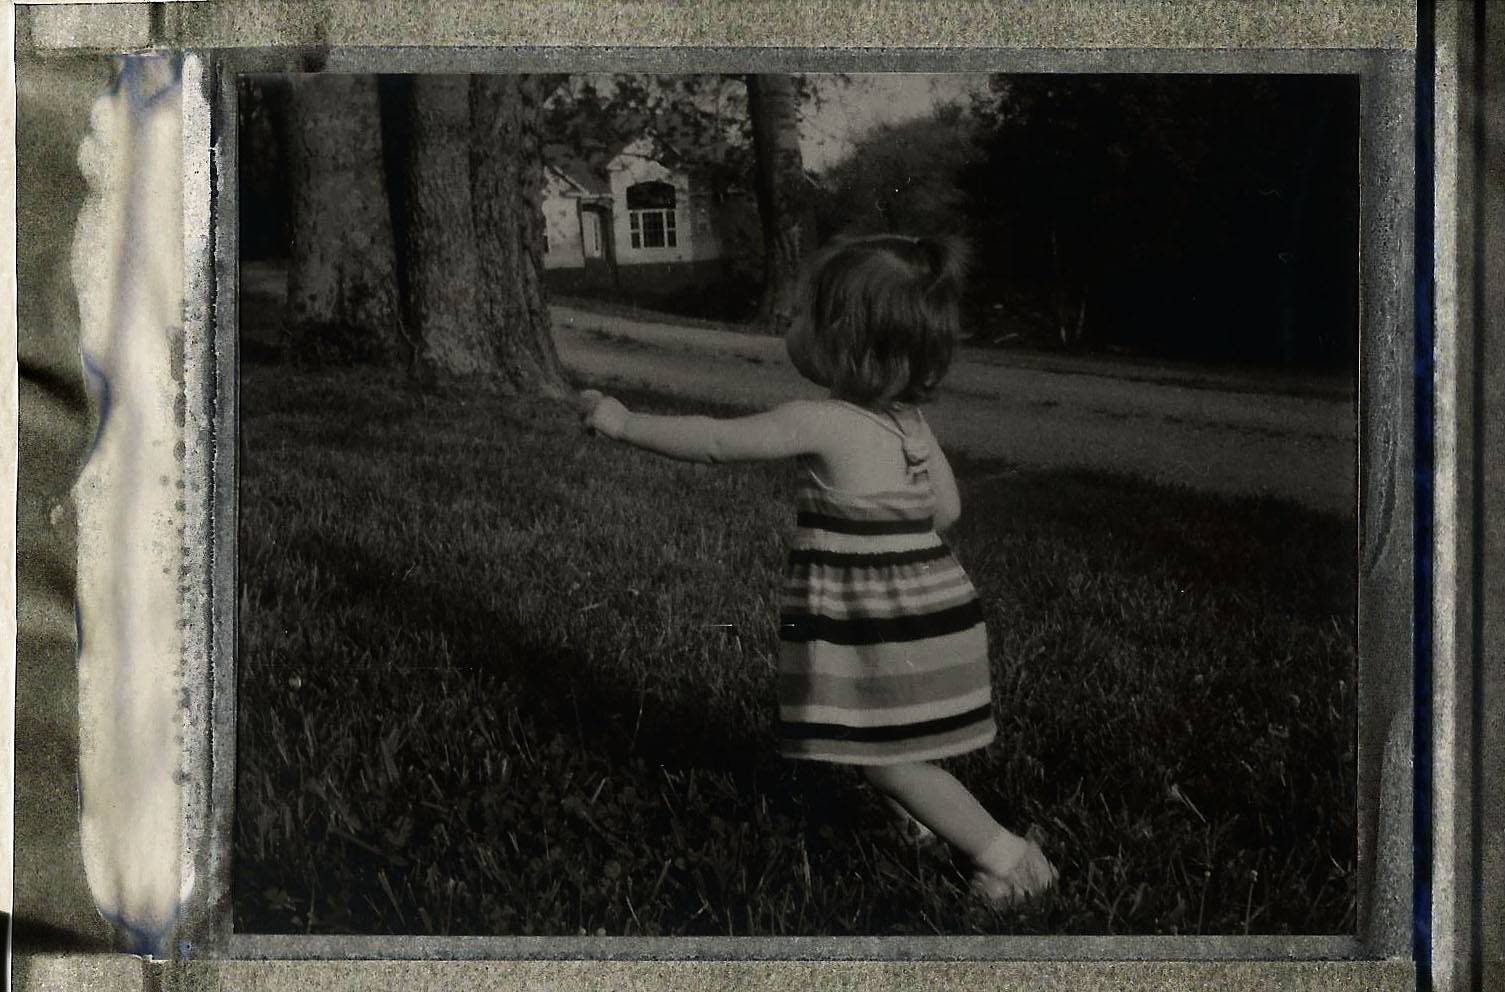
The result is a rough, black border at the top and bottom of your photo. I used double stick tape on the back of my photo to preserve the look of the border but you can use decorative tape, labels, or whatever floats your boat!
2013-06-03 #gear #tutorials #instax #tutorial #journal #border #tipster #decoration #rough #peel #grunge #select-type-of-tipster #select-what-this-tipster-is-about #altering-instax #alternative-instax


6 Comments