ScandaLIZA: Use ANY Scanner for Digitizing Your Negatives
5 14 Share TweetCan’t justify the high cost of purchasing a transparency adapter-equipped scanner for using your DigitaLIZA 120 Film Scanning Mask? Try this cheapskate process for getting your negatives into your computer: using ANY scanner.
Rats, you just developed your first roll of 120 film from your Belair X 6-12 and you wanted to use that fancy DigitaLIZA 120 Film Scanning Mask negative carrier for scanning your results, but you don’t have a transparency adapter for your scanner. Likewise, you tried the whole “ghetto scanning” thing (i.e., holding the DigitaLIZA negative carrier against a window while trying to shoot the frame with your digital camera) and the results were a blurry mess. Don’t give up, try this little trick that’ll fool your scanner into thinking that it has a transparency adapter.

ScandaLIZA with DigitaLIZA
Parts:
- ANY scanner that works with your computer
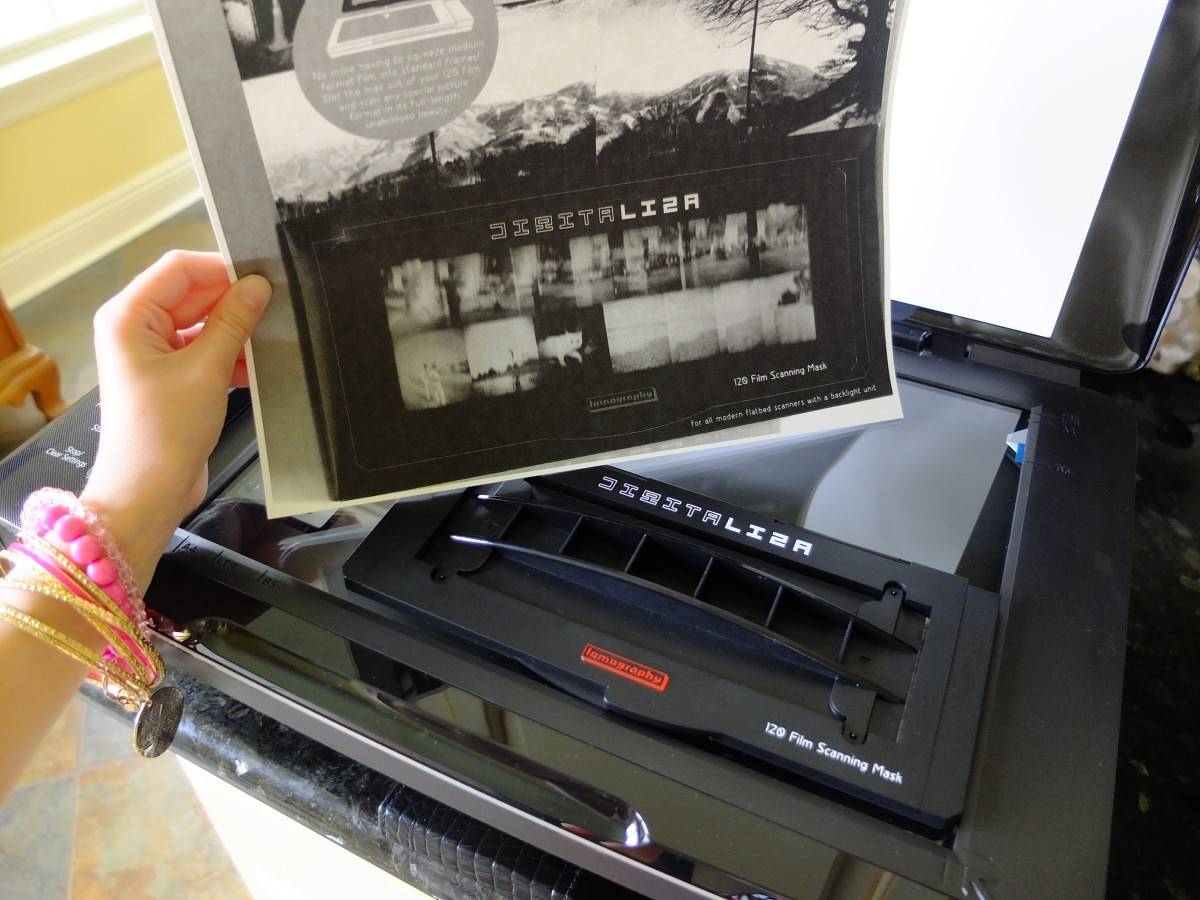
- DigitaLIZA 120 Film Scanning Mask
Time:
- 5 minutes
Difficulty:
- Easy
Cost:
- If you’ve got a working scanner and DigitaLIZA 120 Film Scanning Mask, then this Tipster is FREE
First of all, a little scanning background information. In order to scan a negative or transparency, you must be able to project light through the film’s emulsion and record the image on the scanner’s traveling sensor. This event is trickier than it sounds.
If you try projecting a bright light, from, for example, a flashlight, through the emulsion, the scanner’s moving sensor will be overloaded from this light and only a washed out hot spot will be recorded. Conversely, too dim of a projection light and the scanner’s image scanning lamp will be reflected by the film’s emulsion and a “fogged” dark image will be recorded.
The happy medium is a special translucent “adapter” that replaces the scanner’s standard lid and projects an evenly distributed “soft” light over the negative’s entire surface. The result is a perfectly recorded image that can be easily manipulated in your computer’s favorite image editing software.
Also, please note that some film scanner’s actually turn the image scanning lamp OFF during operation with a transparency adapter. Scanners that have this operational attribute might not work with this tipster. Please read your scanner’s instruction manual and test a sample negative before you commit to using this trick.
As an example of a transparency adapter, just look inside the Lomography Smartphone Film Scanner and you can see an ideal miniaturized transparency adapter that enables your smartphone to “scan” negatives and transparencies. Sweet!
Luckily, we can duplicate the effect of a transparency adapter with this easy trick.
Step 1. Setup your scanner and computer next to a bright, open window; preferably a north-facing window. NO sunlight should be striking either your scanner or your computer. The ideal arrangement should have an abundant supply of bright INDIRECT ambient lighting surrounding your scanning setup.

Step 2. Load your 120 film into the DigitaLIZA by following the simple “sandwich-making” steps that are outline in the product’s instruction manual.


Step 3. Now that you’ve got your DigitaLIZA carrier sitting pretty on your scanner’s glass, do NOT close the lid. Leave the lid up as far as it will go. In fact, take the lid off, if your scanner model will accommodate this removal.


Step 4. Operate your scanner normally, like you would scan a photograph. For example, in Adobe Photoshop, you would select the “Import” menu item and follow the procedure that is used by your scanner.


You should now have a perfectly-balanced copy of your negative sitting on your computer waiting for inverting and editing. If you failed to get a workable scanned image of your negative, make sure that you have an abundant supply of ambient lighting. Also, your results will be effected by ceiling height and your ceiling’s color. If you find that your ceiling isn’t cooperating with you, try holding a large sheet of white cardboard over the open scanner and reflect the room’s ambient light onto your DigitaLIZA carrier sandwich.

If you don’t already own a scanner, using this technique could save you several hundred dollars over the cost of transparency adapter-equipped scanner. For example, a “plain” multi-function scanner/printer can be purchased for less than 50 bucks. It’s not the ideal arrangement, but it will get the job done.
Please remember, however, that this “ScandaLIZA” tipster is not a replacement for a transparency adapter-equipped scanner. Rather this cheapskate process is a substitute for those of us who can’t afford a proper film scanner. Also, this trick might not work with your scanner. Please try it on a “test” negative, first.
written by themindseye on 2013-09-05 #gear #tutorials #film #negatives #tutorial #mask #scanning #tipster #lomography #120-format #scanner #digitaliza #belair-x-6-12 #digitaliza-120


5 Comments