How to Scan Sprocket Holes With Your Canon Scanner
7 17 Share TweetMP Navigator, the standard software for Canon’s scanners, doesn’t support scanning sprocket holes. Here’s how to trick it into doing it anyway!
There are significant advantages to scanning your own negatives: you have greater control over the final results, most labs don’t scan sprockets (or any other odd-sized negatives), and if you shoot even a moderate amount it’s significantly cheaper in the long run.
It didn’t take long, two rolls worth of butchered crops from my Diana Mini to be exact, for me to realize that relying on my local mini lab for scanning wasn’t going to work. I began my quest for a scanner, which ended with a shiny new Canon Canoscan 9000F. My excitement soon faded, as I realized it couldn’t scan the images from my Sprocket Rocket (well… at least if I wanted them to look decent).
When the sprocket holes were included in the crop, the images all came out with a weird color cast. After spending much time and frustration in trying to balance out the color cast in Photoshop, I discovered a little trick that makes the scanner produce the correct result with the first try.
For this technique I placed the 35mm film strip inside the standard 120 film mask.
Step 1: Open the MP Navigator software. On the first screen that pops up, select the “Film” option, check the “Use the scanner driver” box, and then click “Open Scanner Driver”:

The workspace that comes up should look something like this:

Step 2: In the right panel, you’ll need to make sure you select “Advanced Mode”, and then choose the correct input settings. “Scan Area” should be set to “Auto Detect”, and the other fields will vary based on the type of film, and whether you want color or black and white scans.

Step 3: At the top left of the screen, you’ll need to make sure that thumbnails mode is turned off (the black film strip with the mountains should be colored in) – as this will allow you to select your own crops. If it’s in thumbnails mode, all you’ll get is an error message.

Step 4: Click “Preview”, and what comes up should look something like this:

If you click and drag the crop borders around the entire frame, you’ll notice that it has a weird, incorrect color cast:

Step 5: Select the area of the frame that is entirely within the sprockets. You’ll see the color cast has gone away and everything looks normal.

Step 6: Under “Image Settings”, you’ll see a field called “Apply the tone value for all crops”. Click “Apply” (or if it says “Reset”, click “Reset” and then “Apply”).

Step 7: Now you can stretch the crop border out around the sprocket holes, and the colors will remain accurate.

Step 8: Finally, you can further adjust the image settings (fading correction, backlight correction, contrast etc.). Make sure the output settings (dpi, size etc.) are what you desire and then click “Scan”. For best results, you’ll have to repeat steps 5-8 for every crop.

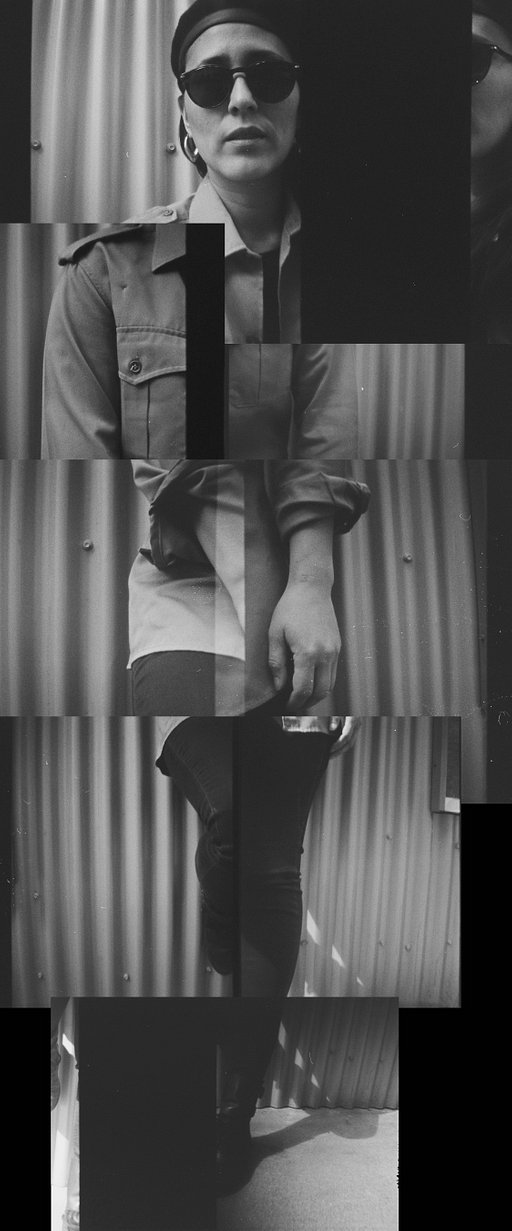
…and the end result:

written by sunsetsandsilhouettedreams on 2013-10-04 #gear #tutorials #sprocket-holes #tutorial #canon #scanning #tipster #sprocket #scanner #canoscan #sprocket-rocket #mp-navigator


7 Comments