Lola 120 Pan: A partly-homemade 6x12 Folding Beauty
12 21 Share TweetHere is a guide to building your own 6×12 camera by combining a Lola camera body and a Holga 120 WPC back. Find out how to make these two gorgeous ladies work together for a whole lot of analogue fun.
I found a Lola camera about 8 years ago on e-bay, and couldn’t resist getting her. She was pretty but nobody wanted her, so I got her for the starting bid, at 17$. I guess no one was interested because she had a weird 9×12 sheet film format. You can find all her specs here. At that time I was trying to find the cheapest 6×12 camera possible and thought that I might be able to adapt Lola to medium-format film in some way. My life turned out to be busier than expected at that time and poor Lola ended up in a drawer.
Recently, I had a big crush on the Holga 120 Pan which has all the great perks of our beloved plastic cameras and produces huge 6×12 shots. However, in some instances I was a bit frustrated by its lack of sharpness and remembered Lola and its simple glass lens, most likely sharper. But the camera needed some work to be used with 120 film. I thought a Holga 120 WPC would probably provide the cheapest 6×12 back I could find.
Now, enough introductory blabla and let’s get to work!
What you’ll need:
- A Lola camera
- A Holga 120 WPC camera
- Some tools (screw drivers, cutter and tweezers)
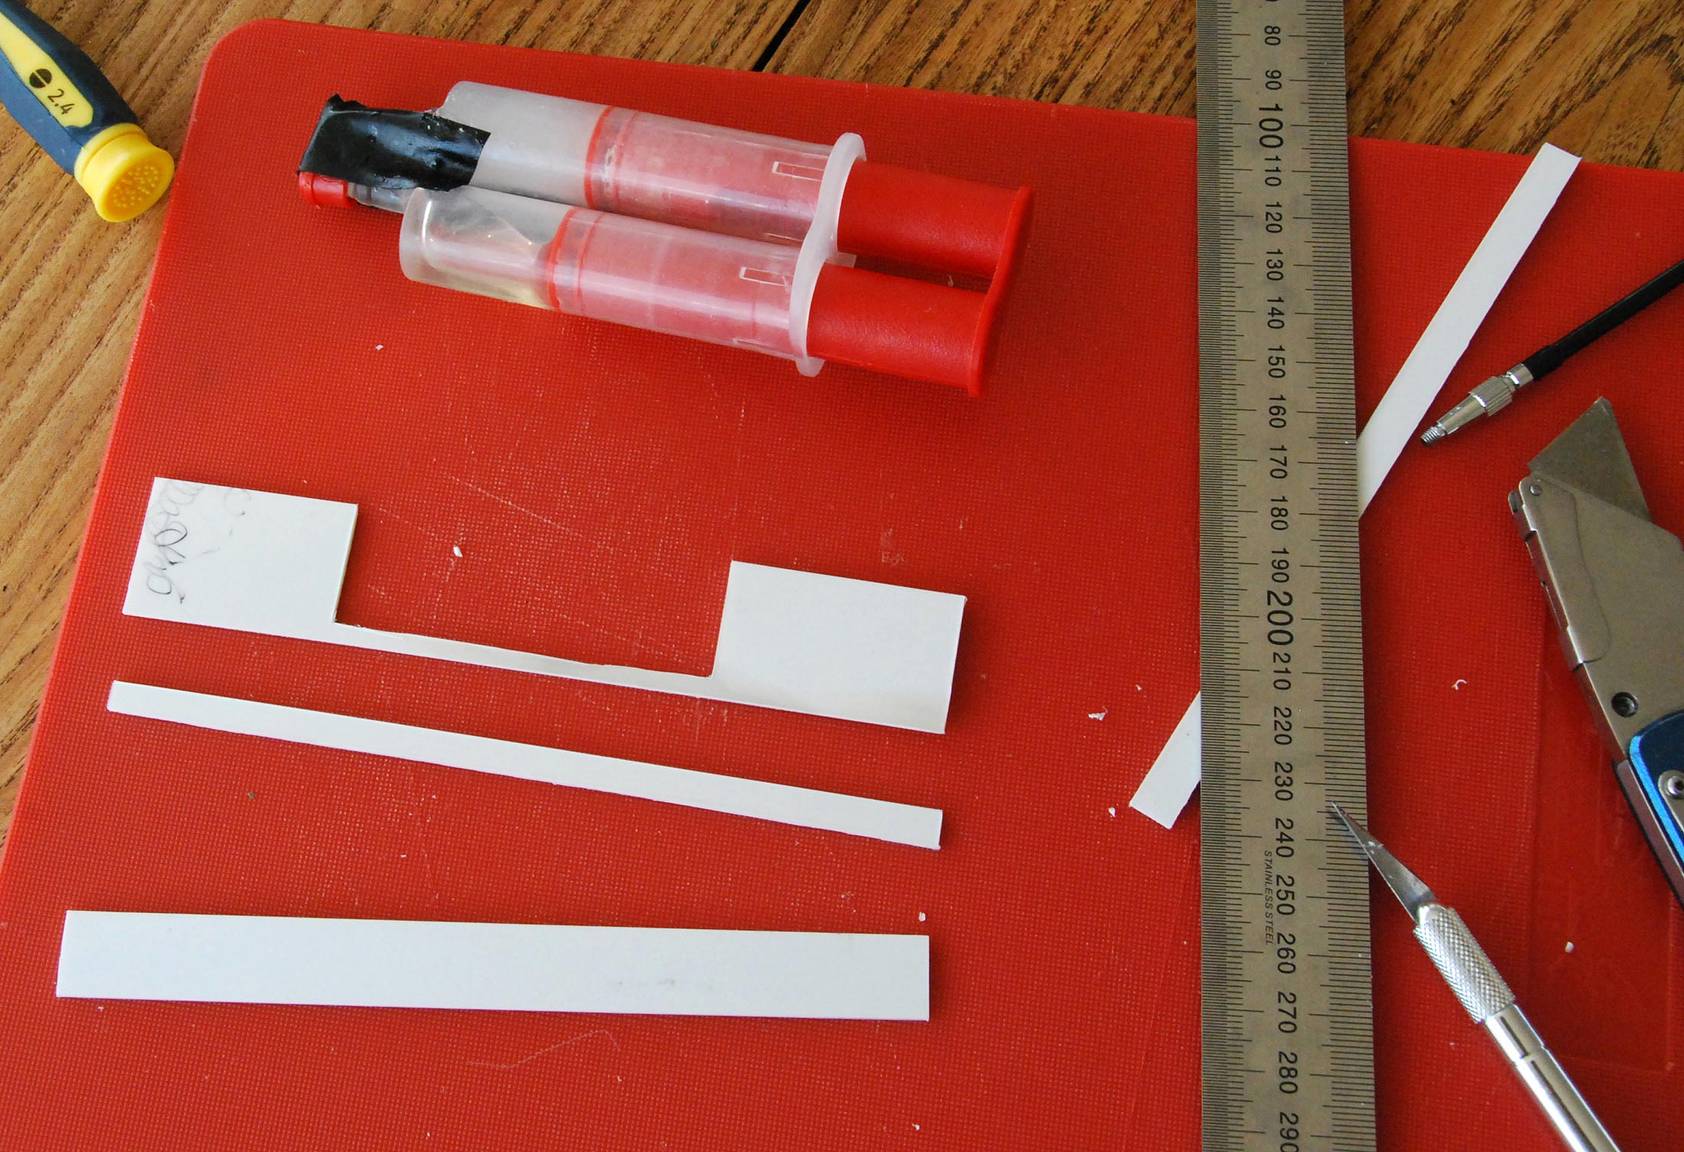
- Some tape, epoxy glue, and a thick sheet of plastic (not shown here, but later)

Preparing Lola and Holga for contact
First, you’ll need to prepare the cameras.
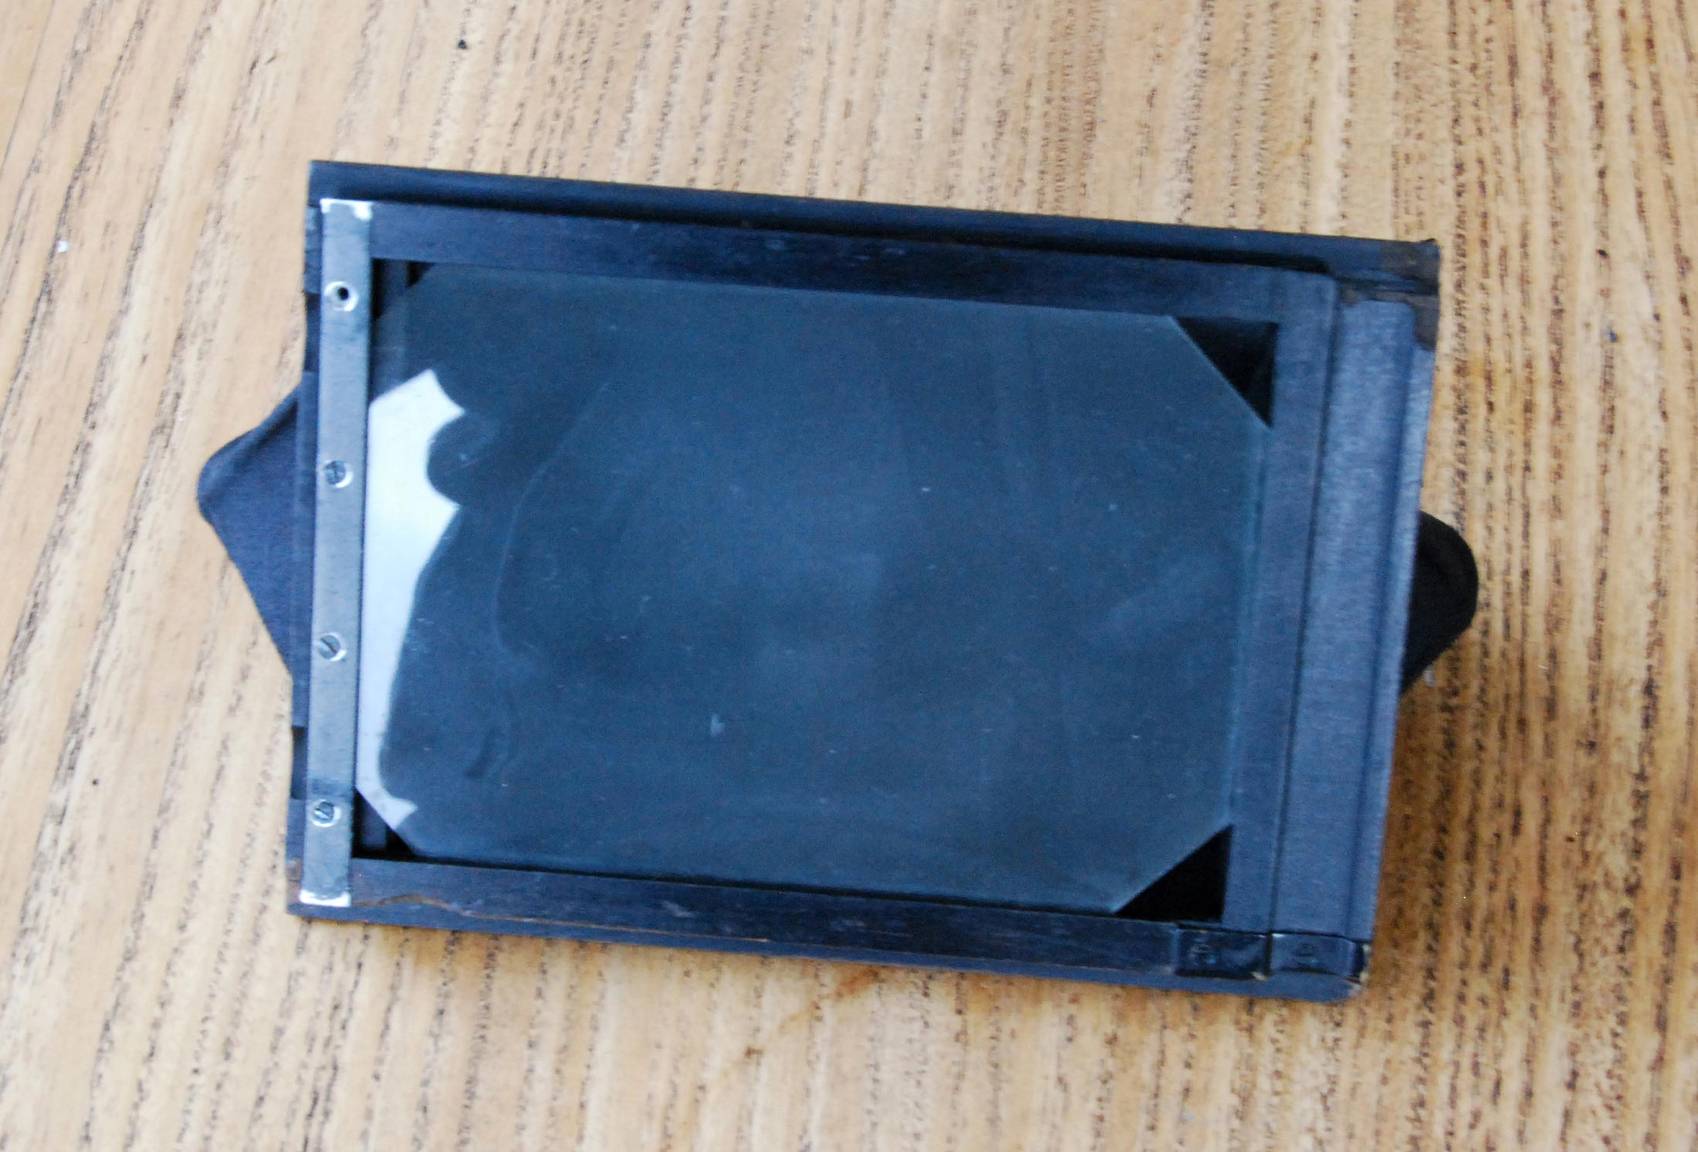
Lola has a viewing screen in her back which slides on rails and has to be removed.


The front part of the Holga WPC is easily removed by un-screwing it. Then cut open a window as shown and you’ll end-up with a 6×12 window.
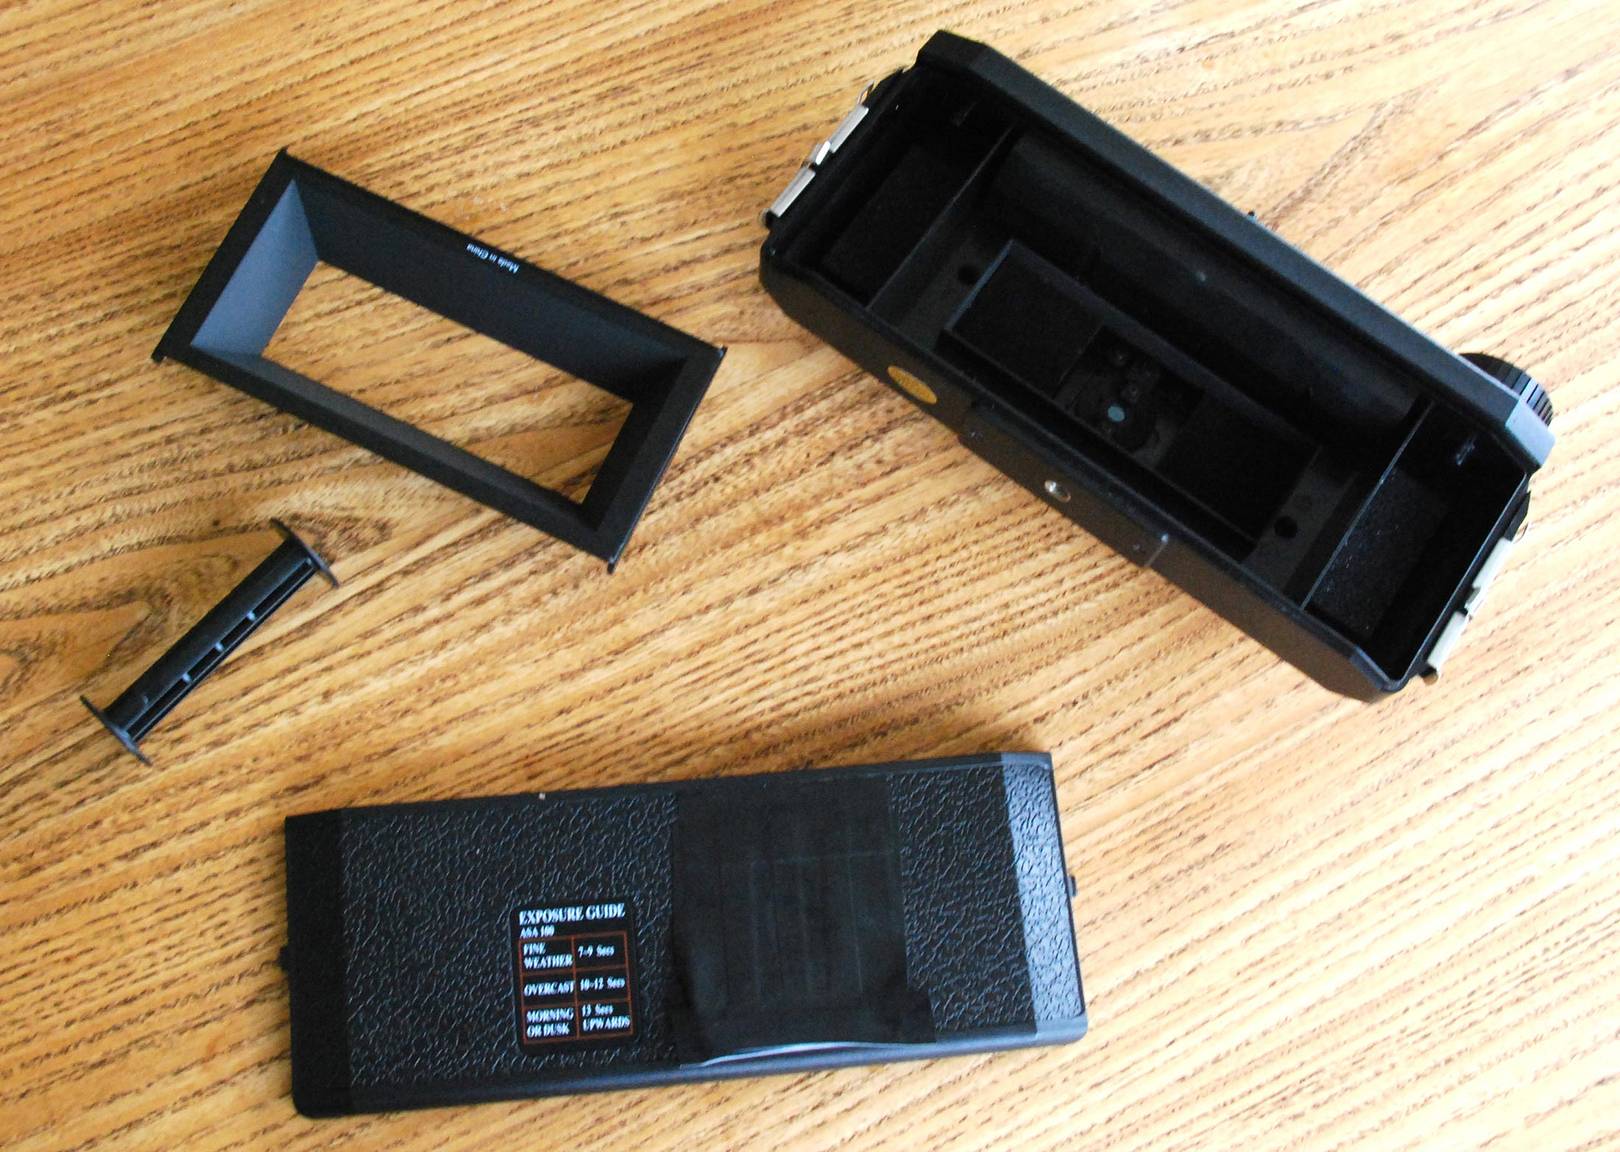


The Holga’s film mask also needs some cutting. Keep what you’ve cut out, it’ll be handy later.


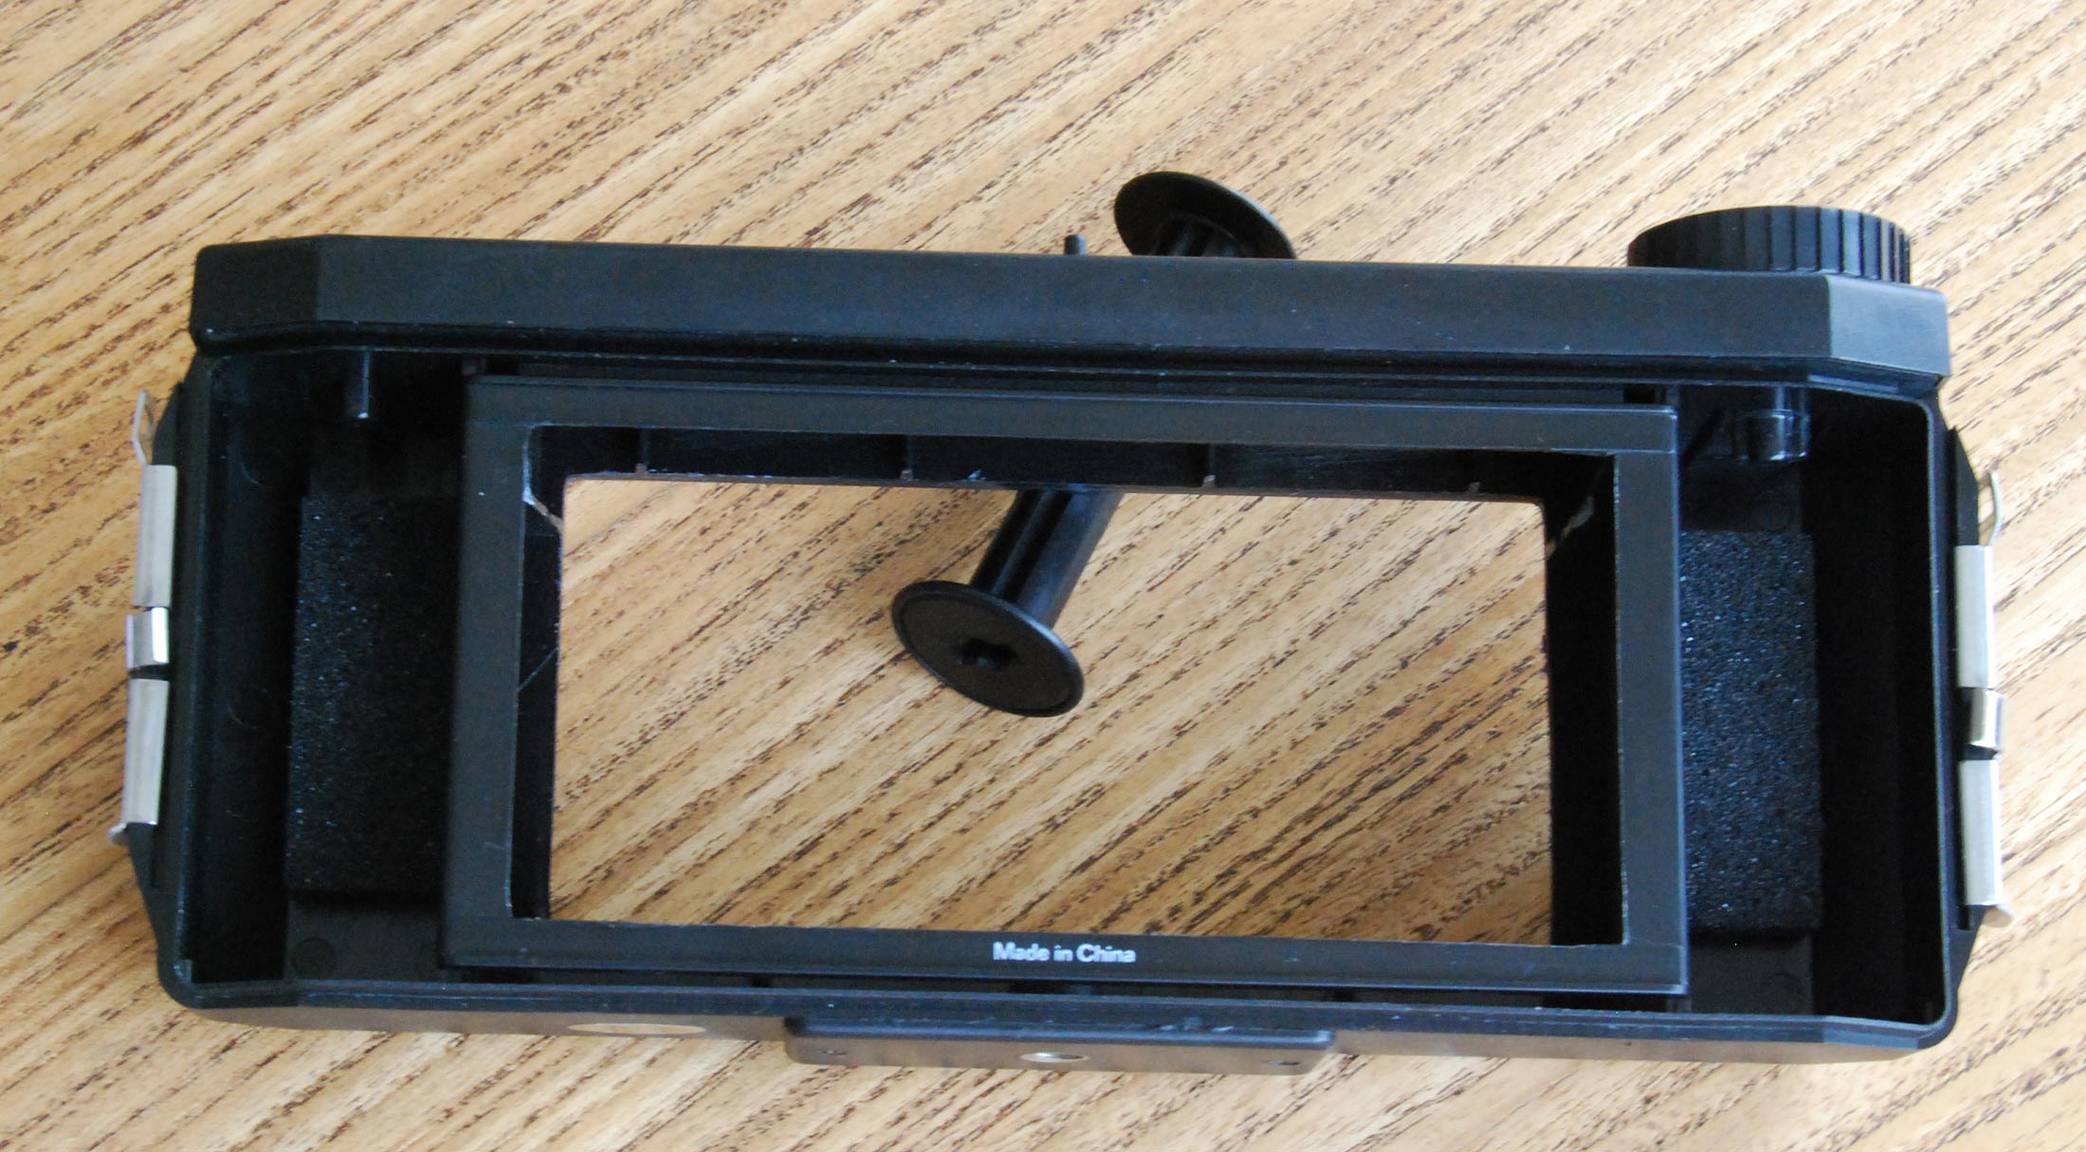
Finally, unscrew the rail that was holding the viewing screen on Lola, keep these little screws on the side. You may also trim a bit of wood to make sure you have a nice and even surface of contact.

Ensuring a tough bond
Next, use a plastic sheet (see also another of their use here) to build a long bracket to fix Holga’s back on Lola’s body. You may re-use one of Lola’s railings as shown in the following pictures. In addition, drill holes in Holga’s back, as many as the screws you have (the screws you got when unscrewing Lola’s rails), in order to screw Holga’s plastic back on Lola’s wooden body. Once screwed together, tape them too.


Adjusting the focus
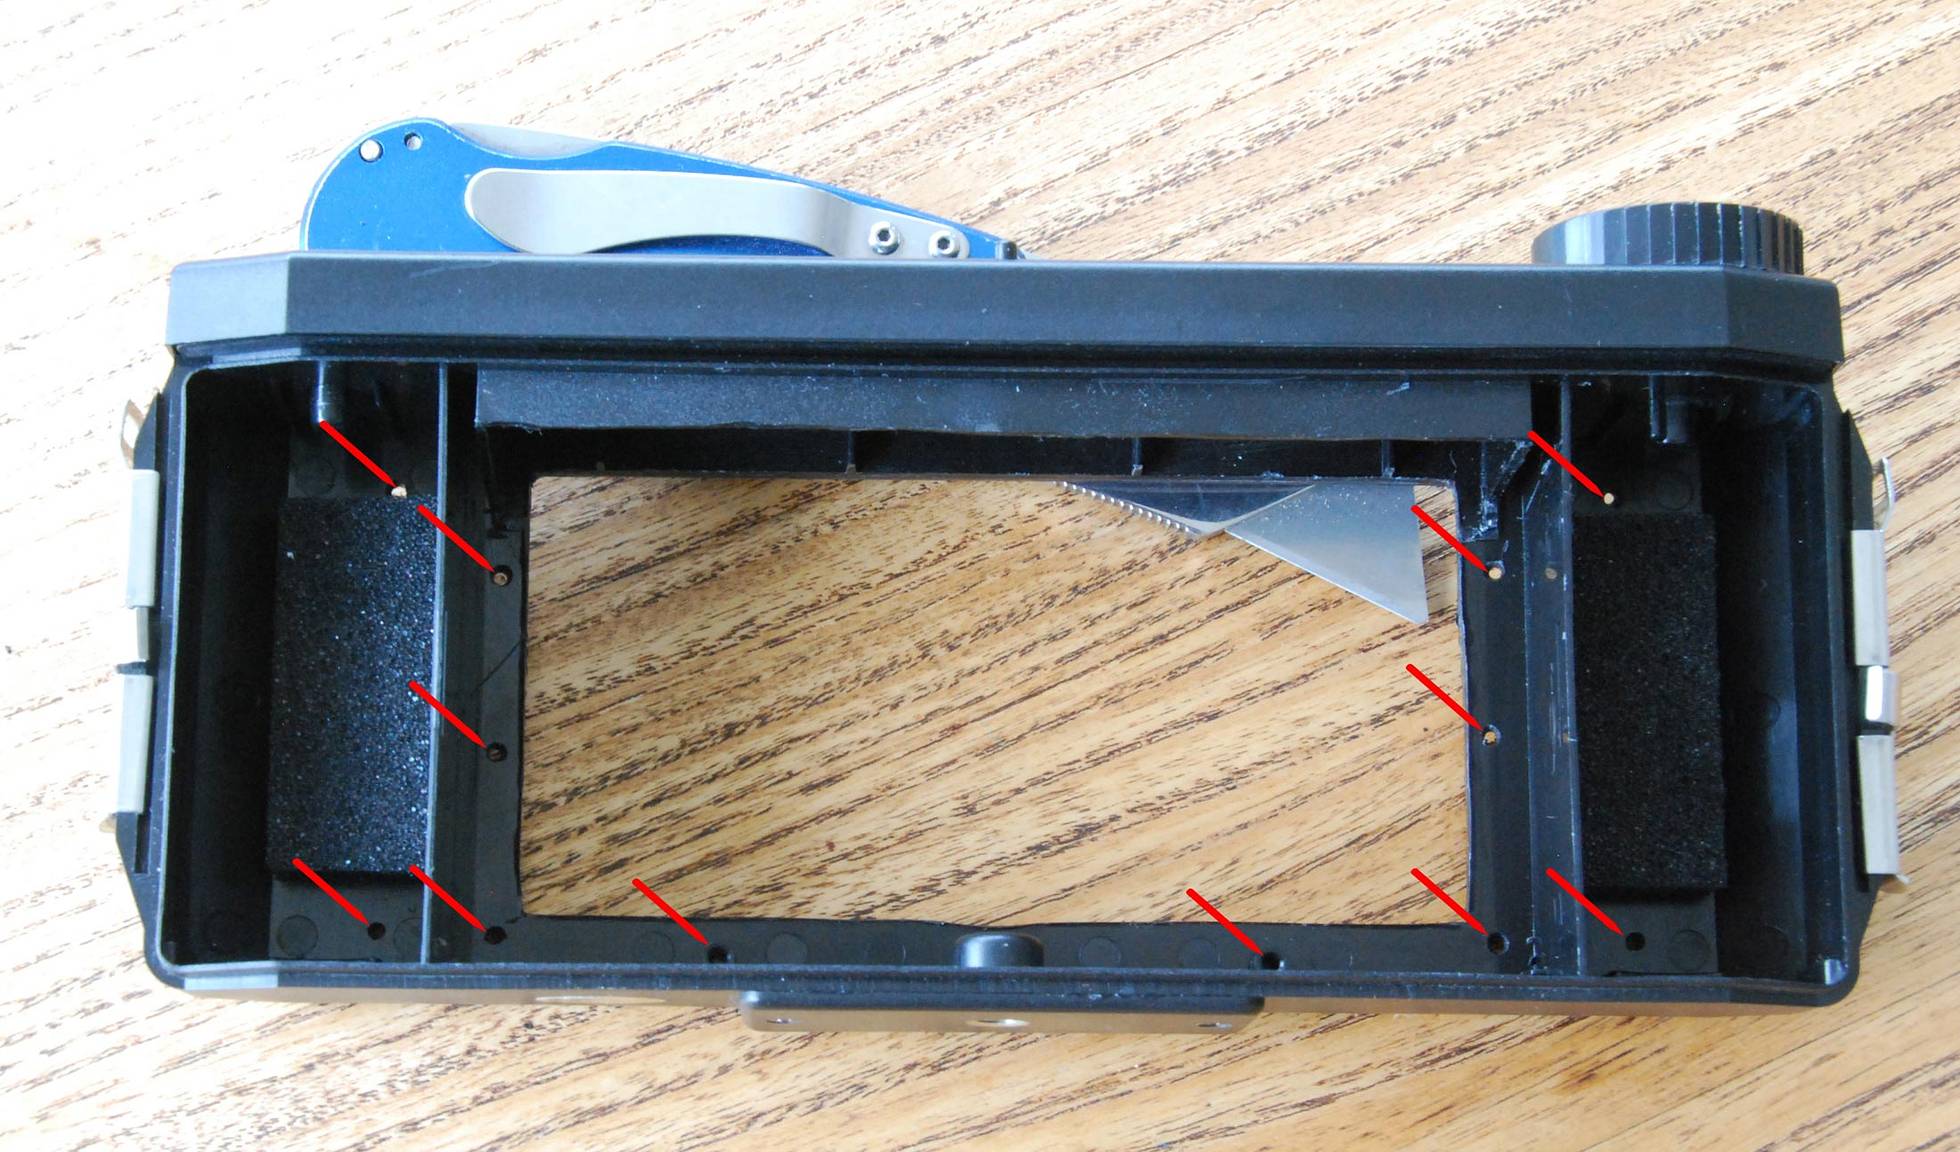
The distance of the film to the lens is now a bit larger than it was originally. It is therefore necessary to adjust the focusing system, which comprises a rail with the focusing distance indicated on the side, on which the lens hooks-up and slides. The glass from the viewing screen can be used to determine visually the new focusing distance.


Remove the screw (blue) to which the lens is hooked (yellow) during focusing (green).

Lock the shutter open with an elastic band, and find the correct focus by pointing at a light bulb. Use a little piece of plastic, with a screw upwards to catch the lens, and look for the best distance (blue arrow) at which you can fix it to the rail (using the screw you removed earlier).


Adding a viewfinder
Looking through the camera’s back with the viewing screen I discovered that, miraculously, a ‘Yashica Electro 35 tele-wide viewfinder’ worked perfectly. Looking through it, the viewfinder covered almost the same area as the film area. Re-using what was cut out from the Holga’s film mask, you can build a fake hot-shoe to hold the viewfinder.


A new camera was born and was named ‘Lola 120 Pan’.


First roll
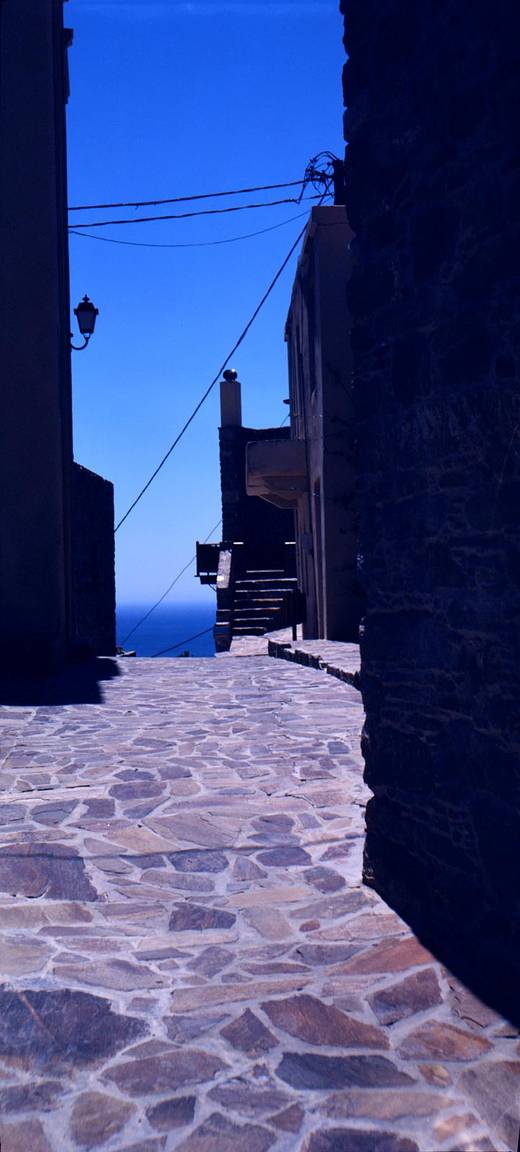
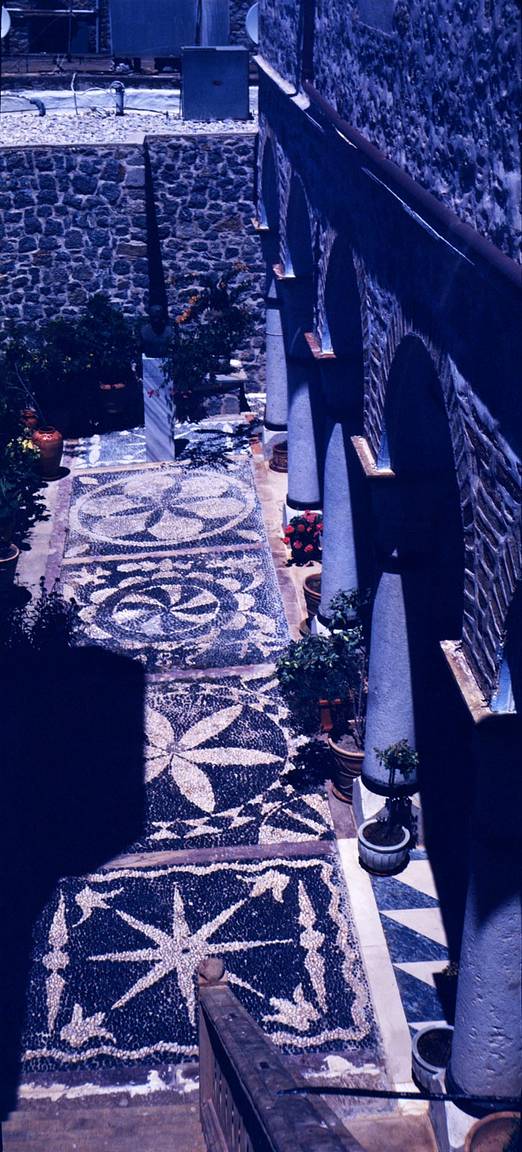
The first roll was a blast, down on Sandy Bay beach, close to my home in Hobart. It was my favorite film for an E6 process, the almighty Kodak Ektachrome 64x (EPX64).


Several rolls later
Lola 120 Pan and I have been together on several adventures now. I like this camera a lot, even though every once in a while I wonder if I should re-check my focusing distances, some of my shots are a bit out of focus. But others are very sharp.


Lomography has since released the Bel-air after I built and used this camera, for which I must admit a certain attraction for the number. I will however always have a weakness for Lola 120 Pan because I did something – very little – to help it exist.
written by stouf on 2014-05-12 #gear #tutorials #diy #medium-format #120 #camera #panoramic #tipster #220 #folding #sharp #holga #6x12 #lola #camera-modification


12 Comments