12 Months, 12 Projects: Cyanotypes for August
5 31 Share TweetFor 2017, I promised myself to make 12 photographic projects this year, one for each month. I always enjoy making cyanotypes. It's great fun to mess about with (pretty harmless) chemicals and making big, gorgeously blueprints. This month, I decided it was time to whip up some new negatives and splash away on a bunch of fresh prints.

To make a cyanotype, follow these three separate parts:
Part 1: Making Negatives
A cyanotype is a contact print, so your print will be the same size as your negative. Normal negatives, even medium-format ones, will be too small.
To make large negatives, scan a picture, open it in Photoshop (or whatever editing program you prefer), and convert it to a negative. Black and white pictures work best because you need a fair amount of contrast in your negative. Print this negative onto a transparency sheet. You can get these from an office supply store. Go as big as you like. There's your negative.

Part 2: Making Photosensitive Paper
Next step is making your paper sensitive to light. Here's a checklist of things you'll need:
- Paper - I prefer thin card stock, but ordinary printer paper will do, too. The paper is going to be very wet, so a thinner variety may become all bumpy.
- Potassium ferricyanide or Prussian red (red crystals)
- Ferric ammonium citrate (green powder)

Though the two chemicals may sound intimidating, they're quite harmless (but don't smear them in your eyes or something silly). I got my chemicals from this web shop. Google around a bit, and you'll probably find you can buy them somewhere near you.
Once your supplies are ready, cut your paper to size, and wait until dark. Don't worry, you can switch on a lamp, but the emulsion you're going to make is sensitive to UV light, so sunlight is a no-no. Make sure to cover your working area in old newspapers, and wear an apron and gloves. The stuff may be fairly harmless, but it can stain paper, wood, clothing and your hands. I know from experience that it leaves nasty yellow stains on clothes.
Mix 10 grams of ferric ammonium citrate and 4 grams of potassium ferricyanide in 100 ml of water. This will be enough emulsion for a nice stack of paper. Keep unused paper in a dark place for another time.
Coat your paper with the emulsion using a brush or a sponge. Cover the paper from edge to edge, or make a cool frayed border. Let your sheets dry in the dark because they are now photosensitive. Once dry, they will be greenish.


Part 3: Making Prints
You've come this far; making the actual print will be a walk in the park. Wait for a sunny day. Take a negative and a bit of prepared paper, and put it in a photo frame. You can do it without a frame, but the glass helps to keep the negative and the paper pressed firmly together. Put it under the sun for a while. How long depends on how bright the sun is. On sunny midday, four or five minutes may be enough. On an overcast day, it can take half an hour or more. Watch your paper: Once it turns slate grey, it should be about right.
Take your frame indoors, out of direct sunlight. Now take your paper out of the frame and rinse thoroughly under running water. Do this immediately, or your print will disappear. You will see the print turn from grey to bright blue. Once all traces of green or yellow are gone from the paper, you're done.


If it doesn't turn blue and your print disappears altogether or is too light, then you should have left it longer. Try again with longer exposure time. If your print turns too dark, you left it too long. Play around with different times to get the perfect print.


Because I ran out of my favorite cream sheets, I used more colored paper this time. It gives a duotone kind of effect to the pictures.


When you're done with all your negatives, you can also try to make photograms. Just put some objects on your paper and make a few contact prints. You'll be following in the footsteps of artist Man Ray, among others. I made a few photograms with leaves and flowers from my garden.

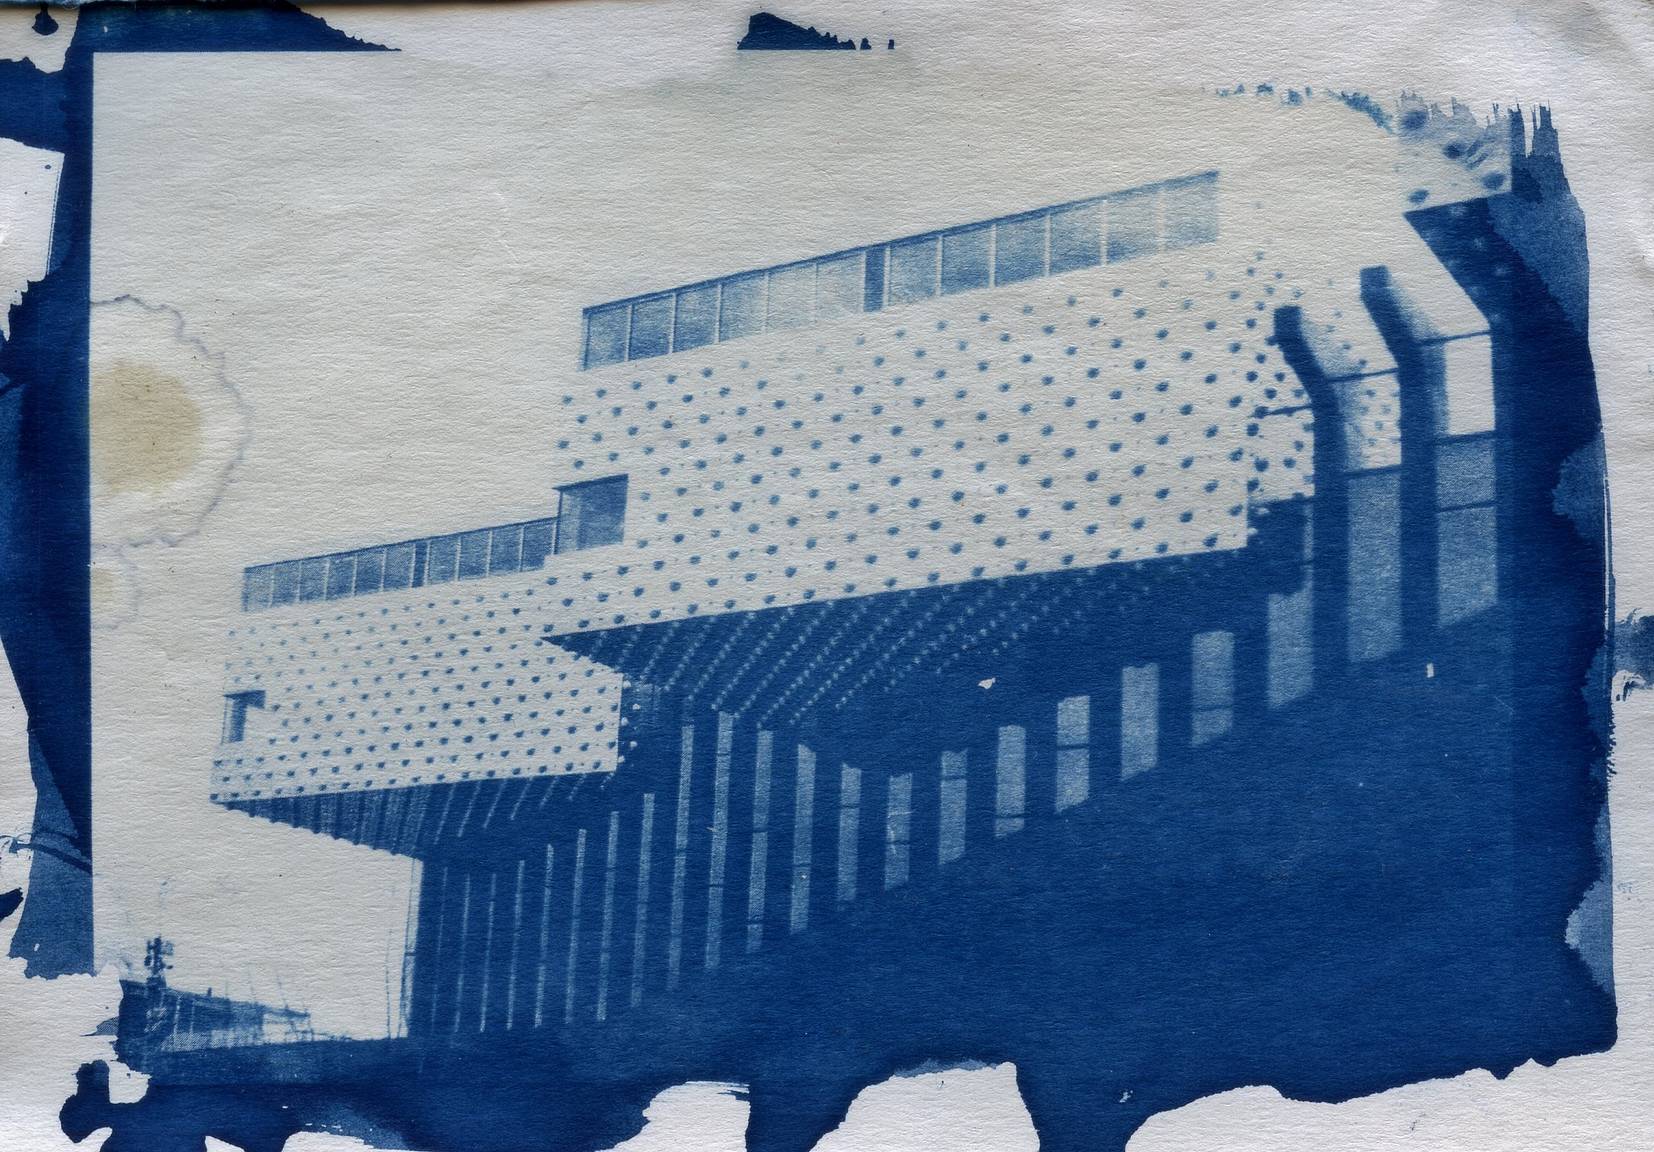
Making cyanotypes and photograms is a magical way to make a photo appear before your eyes, all without a darkroom. Here are some more of my works:


For more of my 12-month mission check out these links:
- Analogue Bucket List: 12 Months, 12 Projects
- January - Masks and Filters
- February - Nighttime Traffic
- May - Color Filters with Black and White Film
- June - The EBS Challenge
- July - Freelensing Fun
Happy experimenting!
This tipster was written by Lomographer stratski. Follow more of his analogue experiments by making a LomoHome.
written by Maaike van Stratum (@stratski) on 2015-08-31 #gear #tutorials #negatives #tipster #cyanotype #contact-prints #photogram


5 Comments