How to Make Lumen Prints
9 48 Share TweetMaking a lumen print takes you back to the beginnings of camera-less photography in 1830s when William Henry Fox Talbot made his "photogenic drawings." He placed foliage on sensitized paper and exposed it to sunlight. This created a negative print or a photogram from which positive contact prints could be made. Today, the process is exactly the same with the addition of image manipulation using digital technology.
The appeal of lumen prints rests in the way they capture nature’s fleeting beauty – its vulnerability, strength, form, color, and physicality. So if your experience with botany is limited to a gin and tonic, then why not try making a lumen print?
Materials
- Expired photographic paper of any size or age
- Two dishes for washing and fixing
- Hypo fixer mixed at 1:9. Use at 20 C° (temperature is not critical)
- Tongs
- Contact printing frame (you can also create a makeshift printing frame using a board and glass)
Procedure
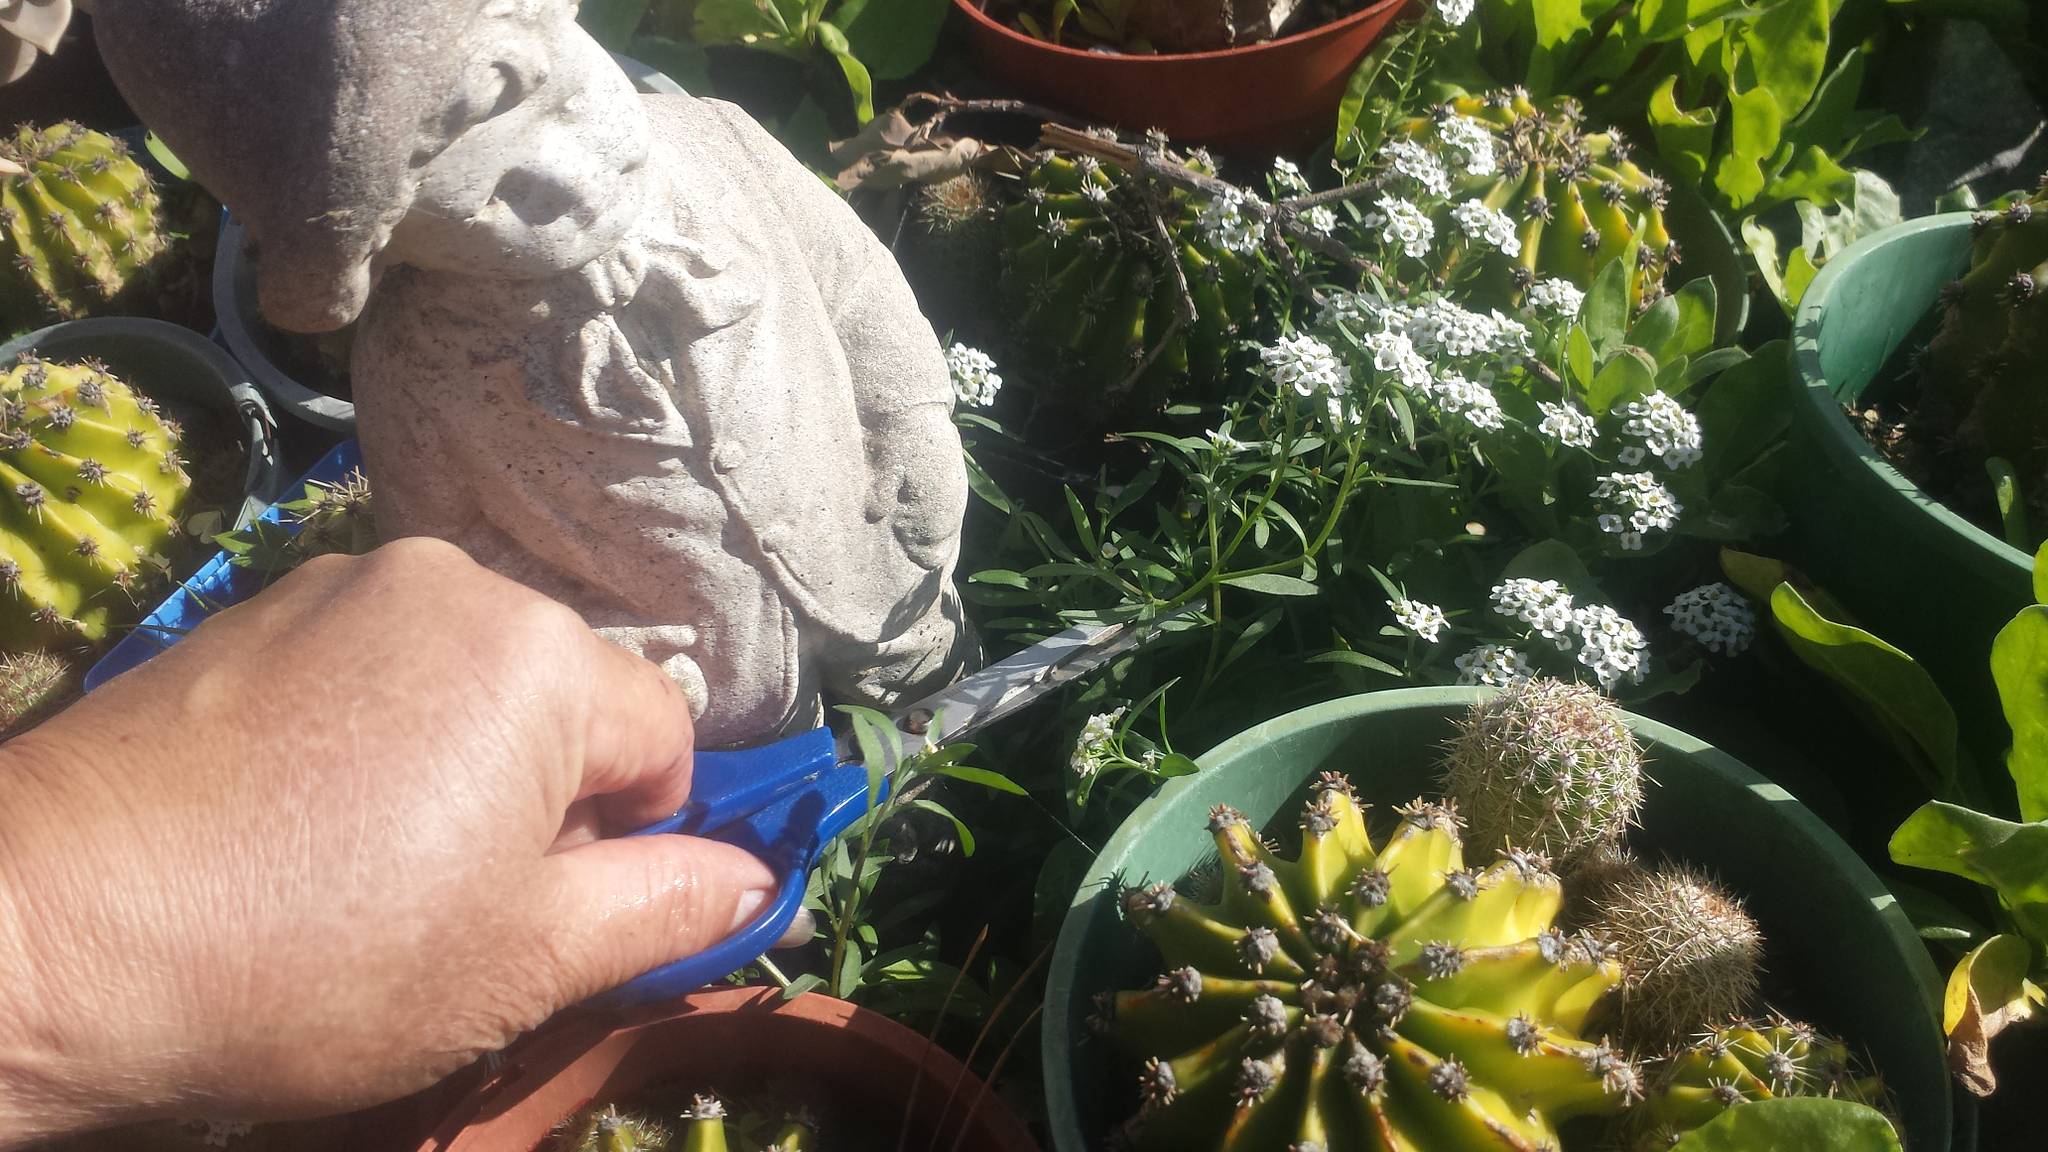
Select a plant specimen. Place the plant specimen on the photographic paper, then insert it on the contact printing frame. This should be done under green safelight or subdued lighting.
Expose it to sunlight for up to 60 minutes while you read your email or have a cup of tea. Then check exposure. Exposure time depends on the strength of the sun and how you want your image to look. I waited for about 55 minutes before my print was ready for washing and fixing.
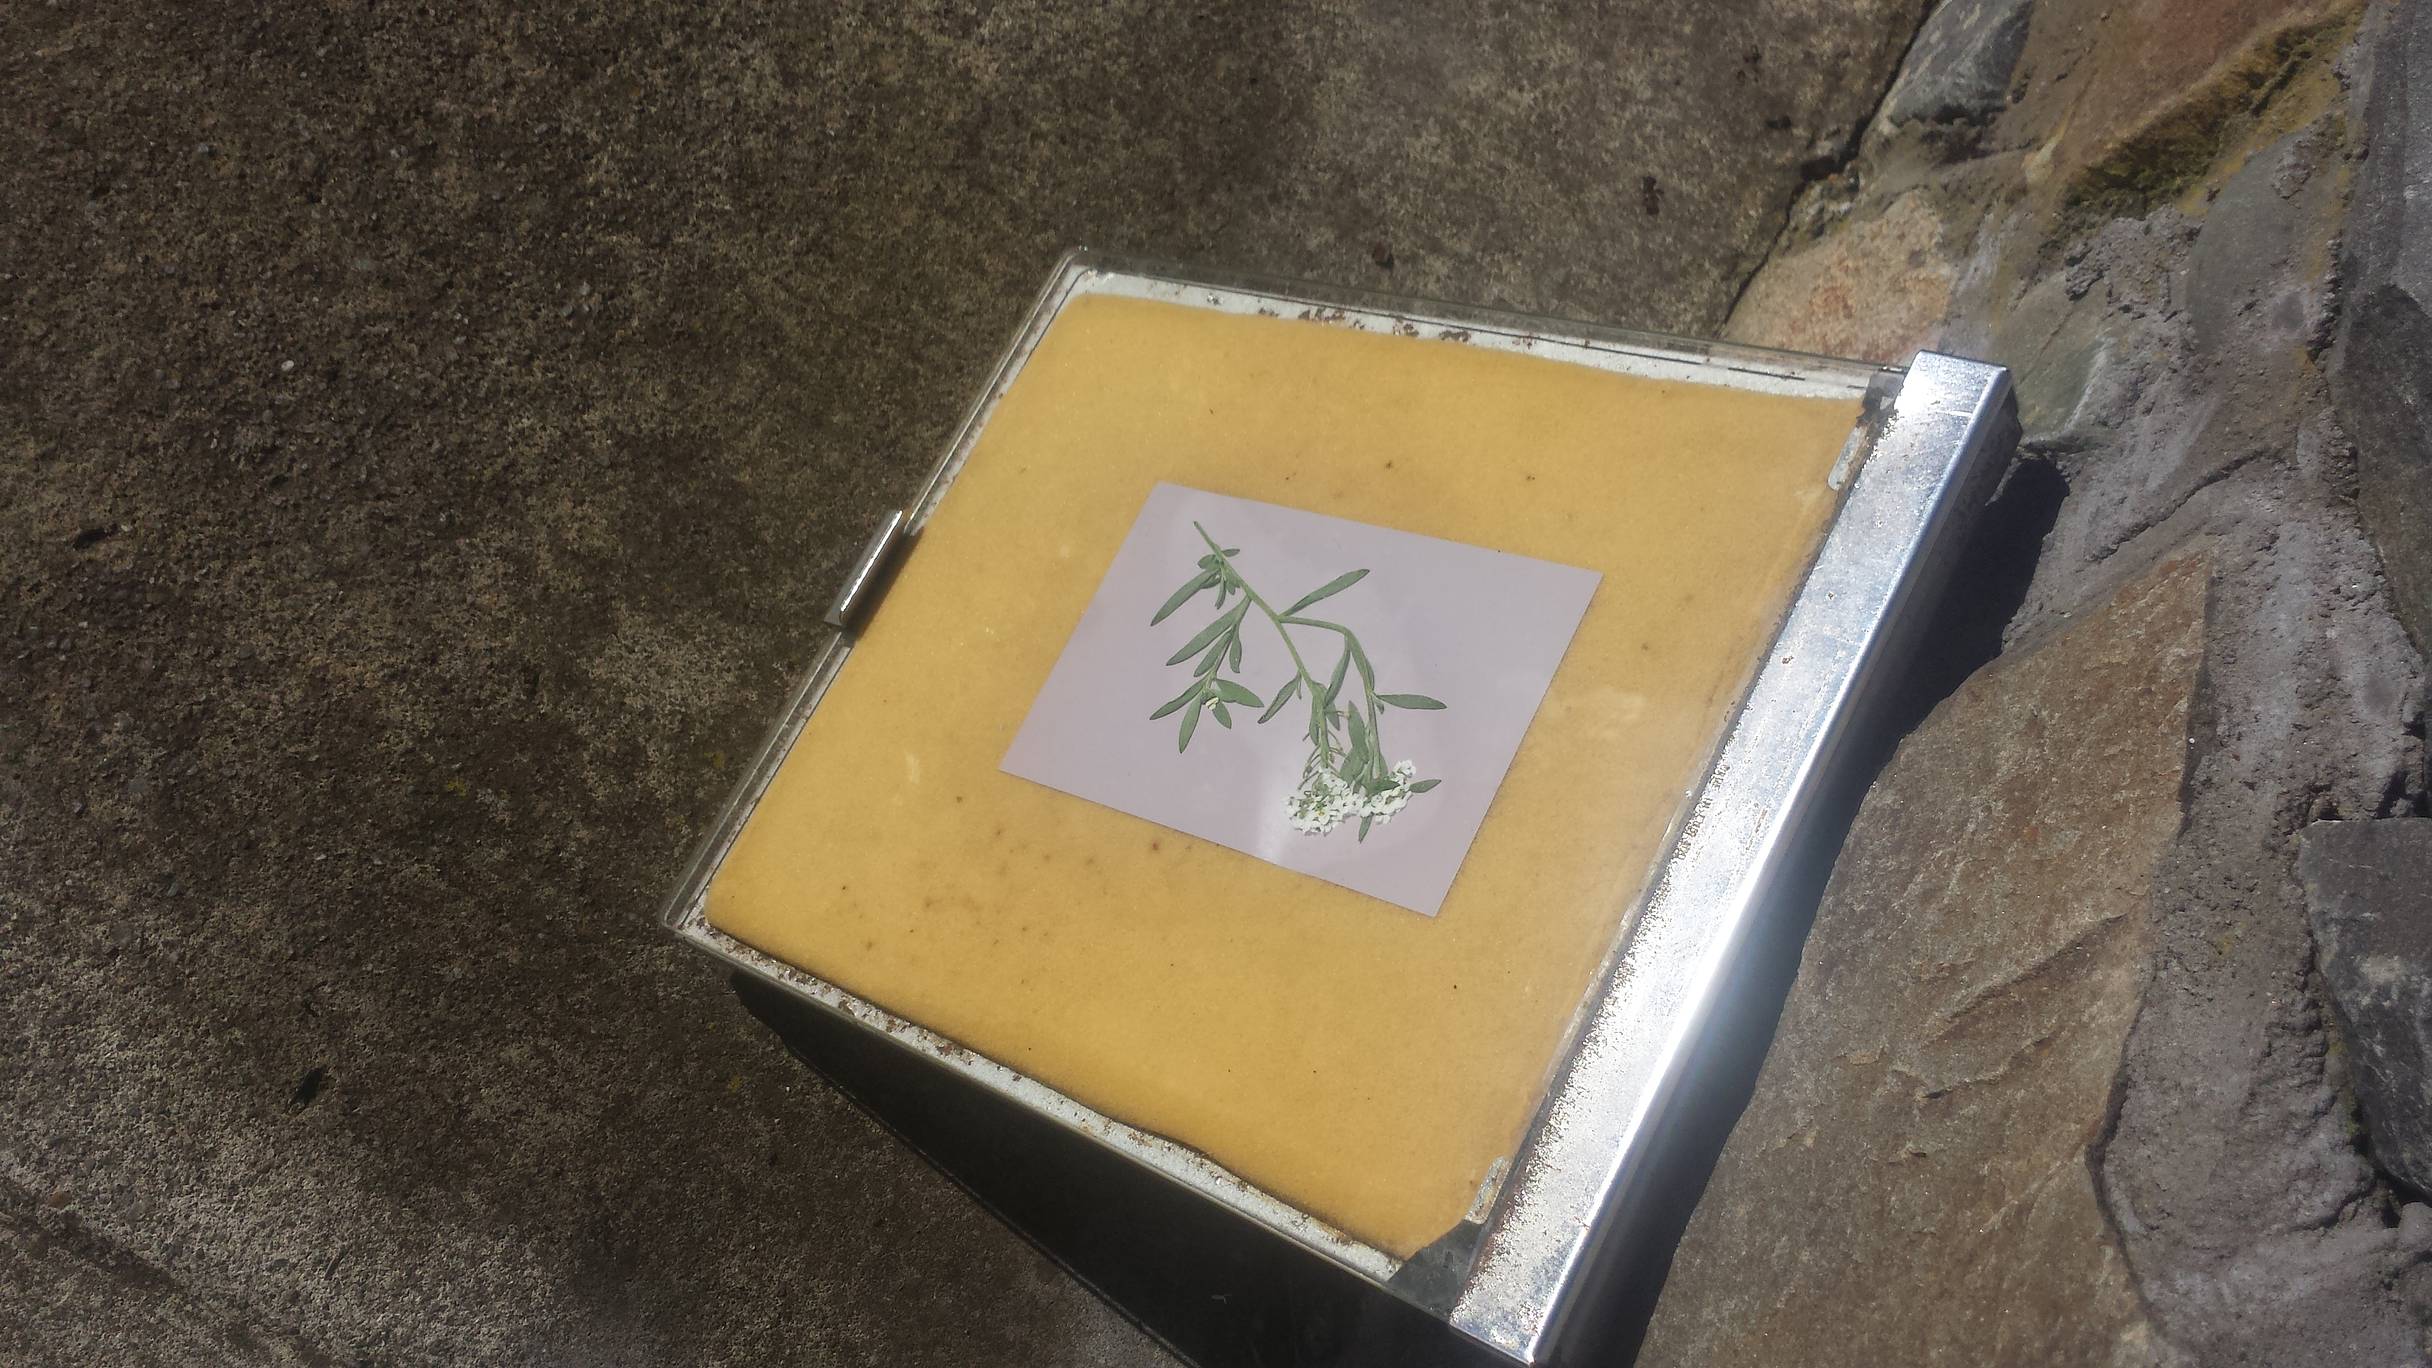
Carefully remove the plant specimen from the paper. Place your exposed paper on the wash tray for 30 seconds. Afterwards, put it face down on the tray with the hypo fixer and fix it for about two minutes. Remember to do this process under tungsten light or subdued light.
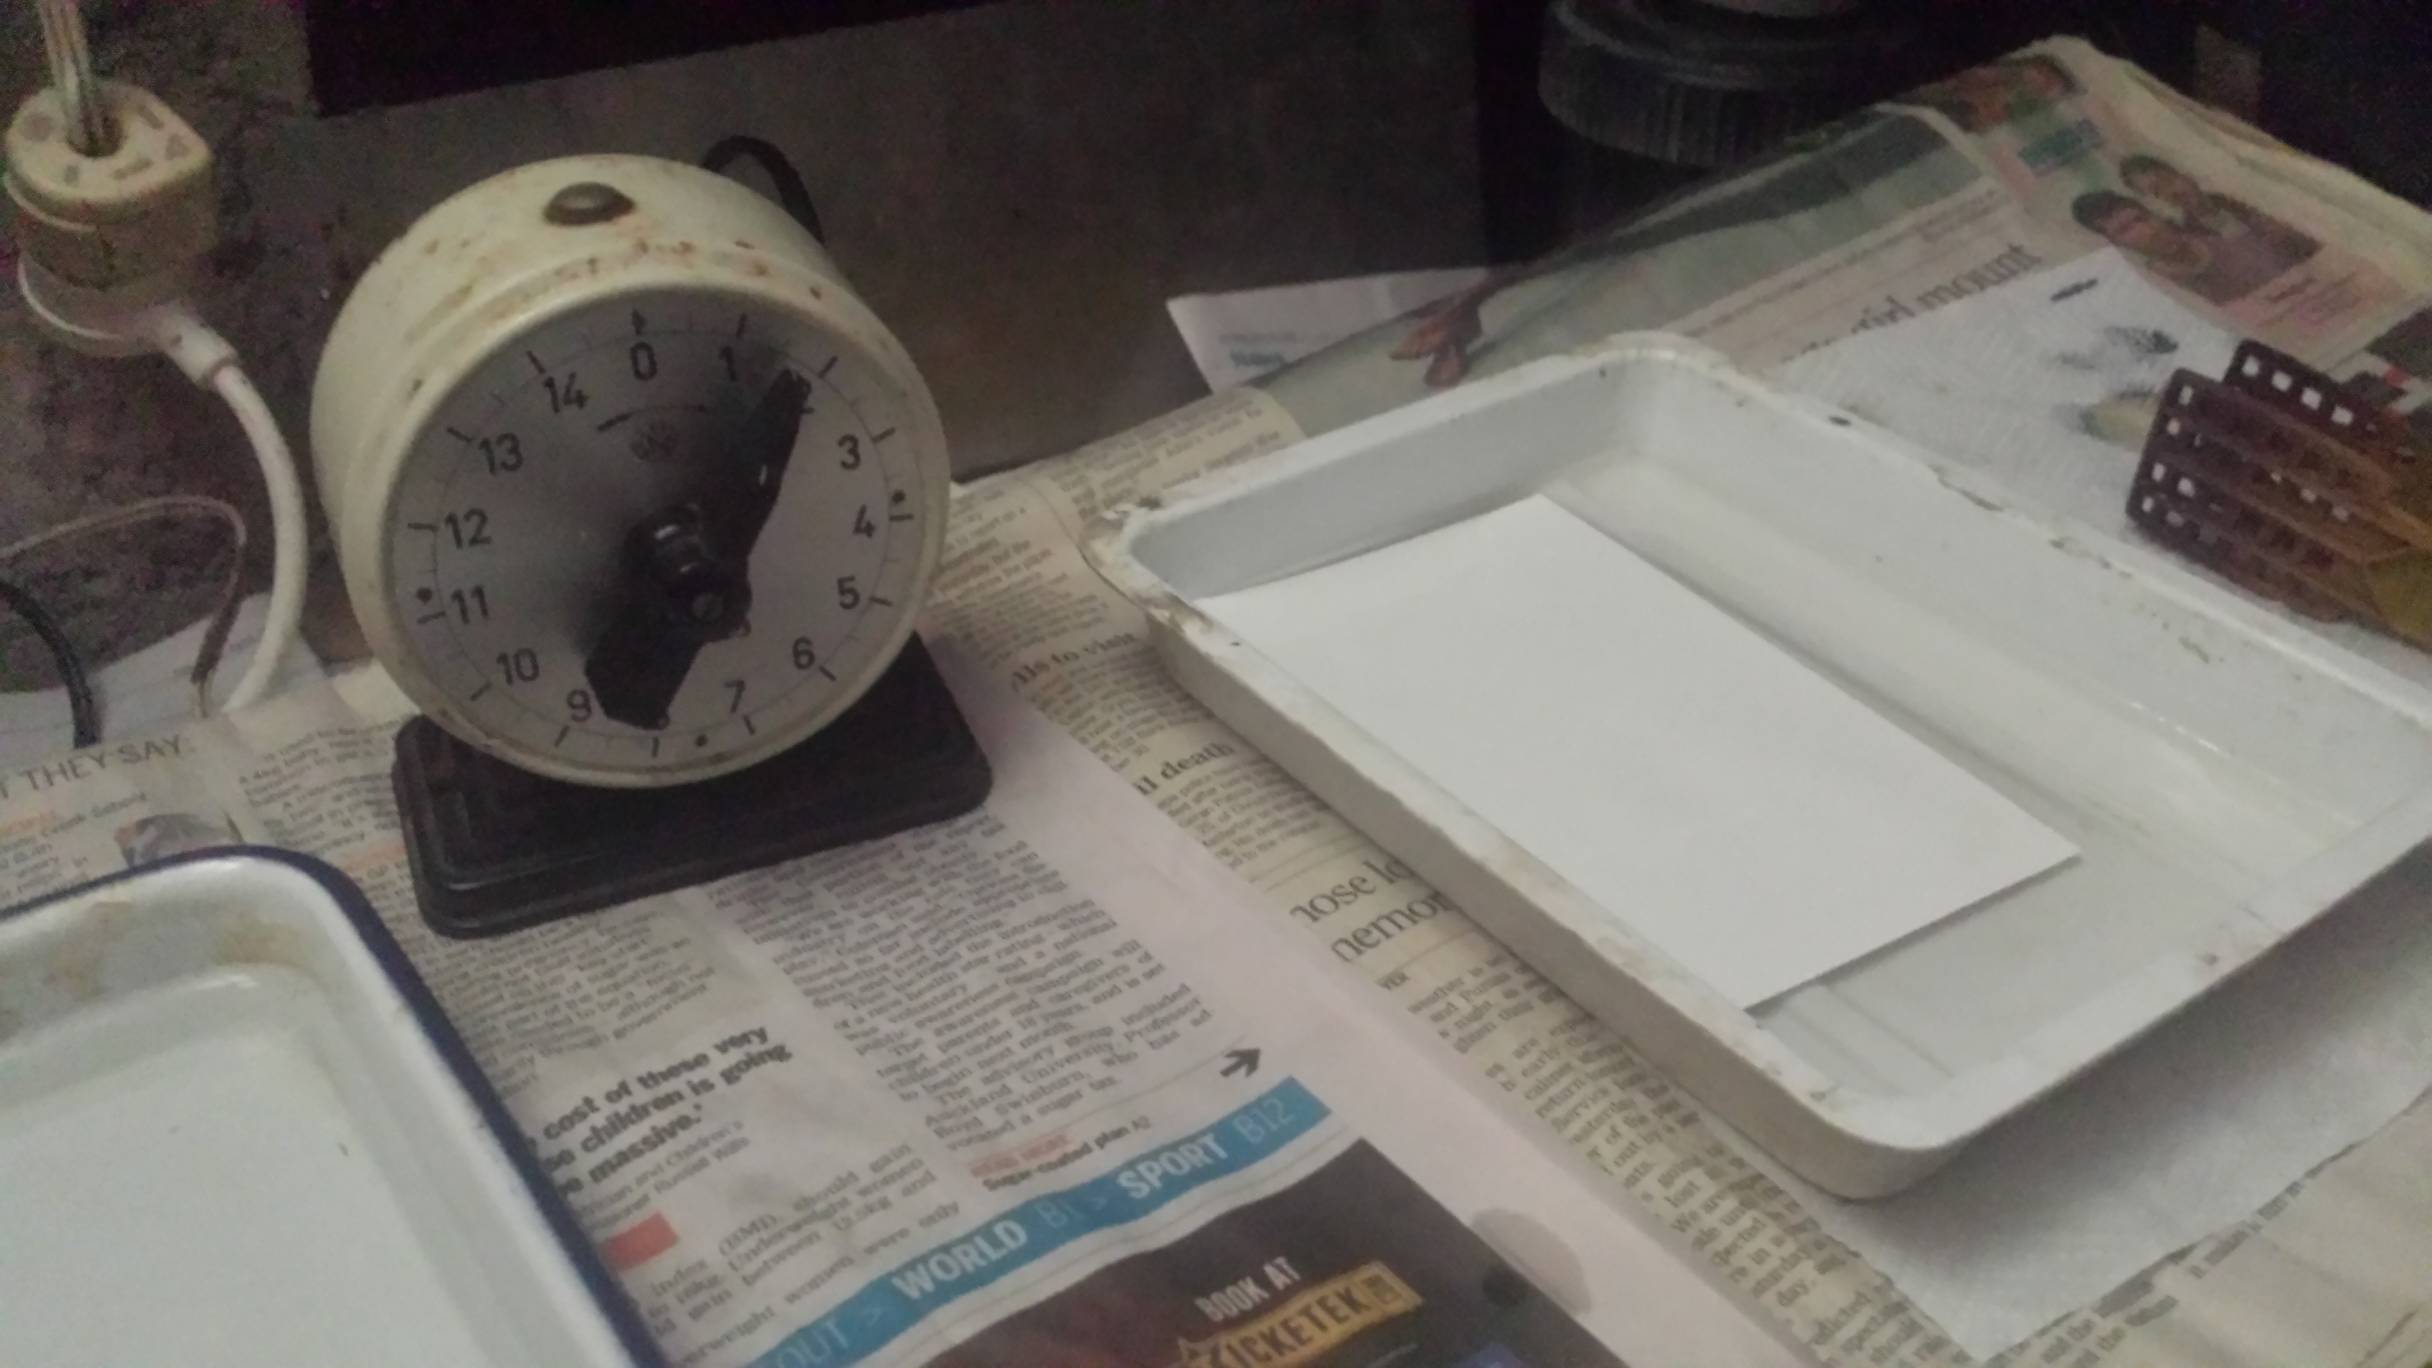
Wash it again for another 20 minutes to remove any excess fixer and dry it overnight. Your print is now ready for scanning!
Scan your print. Using a photo editing software, you can adjust the levels or tweak the brightness or contrast if you wish. And presto, you now have a lumen print!

Composing Your Print
Composition is critical to making a successful lumen print. For me, lumen printing is both a challenge and an addictive delight which connects me to the history of photography, just like Talbot.
- When placing your materials, focus on the figure-ground relationship.
- Place paper under the contact printing frame and the materials outside or above the frame for soft focus and distorted shadows. Try even or uneven arrangements, masking, and overlaps.
- Freestyle by scattering leaves or seeds on paper.
- Contact print a photo face down on the unexposed paper.
- Hand-held opaque objects also work with minimum exposure times up to 90 seconds in bright light. There is no limit to the different effects possible using this simple historical process!
Other Tips:
- Different papers produce different results according to type and age. This is part of the fun of making a lumen print!
- On your photo editing software, you can hit the Invert button for a positive print and complementary color. Go wild with Color, Hue, Saturation, and Lightness. Going for a hard-edge pop? Soft impressionism? Incorrect color? It's your choice! You are limited only by your imagination.
- Various effects can be achieved by sunlight exposure in the morning, noon, or afternoon.
- Place the print out of the frame at different angles for shadow ghosting.
- Aside from plants, try using an opaque material such as glass, plastic, artificial flowers, stencils, etc. Mix and match. Talbot made an early photogram using lace.
Camera-less photography is at the forefront of contemporary photographic practice and employed by the likes of Wolfgang Tillmans, Adam Fuss, Catherine Yass, Susan Derges to name a few. Feel free to experiment!
Des Brough (@lomodesbro) is a self-taught, amateur photographer who loves pinholes, vintage cameras, and his extended family. Aside from being in the Lomography community, he also enjoys experimenting with alternative processes and contact printing. He has self-published a photo book entitled "Monumental Wellington" and is planning to release another book on his lumen prints.
written by Des Brough on 2016-06-26 #tutorials #alternative-process #lumen-prints










9 Comments