Tipster: How to Create Stunning Light Paintings
9 Share TweetFrom Pablo Picasso to Chanette Manso, artists and photographers have been using light sources to create stunning patterns on their long-exposure photographs for decades. And with this handy tipster, you can join them! Follow these four simple steps and you’ll be light painting like the greats in no time.


1. Gather Your Tools
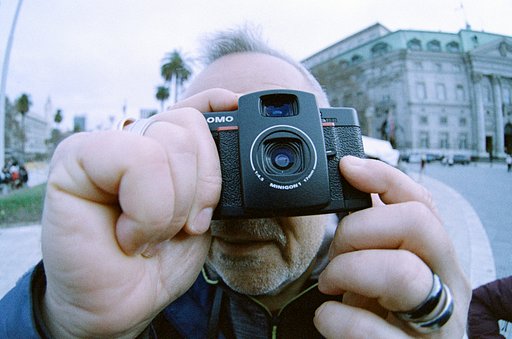
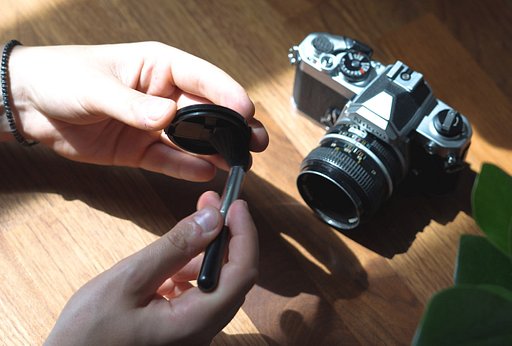
You only need three things to start creating incredible light paintings — and you’ve probably got most of them already! All you’ll need is a tripod or flat surface, a camera with long-exposure (Bulb Mode) and a light source. This could be a torch, a sparkler, a mobile phone, or some seriously funky light painting tools from the Online Shop.
You can create light paintings using both analogue and digital cameras, and you get absolutely astounding results if you use a Lomography Art Lens. Just look at Kelvin Chan’s stunning light-painting portraits created with the Petzval 58 Art Lens! As you’ll be shooting in the dark, it’s a good idea to use ISO 400 or even ISO 800 film to make sure that you capture every last detail of your wild and wonderful painting.


2. Set Up Your Shot
Now that you’ve chosen your tools, you’ll need to set up your shot. Pop your camera on your tripod or flat surface, and take a look through the viewfinder. If you’re embarking on a crazy solo light painting adventure, it might be a good idea to mark the parameters of your frame on the floor so that you stay inside the frame when you make the magic happen. Set your camera to long-exposure Bulb Mode and turn out the lights.


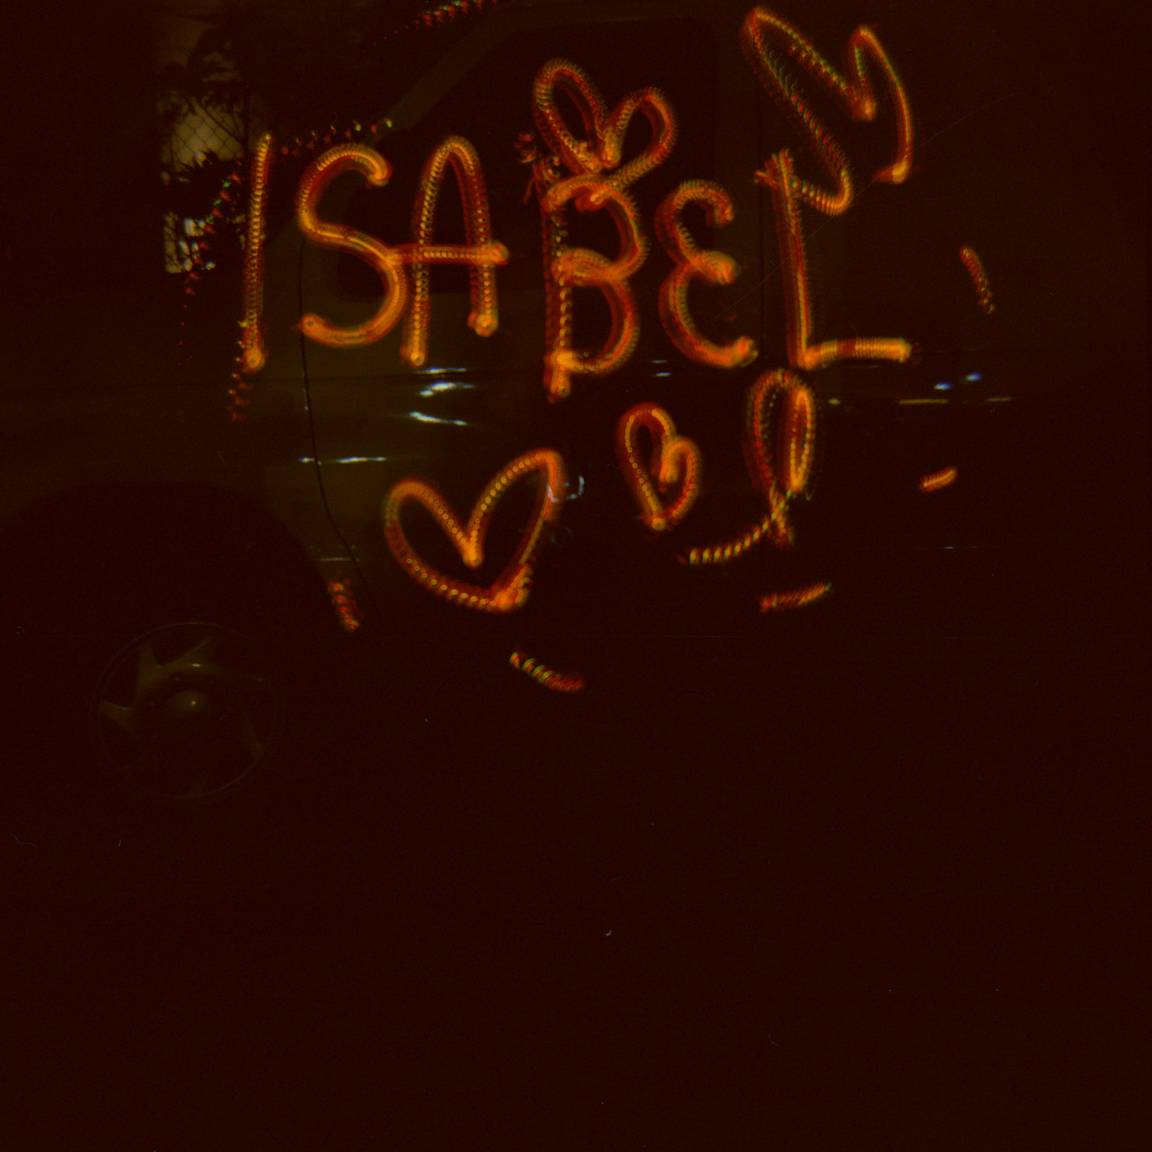
3. Unleash Your Creativity!
Grab your light source, hit the shutter release and start drawing! All you need to do is illuminate your light source and start waving it around in your frame.
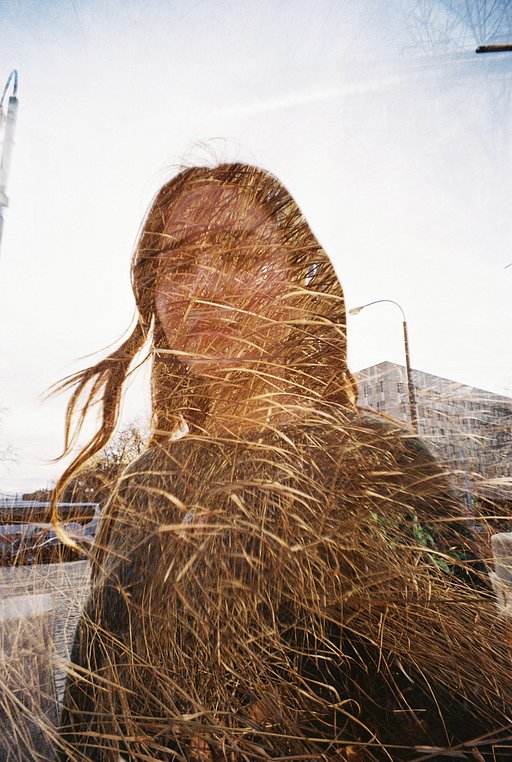
If you’re drawing around a person, they’ll need to stand super still. That way they’ll be visible and sharp when you get your film developed. It doesn’t really matter where or when you enter the frame — as long as you keep moving, you won’t show up on the final image.


Remember, if you’re writing something, you’ll have to write it backwards for it to be legible when you get your picture developed. It’s a creative challenge, but the results are seriously cool!


4. Get Your Film Developed at the LomoLab
Once you’ve filled a roll of film with your dazzling drawings, send it off to the LomoLab to be developed. At the home of creative and experimental photography, our brilliant lab technicians are used to handling all sorts of amazing, off-the-wall images, so your light paintings will be in very good hands! Why not get some prints done and host your very own light painting exhibition? Hang your pictures on your wall, fill a few bowls with some fancy crisps and invite all your friends!


You can find all everything you need to create a light painting at the Lomography Online Shop and Gallery Stores worldwide. We’ve got a tons of tripods, cameras, Art Lenses and light sources for you to choose from!
Do you have any light painting tips? Share them with Lomographers around the world in the comments! Don’t forget to create a LomoHome, too. That way you’ll be able to share your pictures with over 1 million creatives across the globe!
written by Martha Reed on 2018-01-19 #gear #news #tutorials


No Comments