Camera Makeover 101 - Custom Paint Job for the Diana
9 Share TweetIngenuity and resourcefulness is at the heart of DIY projects. There's just something so empowering about knowing that you can do creative projects by yourself instead of hiring someone to do it for you. Now, if you've been bitten by that DIY bug then we've got the right tutorial for you. We spotted this nifty tutorial on how to do a custom paint job for the lovely Diana F+ at the Instructables website.
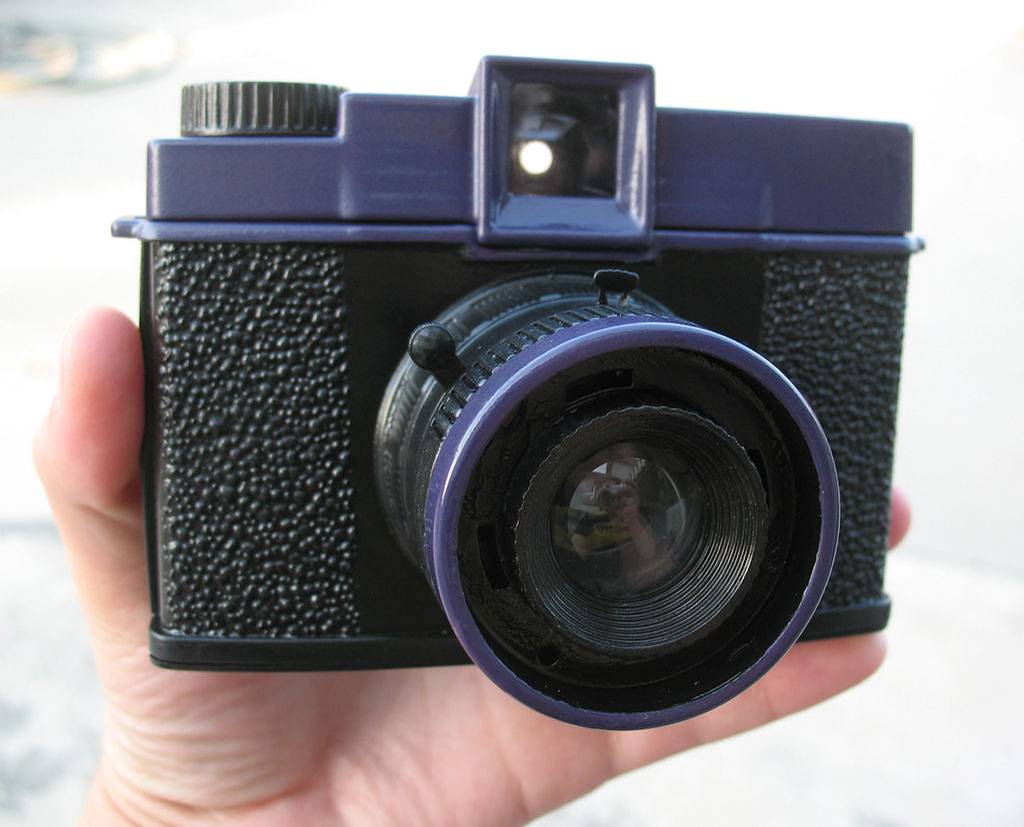
This one is done by a crafty member that goes by the name Batness. Unique was the main goal and the finished product is exactly that! It's great to see Diana F+ users going creative with their cameras. Photography enthusiast Patrick Ng also did a custom paint job for his Diana F+ (complete with design accents and stickers) and was actually one of the inspirations for this tutorial! Side note: Patrick was part of the 2008 Diana World Tour (Asia leg) and his choco/copper-themed Diana F+ was put on display there.

Here are the materials you'll need:
- Your Diana F+ camera
- Spray paint (in this tutorial, Batness used two colors — Krylon Fusion for plastic in black satin and Rust-Oleum Painter's Touch Ultra Cover in purple)
- Precision screwdriver 3/32" phillips head
- Utility knife (craft knife, thin blades)
- Tape
NOTE:
There will be a lot of spray painting involved so be sure to do this in a well-ventilated area. Fumes from the paint may cause difficulty in breathing especially in closed environments.
Now, on to the tutorial!
1. Disassemble your camera.
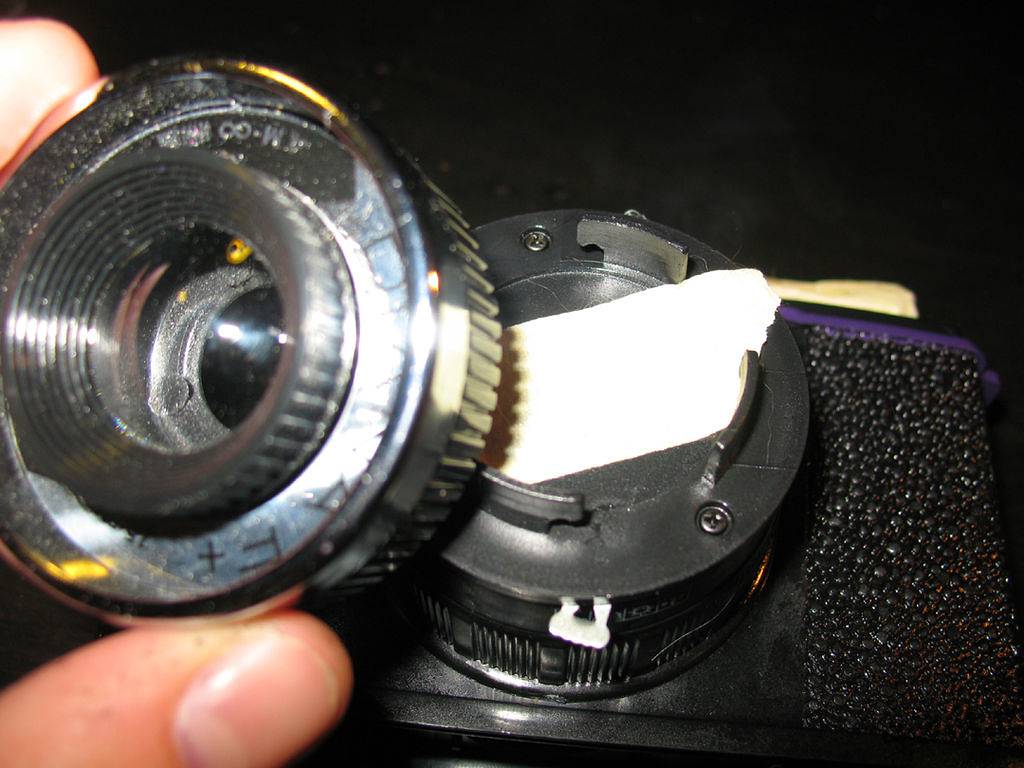
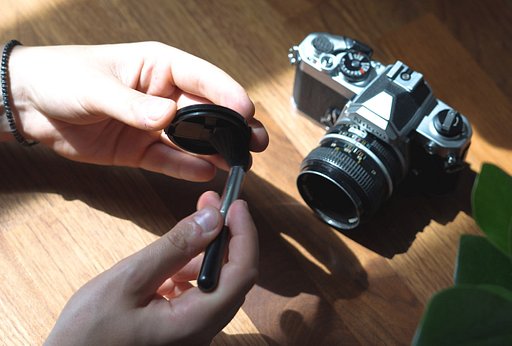
You need to take apart your camera before you start painting. You wouldn't want to get paint all over the important components like the lens or shutters of your camera. Start with the lens — unscrew it from the body of your Diana.

Tape over the shutter to avoid unnecessary paint and dust.


Use the utility knife to pry the sticker plates off your Diana. The plates are secured only by small adhesive strips. Be careful not to damage your camera body when doing this procedure! Batness removed all of these together but you may choose to put them back on after painting.
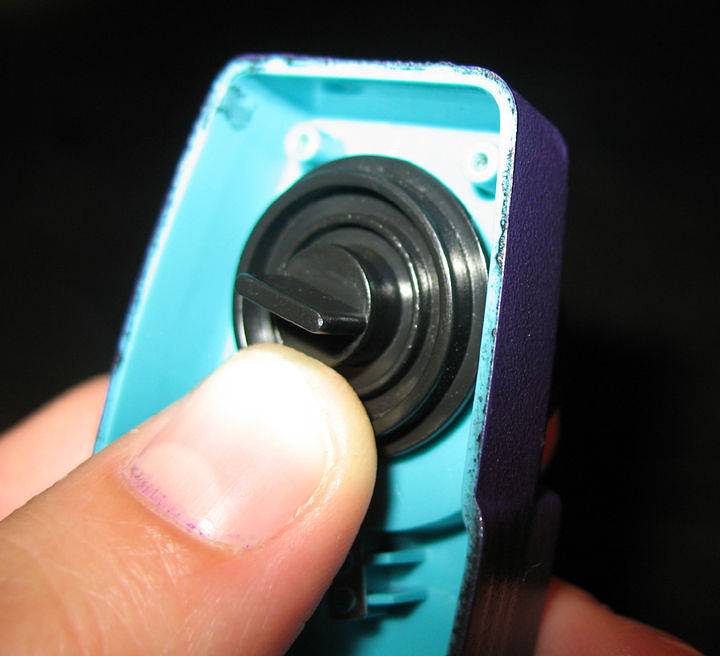
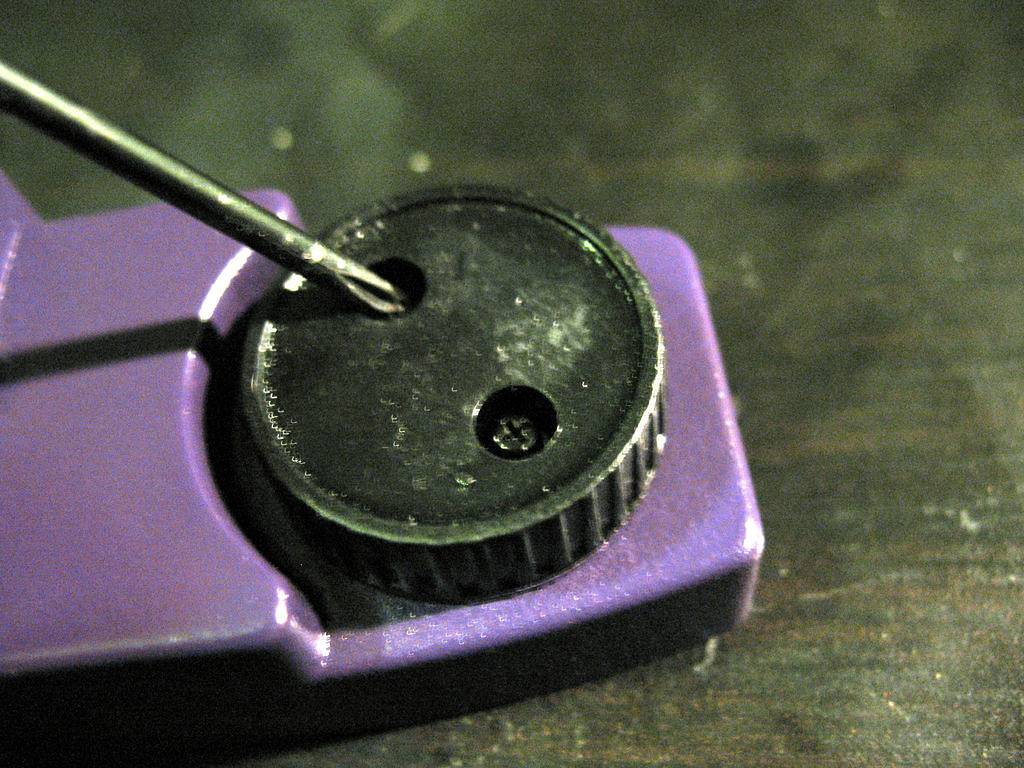
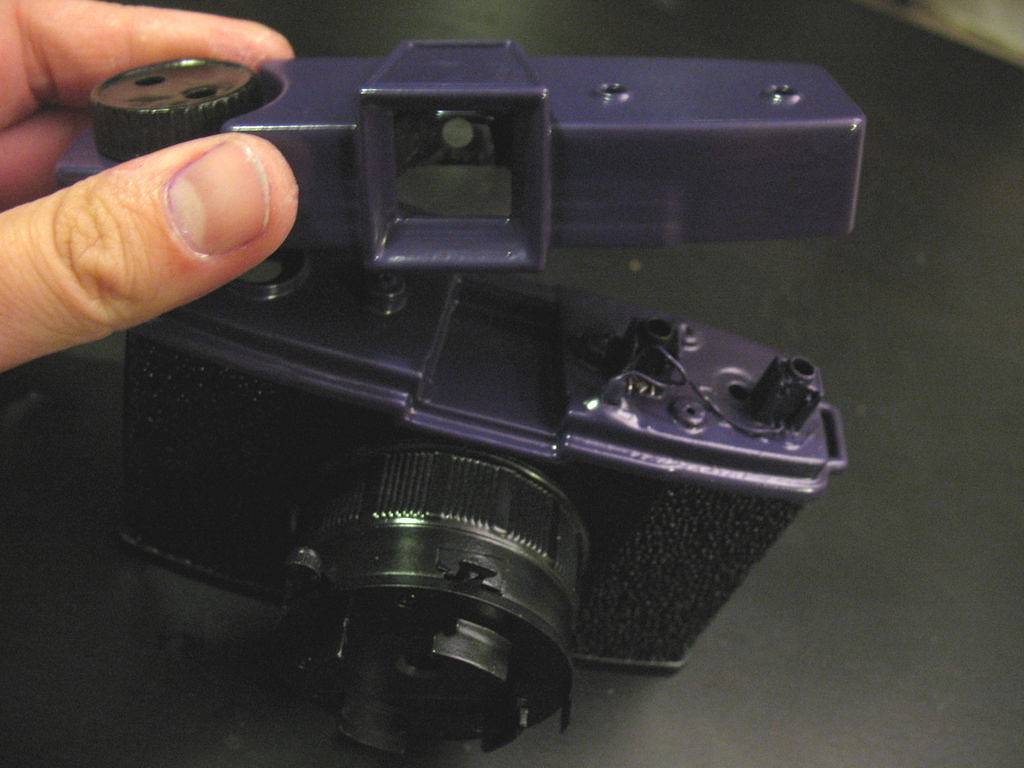
Onto the winding wheel. Remove the screws using your precision screwdriver. Be sure to keep the screws in a container to avoid losing them. Lift the wheel up after taking all the screws out. Remember which screws go on a specific part of the camera.
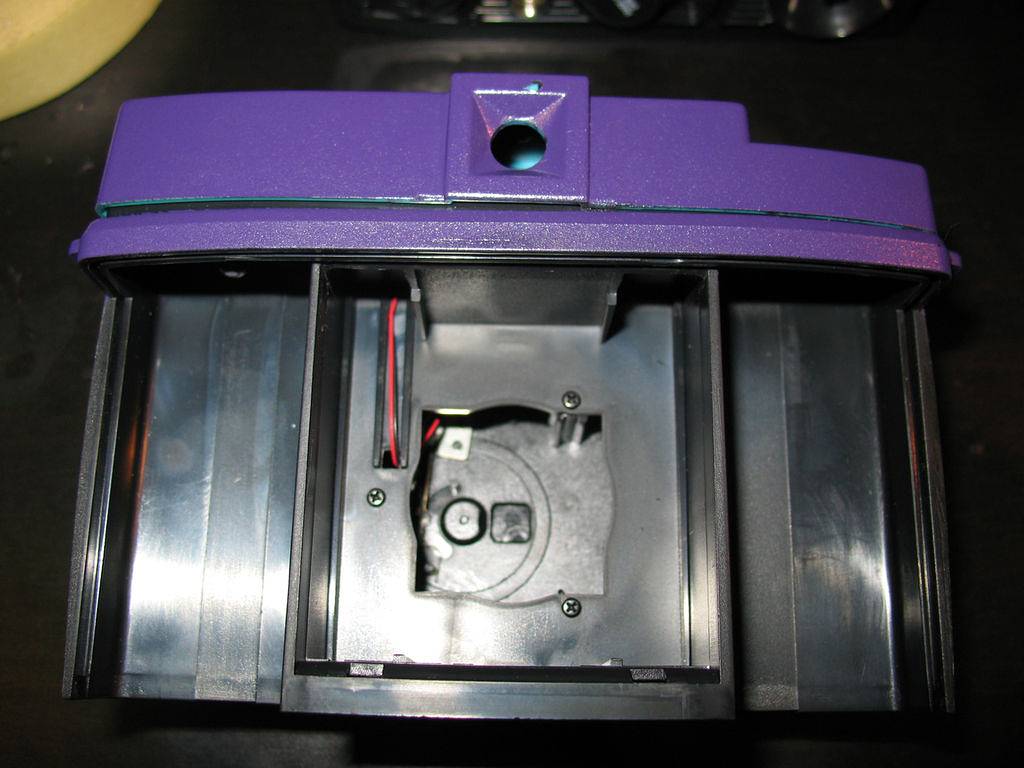
Remove the backing of the camera. Flip your camera and locate the other screws that keeps the camera intact.

Take out the rest of the screws using your precision screwdriver. Put them away for later in a separate container.

Now that the screws are gone, gently take apart the camera body. Take the winding wheel and set it aside for later.

Take out the lenses on the top part of the camera. Set them aside for assembly.

If done correctly, you'll be able to see the rest of the inner workings of the camera including the wires for the flash. Tape over them to prevent excess paint from setting in.
2. Tape up the rest of the camera.
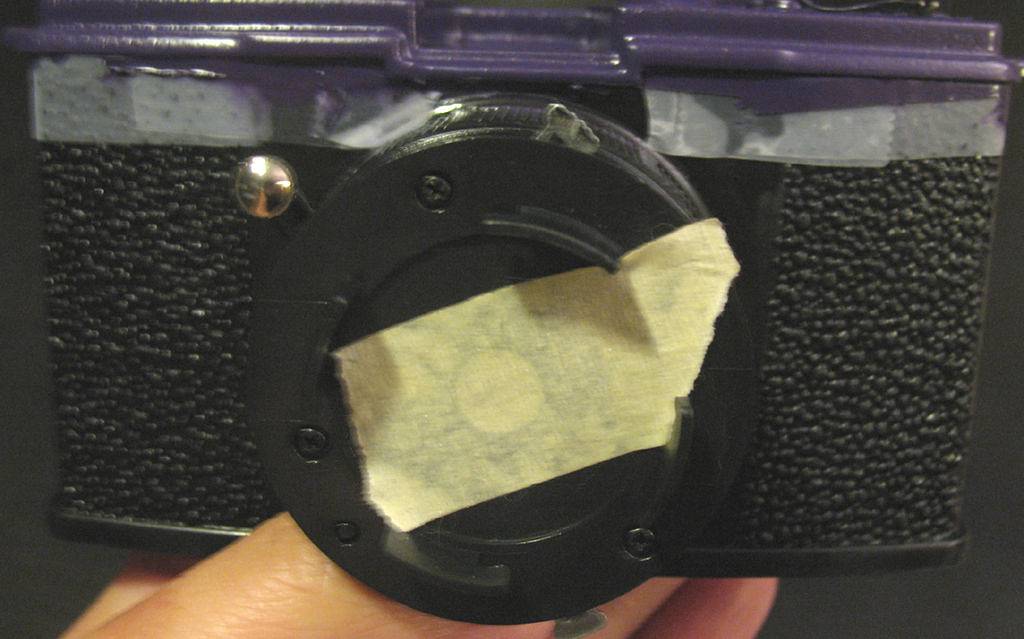


Use tape to cover all the parts that you don't want to paint on. Leave the other parts exposed for painting.
3. Paint the camera body.

Get your desired spray paint color and start working on the body. Again, be sure to do this part in a well-ventilated area to avoid suffocating in the fumes from the paint.

Start with the plastic spray paint as primer. Make sure you maintain the proper painting distance to avoid bubbling and uneven paint coats. Keep the coat even.

Wait for about an hour for the primer to dry. Turn the body of the camera over and see which exposed parts are left. Paint over them, too.

After setting the camera body aside to dry, it's now time to apply the second layer of your paint. Apply the same number of coats on the parts you want to paint on. Again, maintain distance so the coat is even and to avoid bubbling. Set the camera body to dry. This is equally important in the process to make sure the paint sticks to your camera well.
4. Time for assembly.

Take all the tape out of your camera body and bring out the screws you removed. Put the lenses back on securely.

Attach the winding wheel cap and put the screws back in. Make sure to apply the right amount of torque into the screws to avoid cracking in the body.

Place the top of the camera back onto the base. Put the remaining screws back in place. Get your camera back and attach it to your camera body.
5. Now you’re done!


Take pride in your custom paint job, after all you worked for it. You deserve a pat on the back for a job well done. Experiment with different color combinations before doing the paint job so you get the right look for your beloved Diana camera.
written by cheeo on 2018-06-11 #tutorials #diy #painting #tipster #diana #craft


No Comments