How To Take Cool Photographs Without Using a Camera
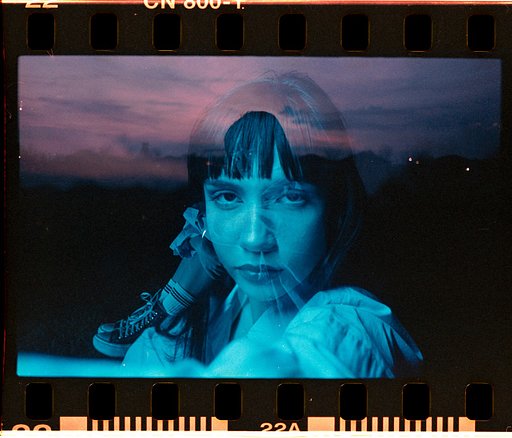
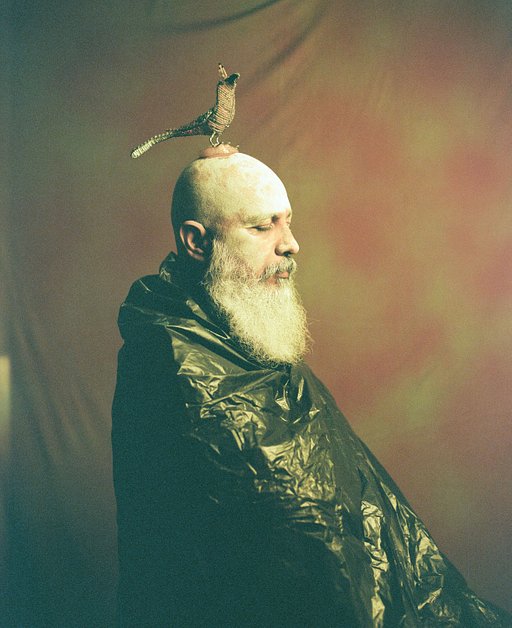
3 17 Share TweetHere's something to do when you're feeling artistic and want to try something different. How about creating images without having to use a camera? Today, we're teaching you two alternative photography printing processes: Photograms and Chemigrams. You'll be handling some film development chemicals, so if you're a newbie, make sure to proceed with caution and wipe up any spills. Are you ready? Then roll up your sleeves and let's get started!
Photograms
A photogram is made by putting objects on light-sensitive paper and briefly exposing it to light.
Materials
- A dark room
- Light source
- Sheets of photographic black and white paper
- Print paper developing set and a plastic dish to lay the paper in
Step-by-step
- Pour the developer in the dish.
- Carefully open the print paper pack in red lighting conditions and put one sheet on the table. Seal the package properly so that you won't ruin the rest of the sheets!
- Place some objects on the paper and switch on the light for a second.
- Pick up the objects from the paper.
- Develop the paper according to the package instructions.
Ta-da! You are done! If you want more tips, check out these tipsters: Photograms: An Avant-Garde Tipster and Fun with Photograms.

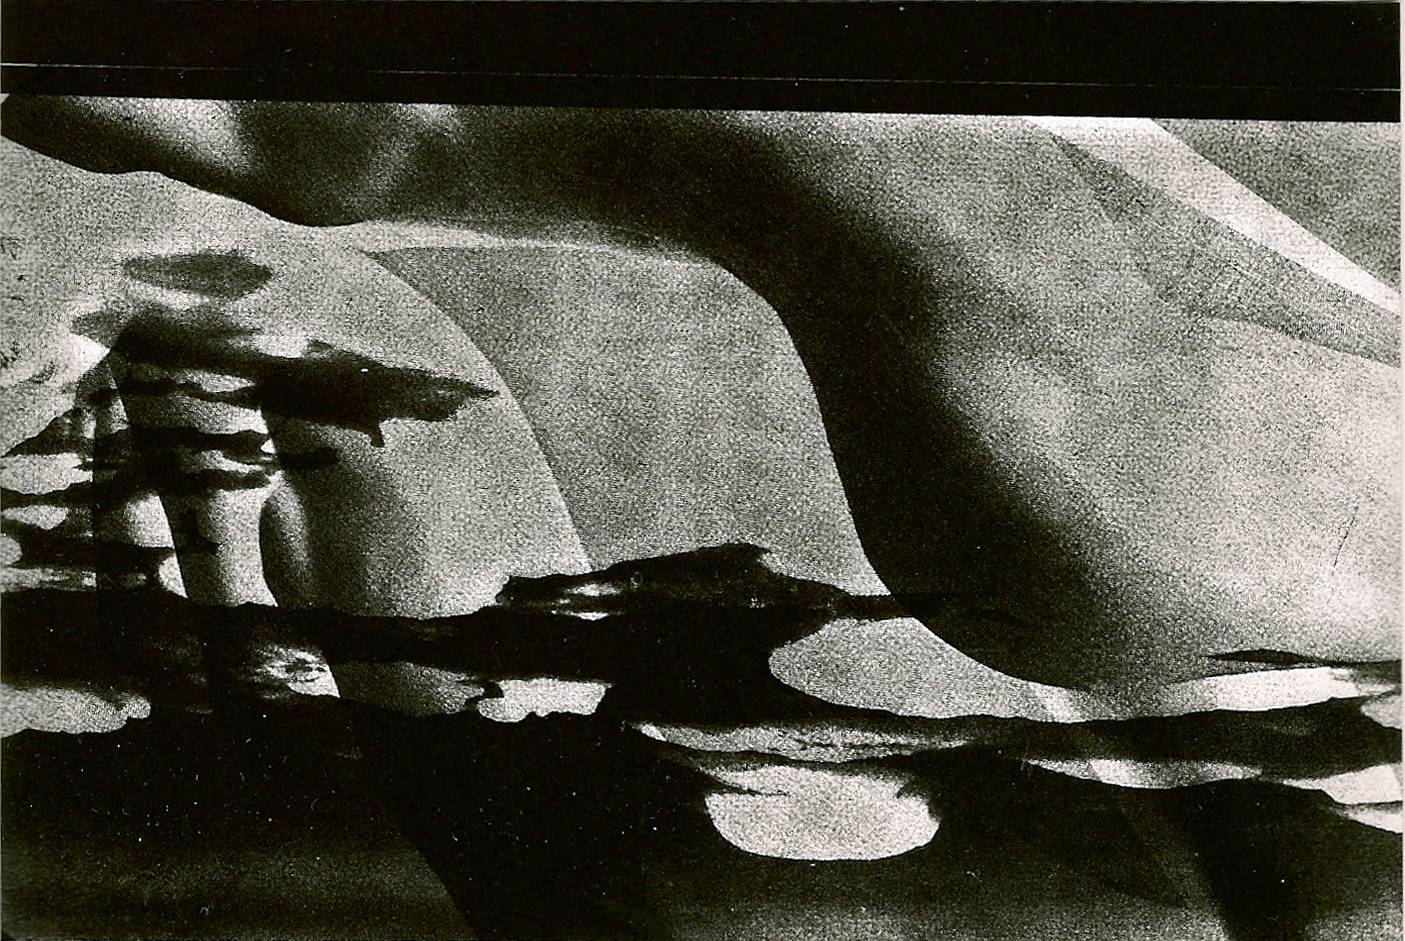


Chemigrams
Compared to photograms, this process does not require a darkroom. This experimental technique produces an image when you use chemicals to write on light-sensitive photo paper. Lomograapher crevans27 has mastered this and now we're sharing his tipster with you!
Materials
- Light-sensitive paper
- Developer, Stop and Fixer chemicals
- Three trays (one for each chemical)
- Paper towels or kitchen towels
Step-by-step
- First, choose your object. Absorbent objects such as flowers and plants yield the best results.
- Dip your object lightly into the developer, making sure it's not soaking wet.
- Shake off excess liquid and lay it flat on your light-sensitive paper.
- Cover it with a paper towel and press down for a minute.
- Remove the object and you should see the print! Set the print by placing the paper into the stop for 30 seconds.
- Remove and place into the fixer tray for 5 to 10 minutes.
- Wash off in a clean water tray to remove the chemicals.
This procedure is for Negative Chemigrams. Want to create white prints on black background? You just need to switch up the order of the chemicals. Here are the instructions for Positive Chemigrams:
- Dip your object into the developer and repeat the previous steps for Negative Chemigrams.
- Place into the developer tray for about 2 minutes. This will create a black background.
- Stop, fix, and wash away the chemical residue.
Voilà! You have just created your chemigram. Practice makes perfect, so experiment and have fun with it!


Have you tried creating your own photograms or chemigrams? Upload them to your LomoHome and share the links to your photos below!
2019-01-29 #photograms #avant-garde #alternative-photography #chemigrams


3 Comments