Tipster of The Day: How to Make Any Lens Into An X-Ray Lens
4 18 Share TweetHave you ever wanted to have superpowers when you were a kid? Well luckily for you, we've unlocked the secrets to having x-ray vision! And the coolest thing about it is that you can try it with your camera lens, too!
Here Are The Things You'll Need

- A pair of scissors
- Clear sticky tape
- Black feathers (We discovered that black feathers block out most visible light enabling the X-rays to pass through)
- UV filter (this serves two purposes... first to filter out UV rays, second it would help secure your new X-ray filter in place)
Steps
1. Get the black feathers and place it on your lens.

We wanted to keep this one a secret but being Lomographers, we can't hog all the fun! Collect some black feathers and place it on the outside of your lens. This will enable you to use x-ray vision when you take photographs!
2. Secure the feathers using clear tape.

Now that you have the feathers in place, secure them to your lens so you get consistent results. This trick will only work if you do follow the steps correctly so make sure that you do!
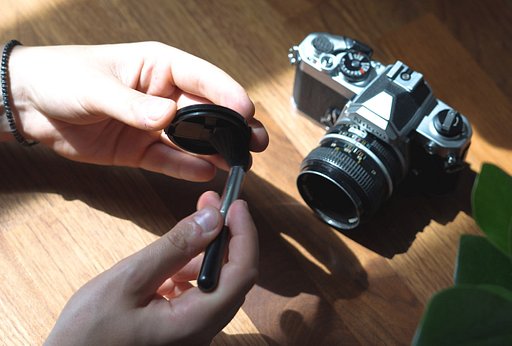
3. Attach your newly-built x-ray lens filter on your lens.

The last piece of the puzzle is the UV lens filter. Put it on and you're done! Excited to try it out, aren't you? Well, the good news is that you're all set!
4. Snap away and revel in your newly acquired x-ray lens!

Start shooting and enjoy the gift of x-ray vision! Heed our warning though, it's addictive! Realizing your childhood dream of having superpowers will literally make your day!
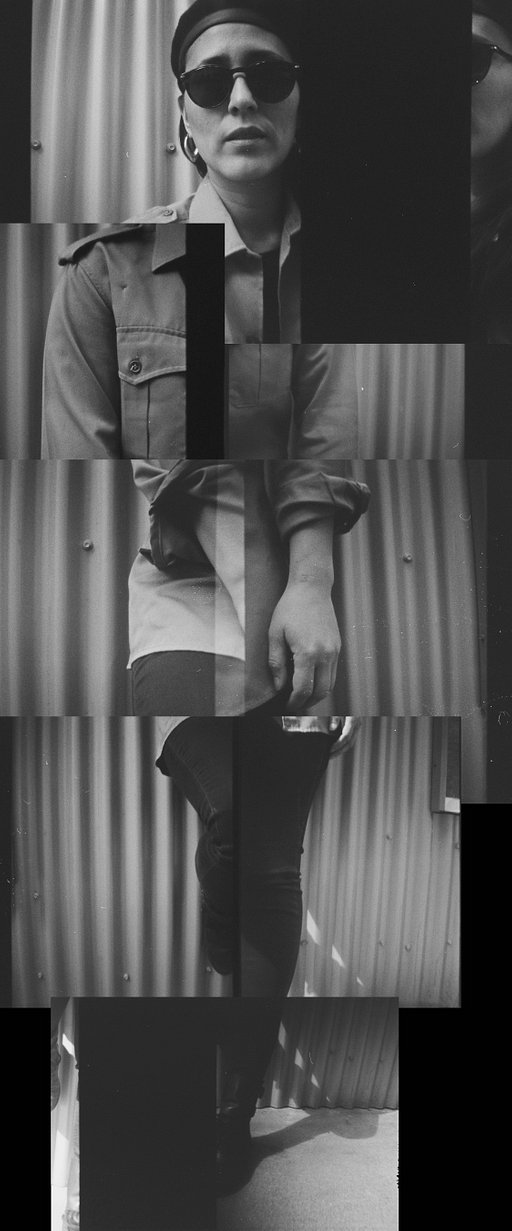
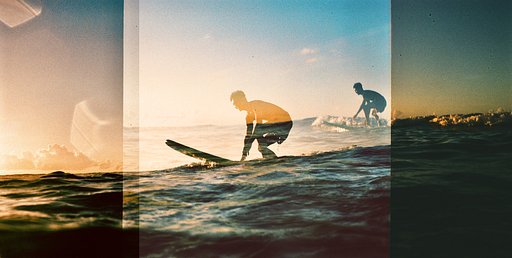
Check out these sample photos of this super neat camera trick!


Note: The intensity of the effect may vary depending on your subject.
Hope you enjoyed this little April tipster! Let us know in the comments below. Happy 1st of April!!
written by cheeo on 2019-04-01 #tutorials #tutorial #lens #xray


4 Comments