Lomography Tutorials: 10 Tips For Taking Pictures with the Lomo'Instant Wide
15 Share TweetInstant photography is becoming the new favorite medium and is a great way to introduce any analogue enthusiast to all things film. Being able to have the best of both worlds – as with instant gratification and the physical photograph – is a wonderful way to further the future of film. Using the beautiful city of Paris as our backdrop, we listed down 10 tips and functions of your Lomo'Instant Wide so you can unlock your full creative potential!
The Normal Picture
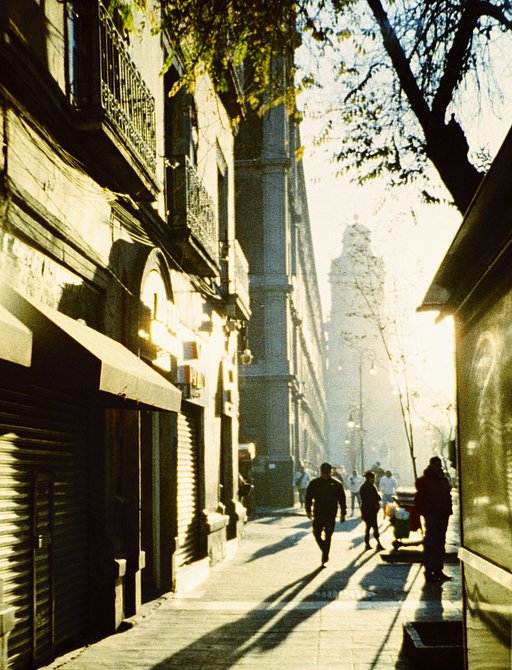
Try using the Lomo’Instant Wide as it is because it was designed to make your instant journey easy! When I took the following pictures, the brightness was good enough so I did not do any particular adjustment aside from disabling the flash. These photos can show you what you can do very simply with the Lomo’Instant Wide. The basic angle of the camera is perfect to capture all of your memories.
Ultra Wide-Angle
The Lomo’Instant Wide Camera & Lenses package includes an attachable ultra-wide lens and a special wide-angle viewfinder to help you frame your images better.
The first picture below was taken with the basic lens of the camera, which is already good! The second one was taken with the ultra-wide lens, and it revealed elements of the building that were not seen previously. You can use the ultra-wide lens in many more situations, like when you are too close to a subject and want to take a step back. They’re also great for landscapes and group shots.
Multiple Exposures
To achieve multiple exposures, you just have to press the MX button and shoot. The camera will continue to take and layer the photos until you press the MX button again. Since the Lomo’Instant Wide allows you to take unlimited multiple exposures, you can practice your creative freedom as you plan and decide!
The picture on the left is composed of two exposures, them being leaves of a tree and the front of a building. The picture on the right has two exposures as well. I felt inspired by the pyramid of the Louvre Museum and thought it would be an interesting subject. Why have only one pyramid when you can have two using a double exposure, right? The sun was at the top that time, so I compensated by underexposing.
For multiple exposures, don’t forget to underexpose so that your photos are not too bright! The Lomo’Instant Wide has an exposure button that you can set to -1 (which is what I did here), zero or +1.
The Splitzer
Coming from its name, the Splitzer is an accessory that splits the frame into individually exposed sections. It goes in front of the lens and can be adjusted based on the parts that you want to cover or expose – it depends on what you want. By combining it with the MX function, you can get pretty cool shots!
Take the first instant picture here for example. I took a shot of the door while the upper part of the lens was covered with the Splitzer. After this, I moved the Splitzer to cover the bottom half, then took a picture of the umbrellas hanging in the sky.
For the second one, I wanted to mix two different elements present on the City Hall Square. Facing me were some trees that I shot with the Splitzer covering the right side of the lens. I then completed my image with the City Hall building seen on the opposite side. This is a way to redefine the landscape based on what you want to show.
Close-up Images
The Lomo'Instant Wide package is also equipped with an attachable macro lens, which is best used for close-ups. I tested it on flowers because it is springtime and the parks of Paris are full of beautiful flowers.
For the photo of the yellow flowers, I set the distance to the minimum, specifically 0.6 m, and I put the camera lens 10 cm away from the flower that I wanted to focus on. I pressed the button and here’s the result!
The second photo was taken one morning when the sun was not yet well installed in the sky. I used the same settings as the previous image with only one difference – the brightness was less evident at this time so I added +1 of exposure to make my picture sufficiently bright.
Long Exposures
The Lomo'Instant Wide has a Bulb function that allows for long exposures. For these photos, I wanted to get the streams of light from the cars. Being at a bus stop, I tried to find a stable surface to position the device on. The barrier was luckily wide enough for the camera, although a tripod is always better in these cases. I proceeded to set the distance to infinity because I wanted to have all the elements as sharp as possible. Afterwhich, I just waited for the cars to pass and pressed the shutter for a few seconds. Both photos had the shutter open for around three to five seconds.
Colored Gel Flash Filters
I wanted to explore by playing with the colors and transforming the atmosphere, and colored gel flash filters help with just that! For the first and third photos, I used blue to give a cooler aura. I wanted to achieve the opposite for the second photo, so I used pink for a warmer vibe! The colored gel flash filters are very easy to use – just slide one (or more!) in front of the flash to give color to your photos.
External Flash
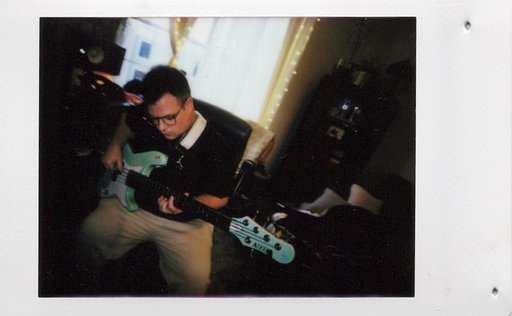
The Lomo’Instant Wide is the only instant camera that has a PC Sync Socket. For this picture, I used the Fritz the Blitz Flash that I connected to the camera using a cable. I activated the MX function because I wanted to do a double exposure. For the base shot, I oriented the flash in a way that it would lighten the top of the face. For the second exposure, I put on a yellow filter in front of the flash to make it warmer, and I oriented it from below. I set the speed of the camera at 1/30 because there was no light in the room. With this option, you can realize pictures using a standard flash or your preferred studio flash kits.

Selfie Mode
If you want to have a picture of yourself in a particular place and you are alone, do not fear because Lomography is here! The integrated mirror of the Lomo’Instant Wide makes it safe to say goodbye to bad selfies. Simply hold your camera, frame your selfie by looking in the small mirror next to the lens, and shoot! Another great solution is to use the self-timer and the remote shutter found in the lens cap. I set up the focusing distance based on where I was going to be, put the camera on a stable surface, and then triggered with the remote control. This tool can be very useful to take group pictures too without having to sacrifice one person’s presence!
Portraits
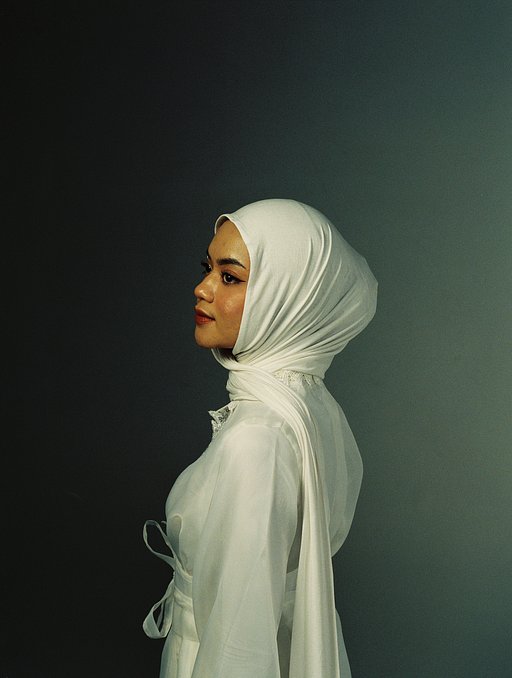
This instant camera really allows you to create any type of picture! Feel free to use it for portraits because its wide angle allows you to capture them even in unusual places. You can also get closer to make the portraits tighter. For this photo, I was two meters away from my subject, so I set the focusing distance in regards to that, framed it, and got this result!

Now that you know all the tricks, it's up to you to have fun and explore your experimental freedom! If you do not already have it, visit our Online Shop to get your Lomo’Instant Wide and its creative accessories!
written by Anna Carestia on 2019-06-25 #gear #tutorials #splitzer #inspiration #creativity #lomo-instant-wide
translated by Anna Carestia








No Comments