Replacing Old or Damaged Bellows, a Crash Course
10 Share TweetOne of our resident photographers, Rob Detoyato, recently acquired a beaten up 4x5 Camera. On his quest to restore a 48-year-old Field Camera, he documented the painstaking process of replacing its damaged bellows. Here is a step-by-step account in case you would need to replace the bellows in your trusty Field Camera.
Before we begin, here is a quick back story; I recently acquired an old beaten up 4x5 Field Camera from a friend. I always wanted to own one, but couldn't really justify splurging for a Linhof. The camera is an old Wista 45D, and it definitely had its share of adventures. I could tell right away that the camera was well used and well-loved. Unfortunately, some of its movements were stiff, and its bellows were literally falling apart. That is when I decided to take on the task of restoring the camera, as best as I could. This was my first restoration project, and very first time replacing damaged bellows. So I decided to document the steps I took so that I could share with the Lomographic Community, in case anyone is interested in taking on a similar project.
1. Remove Damaged Bellows
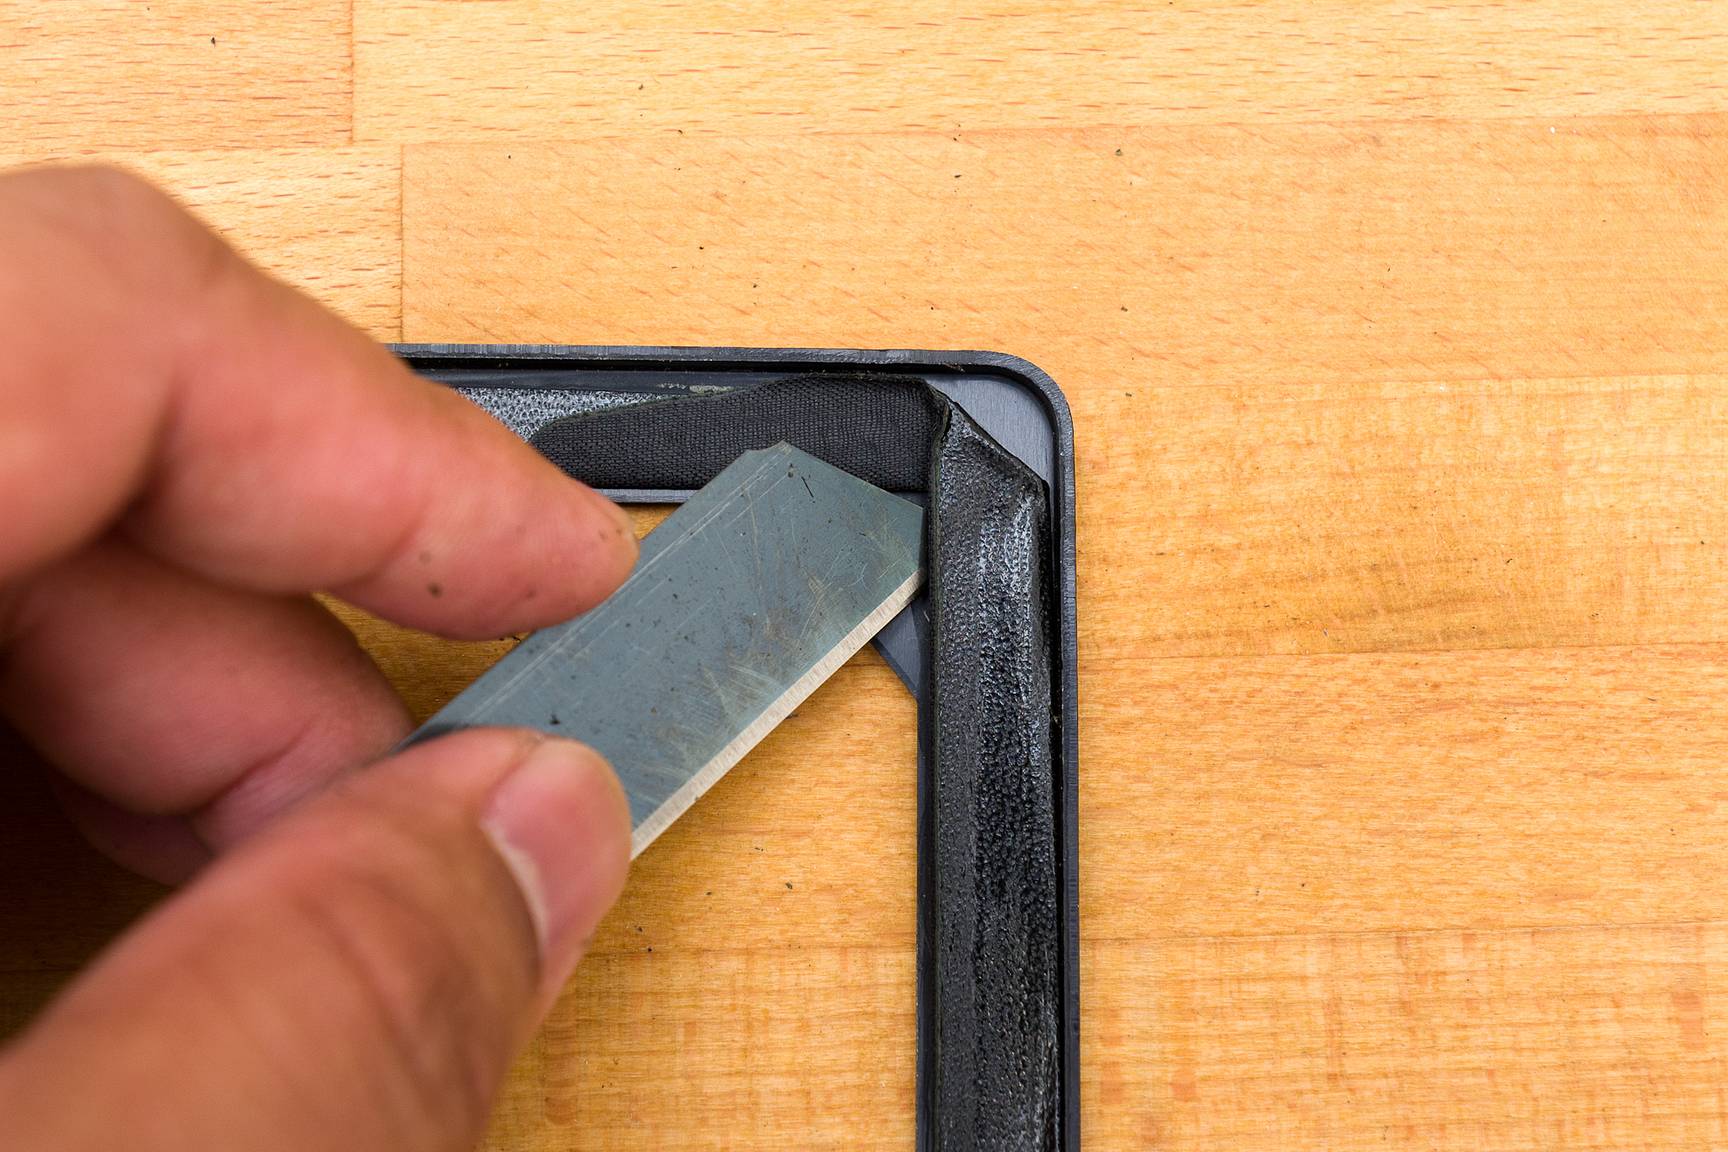
Using a box cutter (although an X-acto Knife would have been more precise) cut out the damaged bellows from the retainer plates.
2. Clean The Retainer Plates
Remove any leftover material and old adhesive from the retainer plates. This is important in order for the fresh adhesive to work properly. I used a box cutter knife to remove most of the leftover material. However, I discovered that applying a mild nail polish remover with a cotton pad is pretty effective in removing the old dried up adhesive.
3. Install New Bellows
Apply a thin layer of rubber contact cement on the front retainer plate and new bellows. Make sure they are aligned before you press them together. I had to do this several times since the new bellows were still a bit stiff and its edges kept on springing back to its form when I took it out of the packaging.
As soon as you have that done, you could follow the same procedure with the rear retaining plate.
4. Check the Alignment, and Trim Excess Material
You still have a few minutes to adjust the alignment before the rubber contact cement hardens. As soon as the bellows a firmly glued o the retainer plates, you could proceed on trimming any excess material. But be careful not to damage the rest of the bellows!
There you have it! The Wista 45D is now equipped with new bellows. I can't wait to take photos with this camera. I've been itching to shoot more large-format photos since the beginning of the year.

Photos taken with this camera could be seen at Rob's Lomohome, and Instagram account.
written by rdetoyato on 2020-08-31 #gear #tutorials #wista #field-camera #camera-restoration













No Comments