A Comprehensive Guide to DIY Black and White Film Developing
12 61 Share TweetAnalog photography can be addictive. I am not a professional photographer but I love to take photos of anything and everything. I needed to find a way to take more pictures of less money. This beginners’ guide to black and white film development is for people who want to take more pictures, either 35 mm or 120, and have it cost much less than dealing with labs. For less than a hundred bucks worth of equipment, you can easily start developing your own black and white negatives. If you like to take a ton of pictures and don’t have a lot of money to spend developing your own negatives is a lot cheaper and easier than you could possibly have imagined.

If you do it yourself, the cost of the chemicals works out to be less than $1/35 mm roll or a little less than $2/120 roll. There are a million books in the library and videos on youtube showing how to do this simple process. Countless websites highlight versions of this process. I spent days reading, and watching and figuring it out, then I happened to be in LA for work reasons. After dozens and dozens of films processed I have solidified a system that is very cheap and forgiving. It is also so easy that I have successfully developed many a roll of film after a long night of drinking—it really is that easy.
Materials and Estimated Cost
In the USA and Canada, you can easily get these for less than $1 and they are also filled with distilled water, which you can certainly use. I like to use masking tape and markers to clearly label each of the jugs after I mix chemicals in them so that I can easily develop film late at night with little or no thinking. Finally, you will need a watch with the second hands you can read, or a digital timer if you would like. That is a matter of personal preference.
- A darkroom bag $21.99
- A developing tank $18.99
- A couple of pair of clips for hanging the wet negatives $3.99
- A graduated cylinder for measuring liquids $9.99
- A thermometer $3.99
- 3 gallon-size jugs. $3
- Developer $15.59 – I have used a bunch of random developers all of which work well, as long as you match up the developer type with the film you are using. When it comes to the developer I find that this size is the best bang for the buck. It makes 5 gallons and if you intend on hammering through a bunch of rolls, it is a good deal.
- Fixer $18.99 – this is a pretty good deal and it really doesn’t smell bad. It makes 5 gallons as well.
Total: $96.53

Where to buy: From where I come from, LA is home to Freestyle Photo, they are a pretty popular place to order supplies online so I thought I would give their store a try. I explained to them what I was doing and it wasn’t long before I was home developing my own negatives. Also, disclaimer! I do not have any affiliation with Freestyle photo, I have bought products from them in the past and have been happy with them so I add them as links out of convenience. There are two more little pieces of the puzzle that you will also need. One is a small bottle of biodegradable dish soap (you only need a drop or two per tank so I just some from my kitchen). The second is a travel size bottle of Johnson & Johnsons baby shampoo. This will cost about $1 at your local pharmacy. You also only need one drop per tank so a tiny travel size bottle will last you forever.
Pre-Developing: Mixing Chemicals
Now, in order to accomplish everything necessary to develop film, you will need a laundry room preferably with a laundry tub sink. If not you could use an area with a sink. The laundry tub makes for easy clean up in case of spills and there is no way you will accidentally splash chemicals on things you use to eat with.
Step 1: Measure and mix a gallon worth of developer and a gallon worth of fixer. See instructions for dilution ratio. The developer and fixer I mentioned above are both a 1:9 so I’d mix one part chemical with nine parts water. Easy enough. Now you have two-gallon jugs clearly marked, one with the developer and one with fixer and one gallon of just plain old water.
Step 2: Let the jugs of liquid sit in the room overnight so that all the temperatures are the same when you go to develop the film. The room temperature you are looking for is 68F or 20C. When I know I will develop a bunch of rolls I have a little space heater I put in the laundry room set at exactly 68F/20C then when I go to test the temp of the liquids they are all exactly the temp I want. The temp can be more or less than ten degrees and it will still work fine, you will just have to adjust the development time. It develops a little faster when it is warmer and slower when it is cold (check the chart).


Step 3: Whether you are doing 35 mm or 120 the process is the same. The reels that you feed the film onto are plastic and really easy to use. The tank, reels, scissors and bottle opener go into the darkroom bag. Your hands go to the sides of the bag and then the fun starts.
For 120 film you need to separate the film from the paper backing. I hold onto the roll of film and pull the paper away from the roll. The film will naturally roll itself up at the paper is collected. 120 film is attached to the roll with a little tape. Rip the film from the paper. I’ll hold my finger over where the tape is at the end of the roll and use the scissors to cut off the end with the tape. This end is then the end that gets fed first onto the guide of the reel. Once the first inch or so is fed onto the reel it will grip and with a back and forth motion the film will feed onto the reel.
With 35 mm film, the process is the same but you will need to use the bottle opener to pop off the flat side of the film canister. Then you can slip the film out. As we all know 35mm has that lovely tapered end. That needs to get squared off with the scissors before it gets fed onto the reel. At the end of the 35 mm roll, it is attached to the spool. Once you get to that point you’ll need to cut the spool off as well.
Step 4: Now that the film is on the reel place the film onto the plastic piece that goes in the middle of the tank. The film is secured by a little piece of plastic in the shape of a C. This just clips on. Place the reels inside the tank and twist it shut. Once the top of the tank is firmly in place it is light proof so you can open the bag and get into the developing process.


The Development Process
Development is all about time and temperature. I have marked on my graduated cylinder where the 700 ml mark is so I will fill it to the 700-mark and drop in the little glass thermometer. After a while, I have a look at the temp. I usually use Ilford HP5 400 speed in my Diana F+ camera so if the temp is 68F/20C then I know I will need to develop it for 7 minutes. I have a look at my watch, pour in the developer, put the lid on and start to invert it four times. Upside down, right side up at a medium pace for the first 30 seconds. Then I put it down with a thump to release any bubbles inside. I give the tank four inversions every minute or less for the full 7 minutes and thump it down. This is a good time to have a magazine handy so you can do some light reading while you are waiting. Once the time is up, dump the developer. It cannot be reused. While I was waiting I rinsed out my graduated cylinder and filled it with 700 ml of water from the gallon jug. This will be used as the stop bath.
Step 1: The Stop Bath – Essentially you want to halt the development process. Pouring 700 ml of water in the tank will do that nicely. Invert for about 10-15 seconds and dump the water.
Step 2: The Fixer – Fixing is important and I usually fix for the same amount of time as I develop, to keep things simple. You can’t really over fix so once you pour in the fixer do the same procedure as you did with the developer. Fixer can be reused so dump it back into the jug from whence it came.


Step 3: The Washing Process – After rinsing out the graduated cylinder put a couple of drops of dish soap into the cylinder and add 700 ml of water from the jug. Invert 20 times. This should make it look a little soapy as you pour it out. Rinse the graduated cylinder and add 700 ml of water from the jug to the tank. Invert 20 times and dump the water. Add another 700 ml of water from the jug to the tank. Invert 20 times and dump the water. Add one teeny tiny drop of baby shampoo to the graduated cylinder filled with the 700 ml of the final rinse.
Step 4: Removing and Hanging – After you dump out the final rinse water, remove the top of the tank and pull out the sudsy looking reels. Find the end of the roll and pull until the entire negative comes all the way off of the reel. Use your fingers as a squeegee and run them from top to bottom of the film removing excess water from the film. Attach film clips to either end of the film and hang somewhere dust free (a bathroom is ideal) to dry. Make sure it is not touching anything or is in a high traffic area. After hanging the negatives I usually leave them at least overnight until touching them. That way I know that they are good and dry before I try and run them through the scanner.
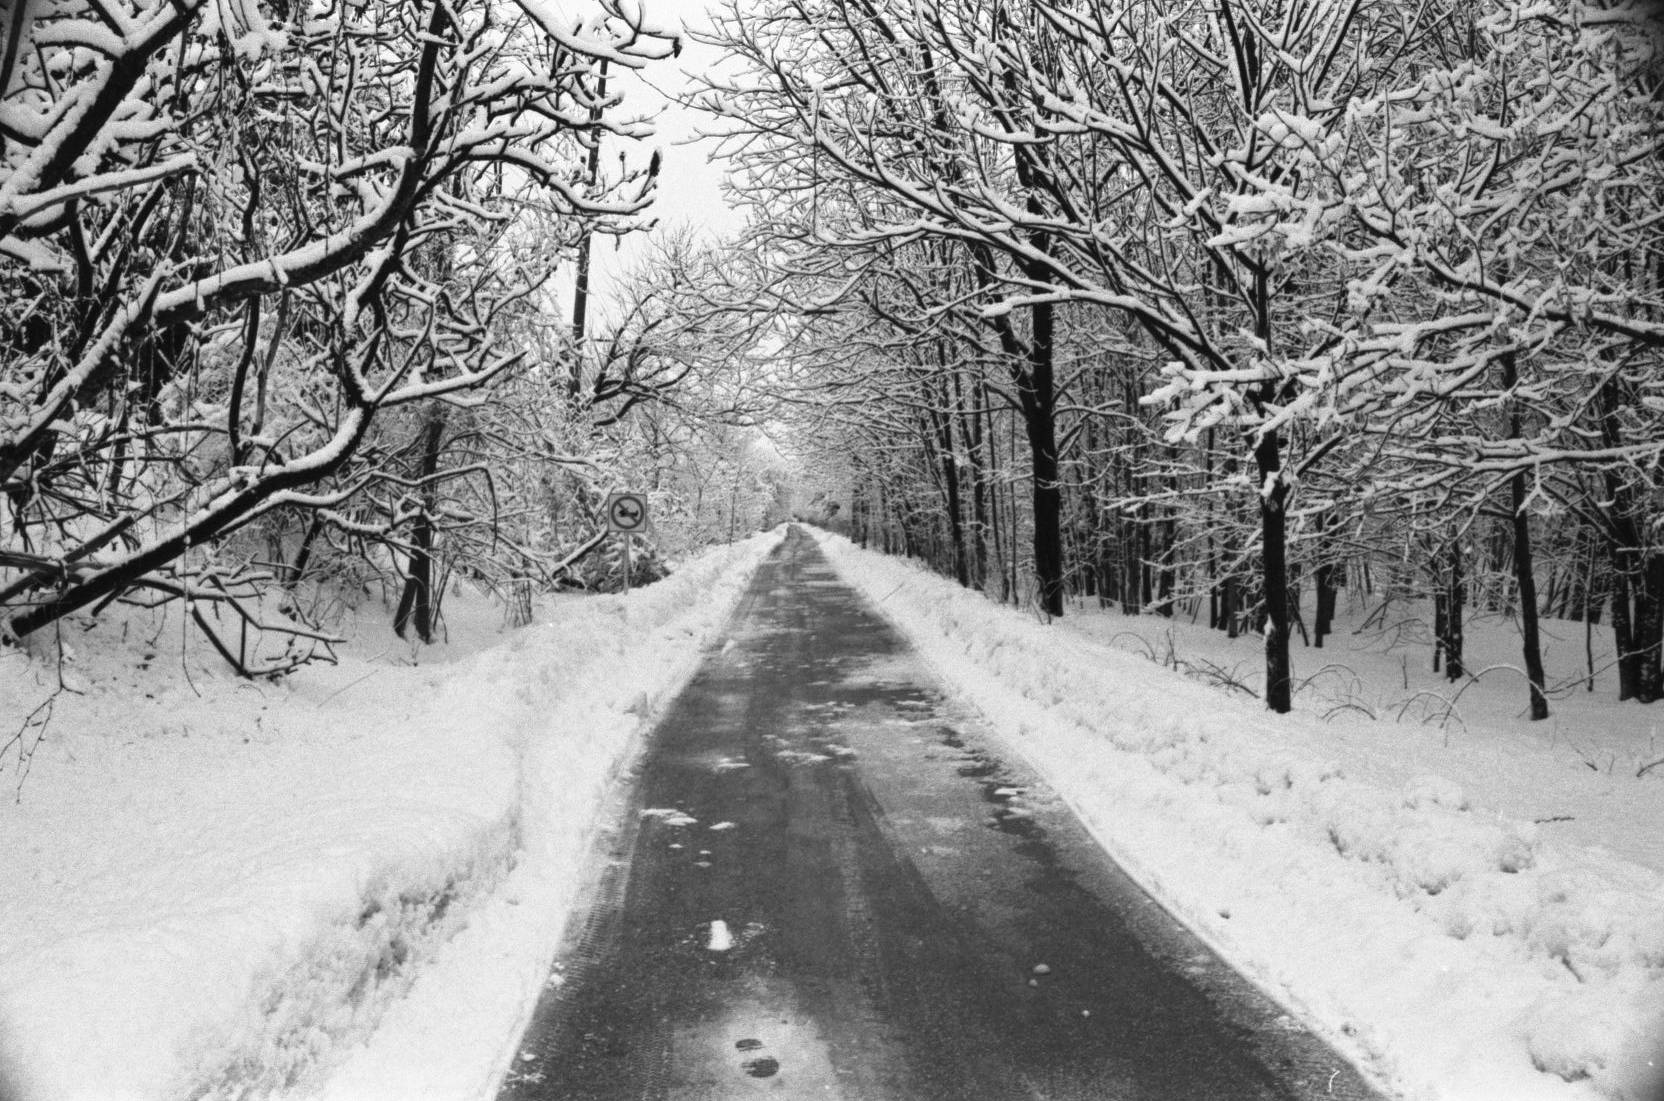
So, in the end, I can process two rolls of 35 mm black and white film in under half an hour and the cost in chemicals is less than $2 per tank. So I essentially get negative development for under $1 per 35 mm roll. This, of course, isn’t counting the $100 I spent on equipment. If you really want to feed your habit, developing your own black and white film is an easy way to get more of what you love for less. Here are some of my very own black-and-white photos:


I hope you enjoyed my tipster! Share your self-processed photographs by uploading them to your LomoHome!
written by highdesertdan on 2011-02-03 #gear #tutorials #black-and-white #tutorial #tipster #development #develop #film-processing #top-tipster-techniques


12 Comments