Holga Wide Pinhole Camera (WPC): User Review, Exposure Table, and More
28 68 Share TweetThis camera eats film like the leviathan swallows ships. Find here a few tips about this pinhole monster.
Searching for ‘WPC’ in the search bar of lomography.com, I found 3 camera reviews (one by mephisto19, one by kylewis and one by juznobsrvr), 3 film reviews (one by eggzakly, one by mephisto19 and one by rater), 3 locations by eggzakly (here, here and here), and, one tripod review by eggzakly.
Despite the very significant amount of awesomeness represented by all these articles, I could not find a clear answer to the question: ‘For how long shall I expose?’
As a remedy and also to satisfy my thirst of shooting, I shot a lot. I tested different films, different processes and measured different exposure durations in different ambient lights. And then I made a table. Note that I do not guarantee absolute satisfaction if you ever try using it. Results vary a lot according to the emulsion and also to how each one of us senses light. I never used an exposure meter, just counted in my mind (except for the very long exposures).

Using these duration, I obtained the following results.
With normal E6 or XPro processes:


With Hybrid processes:


With Rodinal:


That was satisfying, but not enough. Given that you can use 35mm film in the WPC, you can also get some 70mm action. First, I had to re-use my idea of frame counter for Holga, and apply it to the WPC. I did, and here’s the counter.

These arrows indicate the fraction of turn you have to do between shots, after you have already made two turns. As you can see, 1 and 2 are on the same spot which means you need to do 3 (2+1) turns from shot 1 to shot 2. Then, you do 2 turns, and you add the fraction of turn that separates 2 and 3. And so on…
After you processed your films, a good thing to do is to roll all of your films around a toilet paper roll and tighten them with elastics. Films must be parallel to the paper roll, with the emulsion side towards the outside.

This will curve the films away from the glass of your scanner and avoid the creation of those bloody ‘Newton rings’.

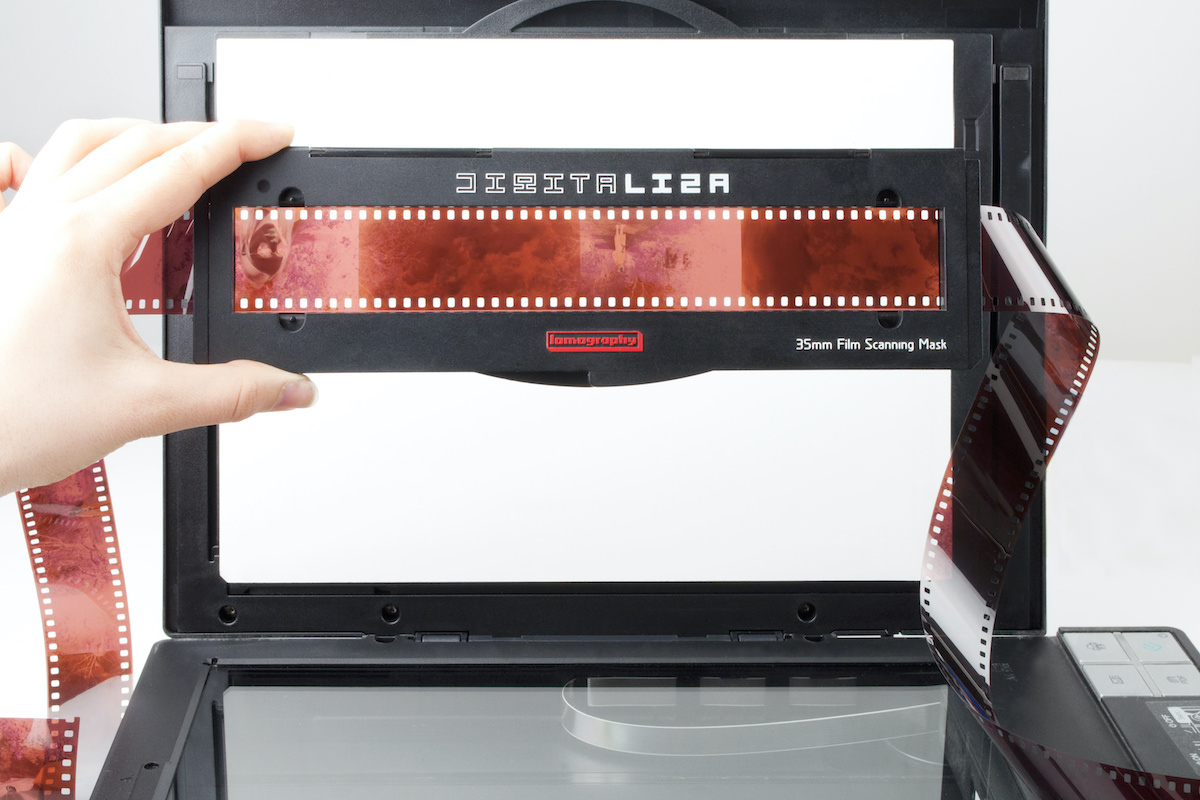
Now. When you make 70mm you have to scan the entire area of the film. Despite all the satisfaction that my digitaliza gives me, it is not suitable for this exercise. A cheap way to get a full scan of your 35mm is to tape them on the 120 scanning mask that came with your scanner.

And if it’s true that the digitaliza does not scan the entire film area, it is still useful when you make 70mm shots with a square Holga. Put the two halves of the frame together at 90° in the digitaliza 120. It’s easy and allows you to scan the two halves together (and therefore avoid scanning variations that occur between the two halves if you scan them separately).

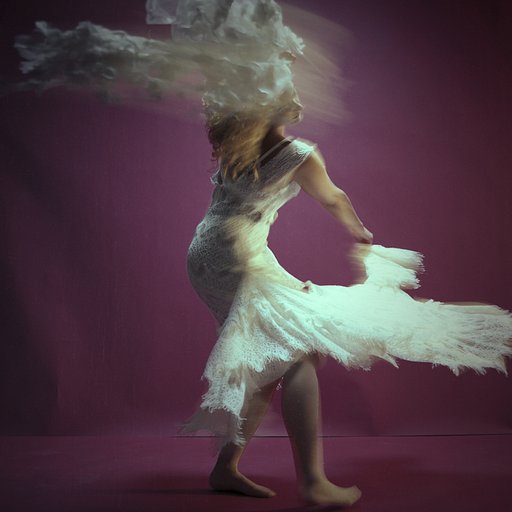
Here are some results with a cross-processed combination of Kodak E100GX and Velvia 100F.


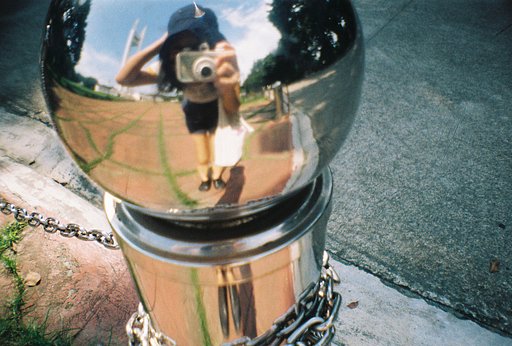
And some ATP 1.1 32 iso processed in ATP DC Developer.


Are you still reading this review?
Probably not.
Because you’re ordering a WPC.
I understand.
written by stouf on 2011-07-05 #gear #diy #pinhole #review #long-exposure #c41 #cross #exposure #table #time #sprockets #e6 #homemade #bulb #wpc #rodinal #process #counter #lomography #handmade #xpro #x-pro #holga #70mm #cross-process #chemistry #processing #70 #atp #chemistries #chemical #digitaliza #user-review #hybrid-process #hpro


28 Comments