How do I build the camera body of the Konstruktor?
Here are the required parts: x1 S2 Screw, P8, B9, B21
Here is the technical diagram

The parts you’ll need for this stage

Spring B9 should be attached to the camera body B21 in this position

Attach P8 to B9 – The top of spring B9 should be visible above P8 when connected
Screw S2 into P8

Here is the completed mechanism

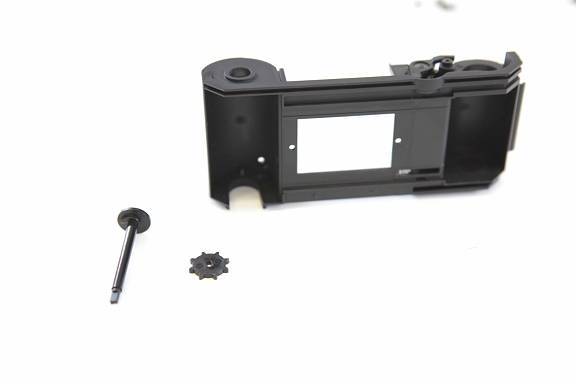
Here are the required parts: B20, B22, P4
Here is the technical diagram
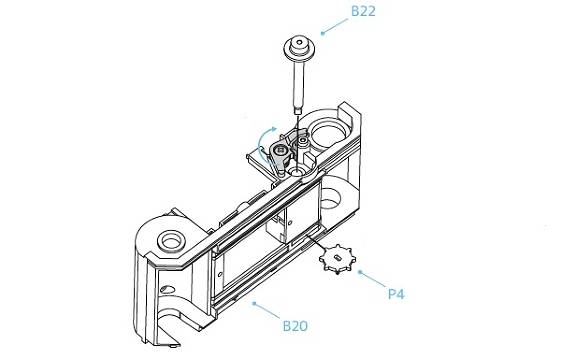
The parts you’ll require for this stage
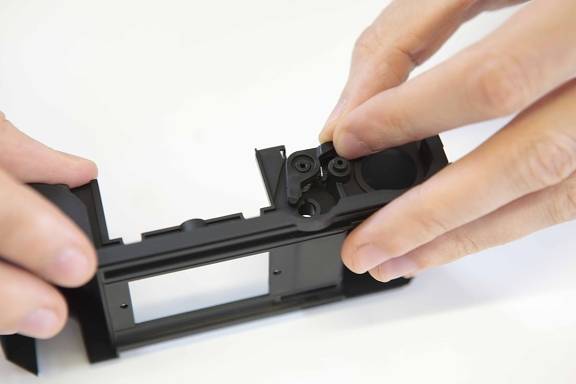
Hold lever P8 so there is space to place in the part B22

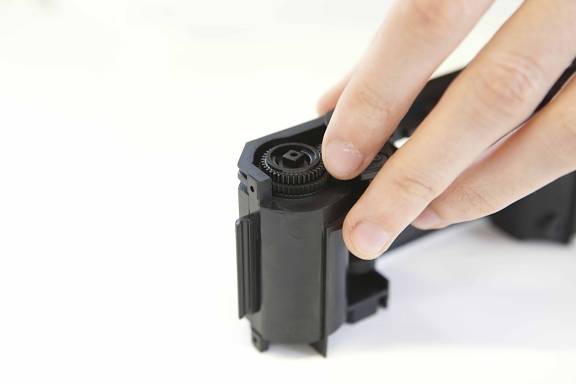
Place P4 in the slot at the bottom of the camera body – You need to push part B22 into the slot of P4

Here are the parts required: x1 Screw S2, P1, P2, P3, P9, B4
Here is the technical diagram

The parts you’ll need for this step

Place part P1 into B4 – Then squeeze part B4 tightly together – the bottom of B4 must go into the small hole at the bottom of the camera body

Screw S2 into P9 in the camera body – Once you have tightened the screw, P9 should still be able to rotate freely

Attach P3 onto the camera body

Rotate P4 in this direction until P8 goes into the locking position with P1 – A technical diagram demonstrating this step

Keep P8 in locked position and add part P2 on top of P1
Here’s the completed mechanism

Here’s a video on how to build the camera body:
Speed building the Konstruktor:
Visit the Konstruktor microsite or download the Konstruktor Instruction manual here.
You can find the Konstruktor camera in the Online Store.
written on 2013-06-05 in #camera #konstruktor