10 Steps to Better Photography with the Konstruktor
7 18 Share TweetGot your very own Konstruktor? Check out these tips to help you make the most out of this camera, which is the world’s first plastic 35mm DIY SLR!
The Konstruktor comes with a 50mm f/10 lens, which is perfect for shooting portraits.


Turn on B mode for beautiful long exposure shots.


Use the multiple exposure function in taking imaginative doubles and MXs.


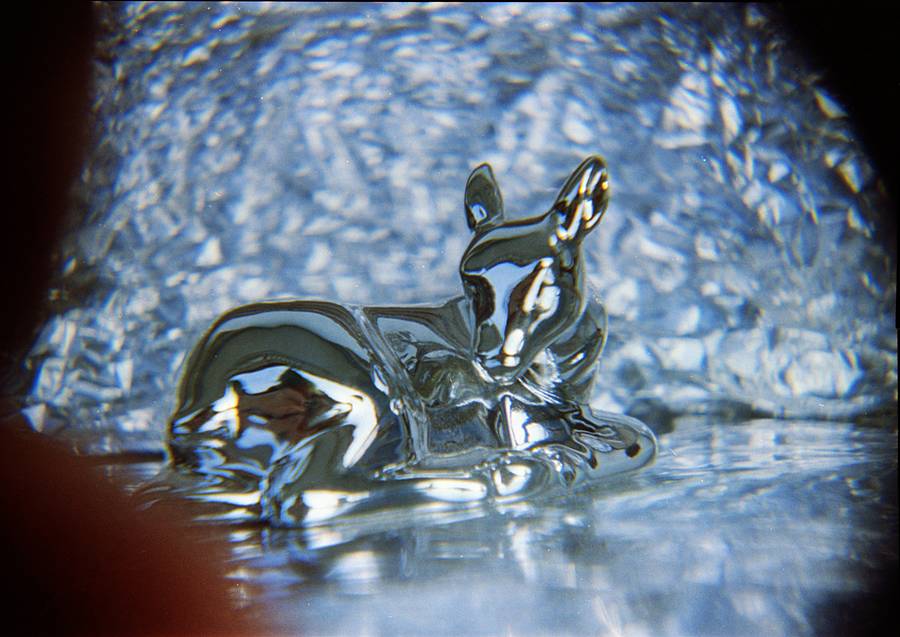
Another feature of the Konstruktor is its interchangeable lens system. That being said, get super close to your subject! Swap the default 50mm lens with the DIY Close-Up & Macro Lenses for close-up and macro shots.


Want to give your photographs that tilt-shift effect? Try freelensing with the Konstruktor! Here's how.


Tint your photographs by attaching a small piece of transparent color sheet at the back of the lens. Here's how.


Got a fisheye lens adapter for your SLR or compact camera? Use it with your Konstruktor to take those fun fisheye shots! Here's how.


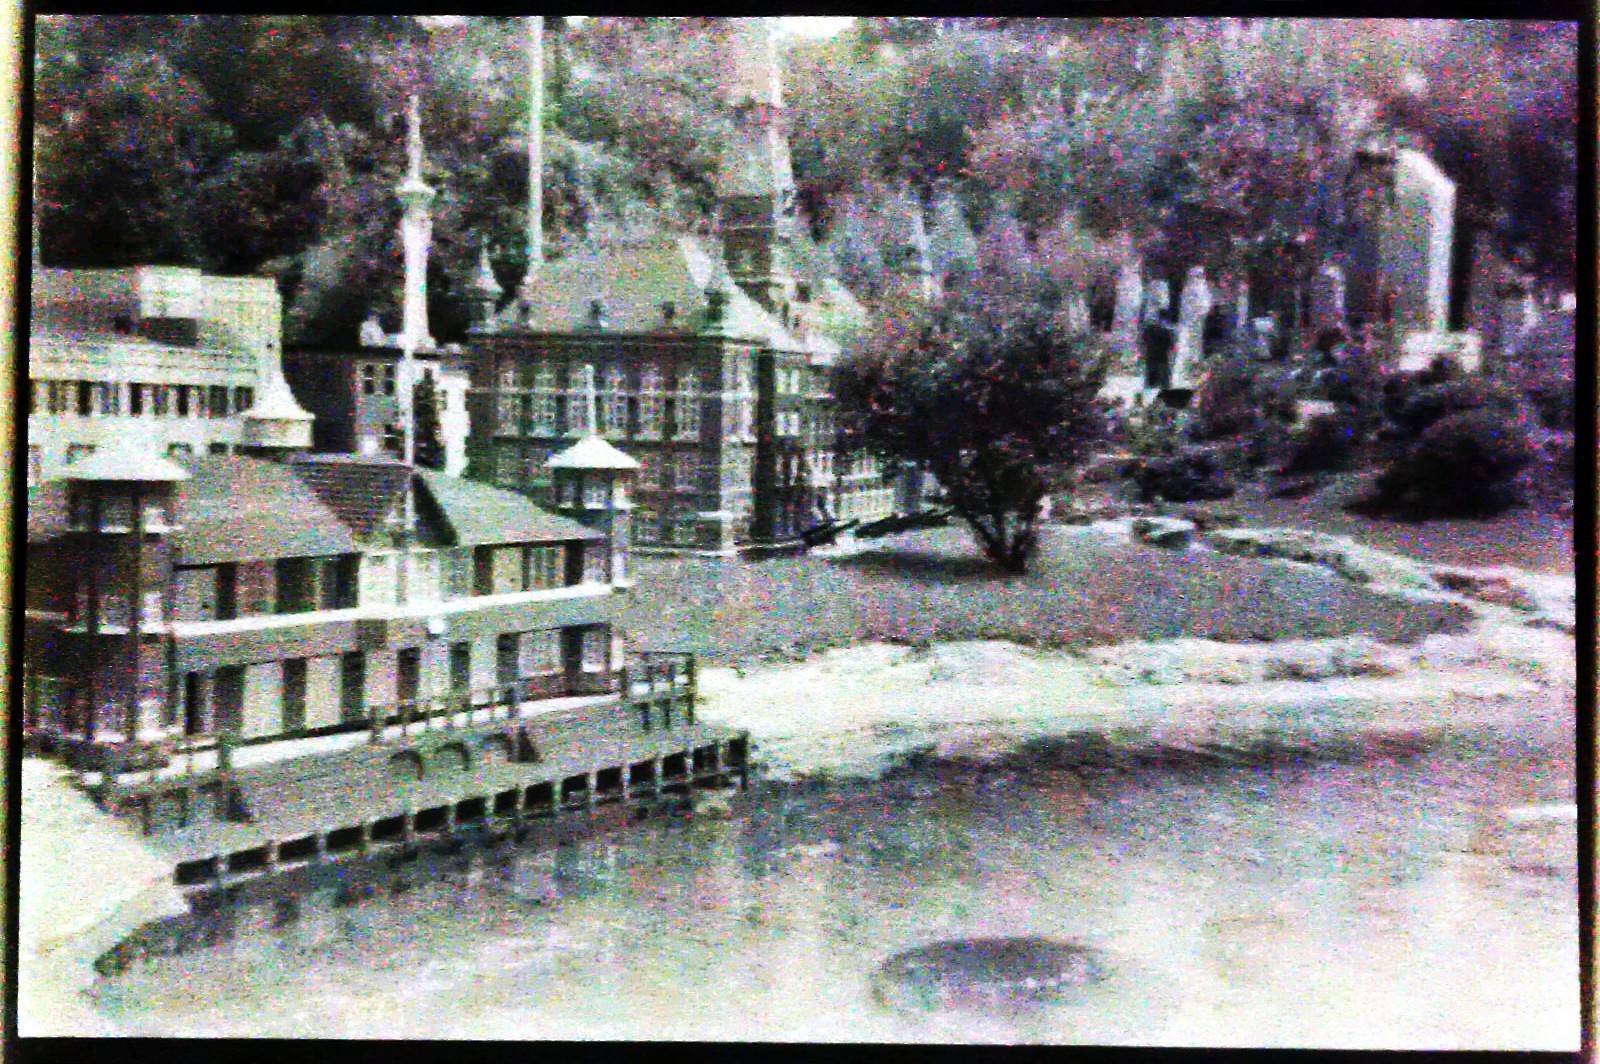
Polish your skills in photographing architecture with the Konstruktor. Here are some tips.


Shoot some Konstruktor Splitzer shots by transforming your Fisheye No. 2 or Diana F+ lens cap into a DIY Splitzer! Here's how.


Love flash photography? Why don’t you try the Konstruktor F equipped with the Konstruktor Flash Accessory Kit?

Got any of your own Konstruktor shooting tips? This is by no means a definitive list so do add yours in the comments section below!
Amp up your photography with Lomography and other cameras! Check out the 10 Steps to Better Photography series in the Lomography Magazine.
written by Julien Matabuena on 2015-08-17 #gear #tutorials #tipster #lomography-konstruktor #lomography-konstruktor-f #10-steps-to-better-photography


7 Comments