Exposing For Flash: Double Exposures With The Diana Instant Square Camera
6 Share TweetToday we look into making double exposures using a flash, and crucially, without overexposing our frames. Most of the time, when we are indoors, we need to use the flash since the light conditions are dim. But with this, there is always the risk of overexposing the photos when we use the flash twice.
For this tipster, we have used a classic camera that will never go out of style: the Diana Instant Square Camera with Flash Classic Edition. However, this tipster is useful any time you wish to shoot with flash on your instant camera.


How To Work With a Flash
Firstly, let's consider the rules that govern the flash. Keep in mind that our flash has a fixed intensity and we can't change its power. Also, Instax film has an ISO of 800. Once we have these two factors locked in our mind, we can control our f stops, the amount of light hitting the film, and our distance from the subject.
We know that the further away we stand from our subject, the lower the intensity of the flash, because the distance the light has to travel to hit our subject is greater. Therefore, if we move closer to our subject, the intensity of the light increases.
The second factor we can control is the amount of light that enters from the aperture. There are four available apertures on the Diana Instant Square, from f11 to pinhole. Once we have a rough idea of how much available light there is, we can set the aperture accordingly. We have considered three scenarios. One is indoors with daylight coming from the window, the second is a low light indoor situation, and the third is outdoors in the shade.


A third factor that will play a crucial role in your photo is the areas of white and black in your composition. White will destroy information, while black areas will allow the image to show. Therefore it is important to remember how you frame the first photo, to make sure the image comes through in the second one. This is even more vital when we use the flash because it will make the white area brighter, and if you’re not careful, can completely erase the image below.
Different Lights – Different Settings
For the first location, we started our trial by not using the flash for the first photo, and then we used an f32 aperture at about 50 cm distance. This setting proved to be insufficient to show the first exposure. It was too dark for the environment we were in even though the second exposure was lit correctly.
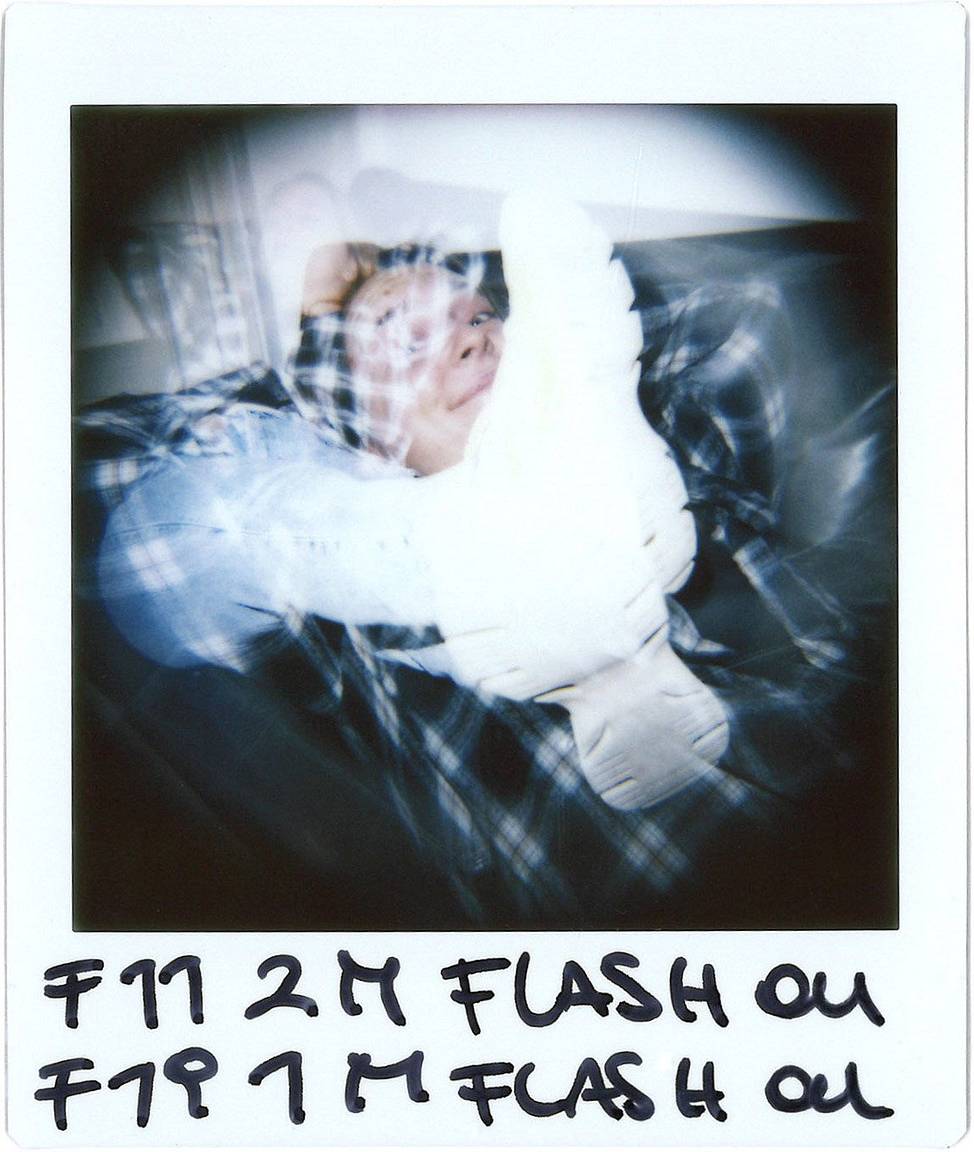
We then decided to change the aperture, having both frames at f19 with a distance difference of 2 meters in the first shot, and 1 meter in the second shot. While this proved to be a good exposure, the amount of white in both frames did not allow the appearance of the first exposure.
We then moved on to try to expose the first picture at f 19 with a 2 meter distance and the second exposure at f32 with 1 meter distance. This exposure proved to be the best and most satisfactory. However, it is always important to consider where the white areas in the composition could be challenging for the image to show.


We then tried to expose it in a darker area. Still, indoors, we chose a spot where there was no direct light from the window. We figured that the distance would stay the same, and the same rule applied to have the first image shot at 2 meters and the second one at 1 meter. For our first attempt we stuck to the same apertures, but the ambient light was not strong enough.
We then decided to open the aperture and shoot the first frame at f11 and the second one at f19. Surprisingly, even in this dark area, f19 proved to be an optimal solution for both shots. Perhaps with low light, it is best to come closer to the subject in your first shot and, in this way, you will increase the intensity of the light. Here too, the white wall in the background proved to be stopping the image from appearing clearly.
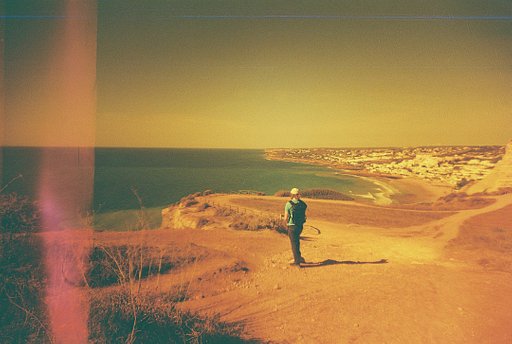
Lastly, we tried to shoot outdoors. Knowing that the sunlight plays a bigger role, we picked a shadowed area to take the photo. Our first attempt went way too far. We decided to close all the way and got into a pinhole mood. However, it proved to be too small of an aperture to even see the flash light and at that distance nothing appeared.


The second exposure at f32 was also too dark, due to the underlayer of complete darkness from the first photo. So the next step was to try the same setting we had for our indoor situation and that proved to be a good choice. The background is always something we have to think about. Shiny surfaces and windows will reflect and bounce your flash, and that can show as a spot in your photos.
Overall, if you are rushing your photo and do not have enough time to think about your camera settings, the best way is to stick to an f19 aperture. Make sure that each shot is a different distance. Our second piece of advice is to choose your background wisely and remember where you have positioned your elements in the first frame to be sure that they will appear in the second frame as well.
Have you ever tried to shoot double exposures with flash and an Instant camera? Share your experience in the comments below.
written by eparrino on 2023-12-19 #gear #tutorials #instant #mx #multiple-exposure #tipster #flash #double-exposure #diana-instant-square


No Comments