Digitaliza 110: A Necessary Accessory for Scanning 110 Film
7 Share TweetThe Digitaliza 110 film scanner is awesome when it comes to scanning the teeny tiny 110 filmstrips in flat bed scanners. I originally tried to use my 35 mm digitalize, but my Epson Perfection V600 scanner had trouble recognizing the film with all the empty space around the negatives. Here comes the Digitaliza 110 to the rescue! Scanning 110 film is now super easy.

I found it best to cut my film in strips of 6 frames, 7 frames would technically fit in the Digitaliza 100, but the first and last frames get cut off a little bit.

110 film is so tiny it really helps to use the included backing plate when loading the film into place in the scanning mask.

Insert film.
Then place the magnetized top plate over the film. This keeps it from sliding around when closing the mask.


Close the Digitaliza 110. Remove magnetized top plate and metal backing plate. Then place the mask in the film scanning area of your scanner. I could not put it all the way flush with the area as I was getting an error saying that my scanner was not closed all the way. The error went away when I moved the Digitaliza 100 away from the edge.


To keep the Digitaliza 110 square, as well as my negatives to save time editing later, I used the top plate as a guide against the back edge of the scanning area and pushed the Digitaliza 110 flush against it. I then carefully removed the top plate and closed the scanner. Problem solved.


Preview scan the film strip. The software that came with my Epson scanner doesn’t recognize the frames when it is in auto detect or “Thumbnail” mode, so I choose to do it manually in “Normal” mode.


I drew six frames using the marquee tool around my pictures. One of the advantages of doing it manually is that you can choose to keep the sprocket holes or not. I kept mine for that analog look. The software remembers these six frames and it is easy to move them around between scans of different filmstrips, or change their size if you do or don’t want sprockets on individual negative frames.

Scan your film. Because the strips are so small, it is possible to scan at a very high resolution pretty quickly. At 12800 dpi (my scanner’s max) it took about 5 minutes per strip. I assume that it would be very fast at a medium or low resolution. At this really high resolution, my files were all around 3.2 mbs each, far under the 5 mb max for uploading to your Lomohome! This is awesome as I usually have to make my 120 mm photos smaller before uploading them. It is so nice not to have to spend time editing sizes!
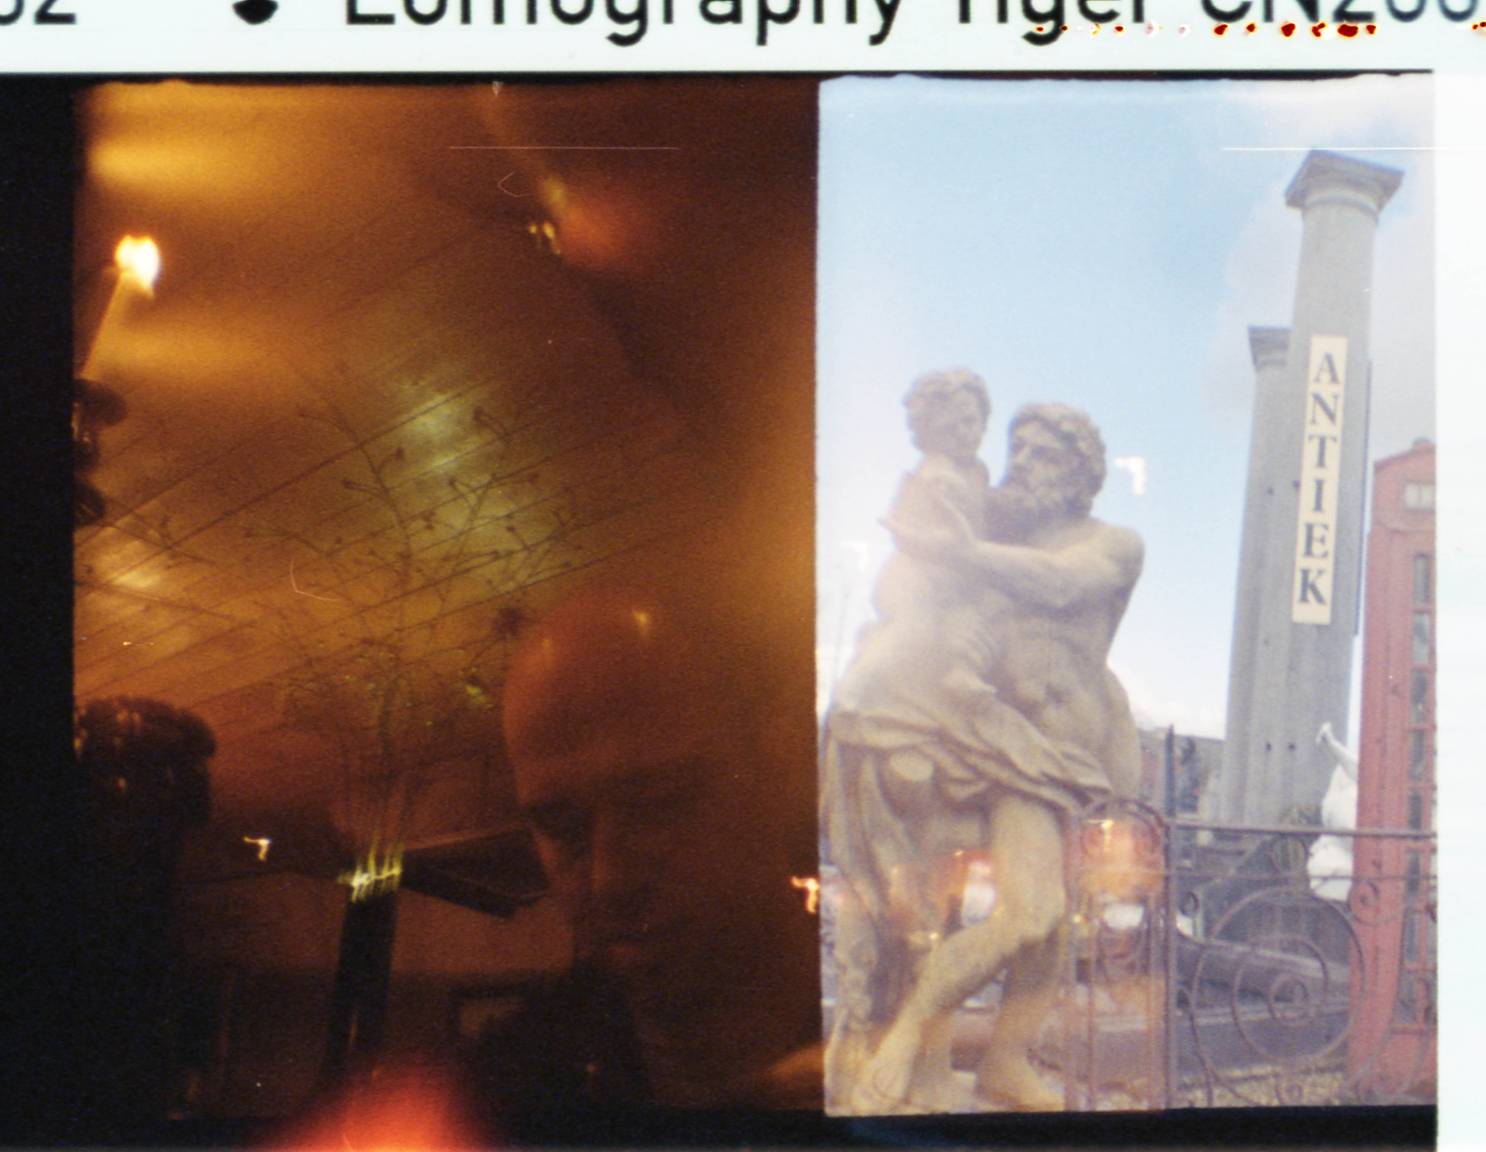
Voila! Here are my very first scans using the Digitaliza 110. All pictures were taken with my baby Diana 110 with 12 mm lens using Lomography Tiger 110 film.


Overall, the Digitaliza 110 is necessary for making scanning 110 mm films easy and quick!
written by wendyraeann on 2013-02-20 #gear #review #peacock #tiger #scanning #110-film #orca #baby-fisheye #digitaliza-110-diana-100


No Comments