The Spinner 360°: A Crazy Camera
11 14 Share TweetSpinning – this word has now a new definition and sense in the Lomographic vocabulary! With the launch of the new Lomography Spinner 360° camera, you’ll definitively need to consider the new way of seeing panoramic photography and for sure, you’ll quickly be totally Lomo-crazy about it!

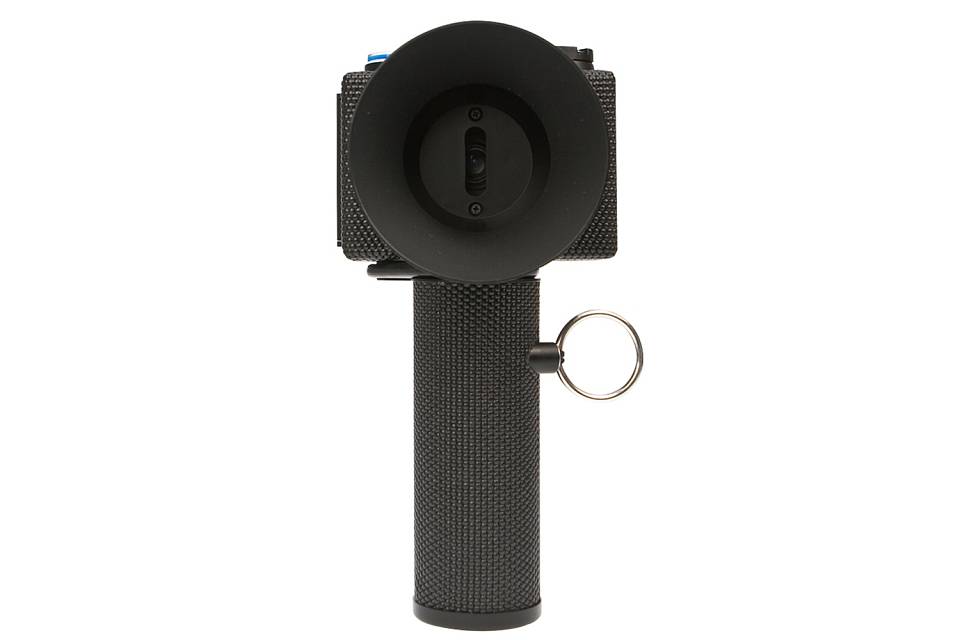


I had the chance to be one of the chosen beta-testers of the new Lomography Spinner 360° camera. As soon as I received the package from the new “mystery product” and opened it, I couldn’t believe what my eyes did see! What is that??? A cylinder with a string and on the top of it something looking like a camera. How does it work? Mhmm… a little string? Surely something to pull… let’s see what it makes… zdrrrr…. and the camera makes a whole tour around itself!! WOW, that can only be a …. 360° Panoramic camera!!! (I am sure that I didn’t knew anything about this mystery product LSI was sending me, there was no instruction guide and even the name of the camera was totally unknown…)
As soon as I opened the camera, I understood what it was about: A very thin slit exposing the film, 2 different apertures (“sun” f/16 and “cloud” f/8) and a cylinder related to the camera with a rubber band to make it spin and advance the film in the same time. When the camera makes a whole 360° spin, the film is exposed on around 4-5 24×36 frames. That’s why you can expect 7 or 8 shots on 36exp film shot with the Spinner360°. The idea and concept of this camera is so simple and uses the basics of photography at is bests. It’s really a “low-tech” camera, no batteries, no specific complicated technology, it’s simply all we love in basic analogue photography!
Of course, i couldn’t wait to put in some film and start to shoot with this new toy. I was really curious to see the first pictures the Spinner 360° could produce. Even if the camera is very, very easy to use, there are some little things to have in mind before shooting (these little things I discovered in the few months of testing…)
1) Putting the film in the camera is not difficult, but always look at the little piece of black tissue next to the film advance spool: it should be on the top of the spool and not hidden under the spool. That avoids too much light leaks while shooting.
2) While shooting, don’t forget to set the aperture on “sun” or “cloud”. If you leave it on “R” setting, the lens is closed (and when you’re not shooting it should stay closed to avoid the light getting inside the camera) BUT you can still pull the cord and the camera will spin, without shooting any picture! You notice that easily when the camera spin, it makes no noise… you just made a black shot! You must hear the typical “zdrrr” noise.. That happened sometimes to me and then you need to rewind the film and shoot again. Of course, when you rewind the film, don’t forget to set the camera on “R” (and put away the rubber band) as you’ll “burn” your pictures while rewinding with an open lens (that happened once to me too…), and it’s not good for the camera.
3) Choose the right aperture: The camera spins in a variable speed from 1/125 – 1/250s, depending of the intensity of your pulling (and you can also try to make some very slow spins). But as the slit exposing the film is very thin, you really need much sun or light for the film to be able to catch this. When the weather is really sunny I recommend to use a 400 iso or 200 iso x-pro with the f/16 “sun” aperture. If the light is very intense, you can even try it with a 100 iso film and the f/8 “cloud” aperture. As soon as the weather is less sunny or with less light you should choose a 400 or even 800 iso film with the f/8 “cloud” setting. Well, your own experience will show you the best combinations to use in different light conditions, but don’t forget that this camera needs light!
4) Think about where you want to be on the shot (as you will be on every picture!) The start-position of the camera determines where you will be on the shot. If you hold the lens in front of you when starting the spin, your face will be on the 2 sides of the pictures, as it will be on the beginning and the end of the spin. On the contrary, if you hold the lens toward a subject in front of you (as we’re used to in most of the photographic situations…) your face will be in the middle of the shot, as the camera makes only a half spin before reaching yourself, and then finishing the spin on your other side. That means that you should change your whole photographic mind with the Spinner 360° as the traditional “frontal thinking” is replaced by a circular 360° perspective. When you have this in mind you can easily compose the shots you want!
Well, these are only a few thoughts I had while testing the Spinner 360° camera and I wanted to share them with you. Of course you have a lot of information about the camera with fantastic galleries, “how-to’s” and the best shooting techniques on the Spinner 360° Microsite, so have a look at it!
JUST SHOOT, have fun and let your Lomographic creativity produce some stunning panoramic 360° shots!
Enough talking for now, here’s a selection of some of the Spinner 360° shots I made during these few months of testing (and a great thanks to LSI for this fantastic beta-testing experience! :)


written by vicuna on 2010-06-21 #gear #35mm #review #panorama #360 #spin #spinning #panoramic-camera #spinner-360 #lomography-spinner-360


11 Comments