Tipster: Tidying Up Double Exposures
4 27 Share TweetThere’s a fine line between abstract and cluttered, both of which can happen when shooting double exposures. A double-exposed color photograph may look messy if there are too many colors and details overlapping each other; while black & white is more forgiving, the absence of color may lead to details looking like a tangled mess. How do you balance two exposures to create a "clean" double-exposed photo? It would take some planning, a lot of experimenting, trial and error, and … well, luck.
The fun in shooting double exposures is not knowing what the resulting photo would look like. But if you want to shoot cleaner double exposures, you might find these tips useful.
Mind Your ISO
First things first: "push" your film. Remember that you'll be exposing your film twice, so you need to adjust your ISO to avoid overexposure. If you're shooting a 100 ISO film, set your camera to ISO 200; if shooting at 200, set it to 400, and so on. For this reason, it's best to use films that are less light-sensitive (100 or 200).
When I first got my Lomo LC-A+, I got carried away in my excitement and thought that switching on the MX button was enough. Although it did work, the results were not what I expected—some of the exposures barely showed up at all. So, remember to push for the best results!

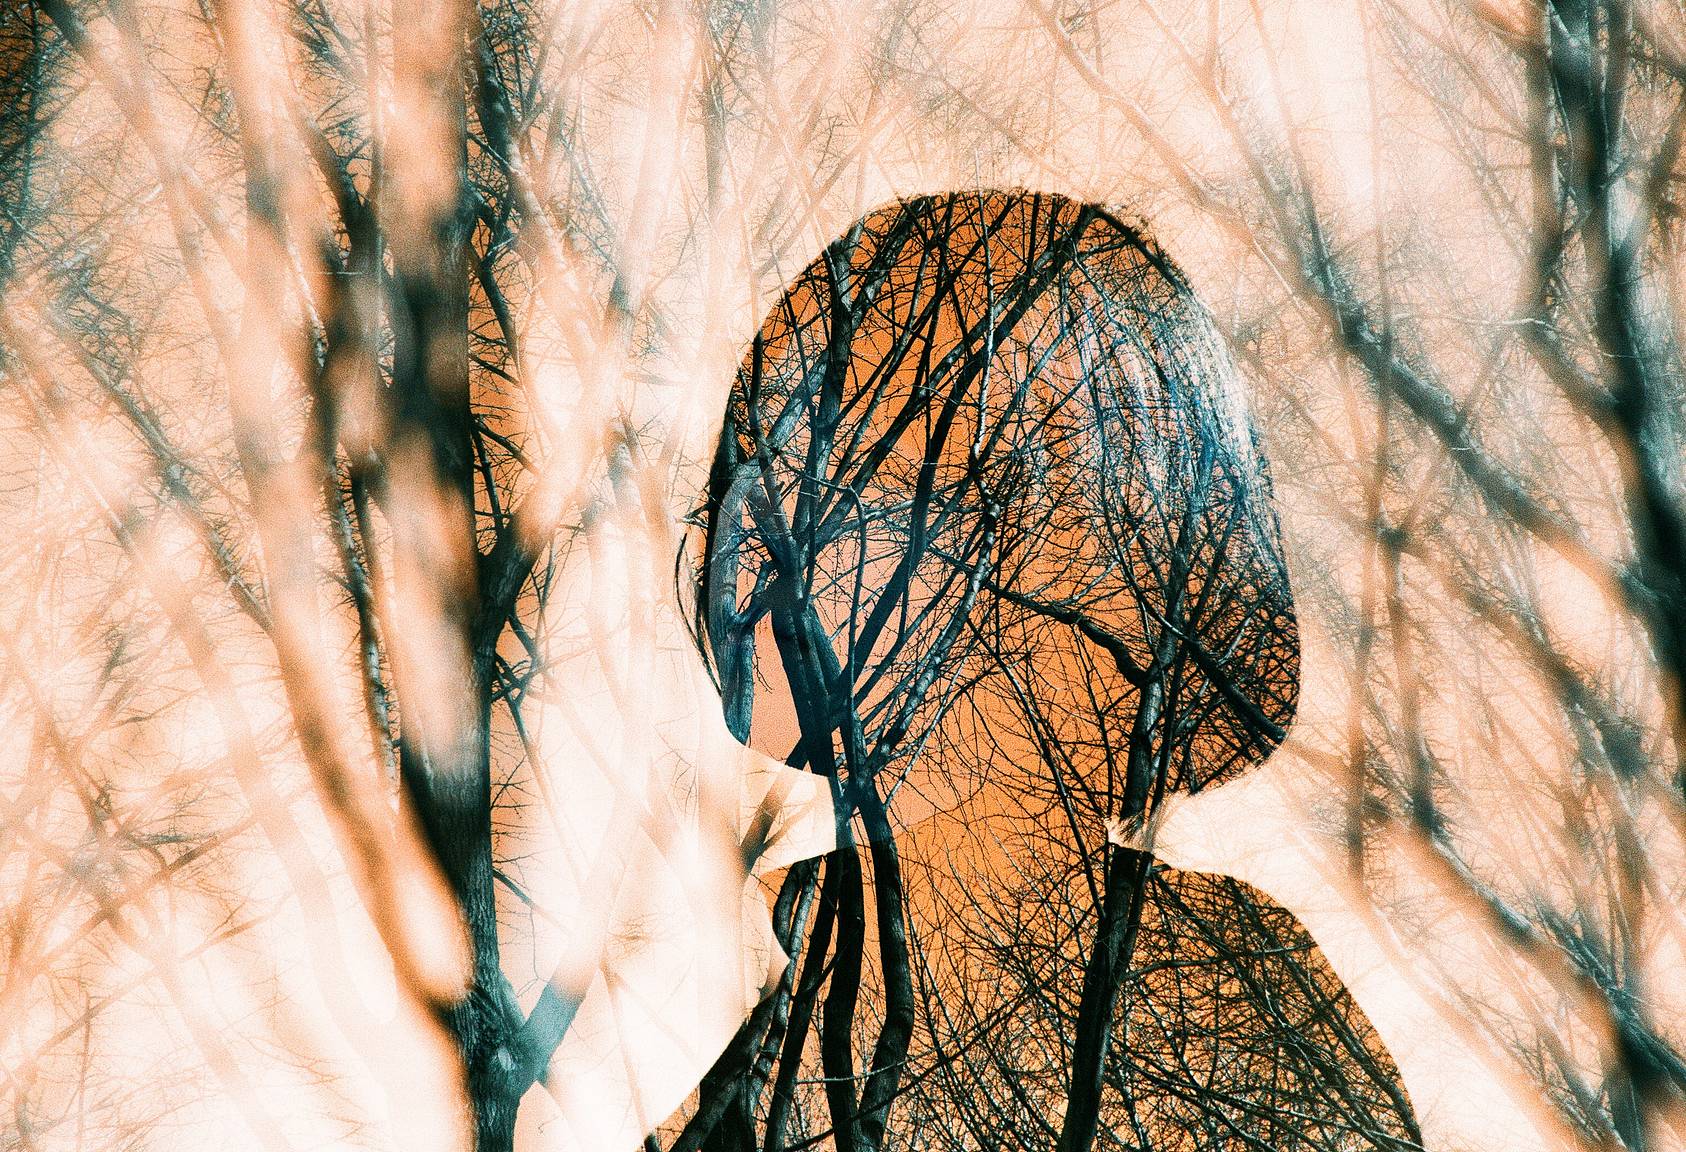
Shoot a Layer of Silhouette
This is a popular approach to shooting doubles. The silhouette frame provides a slate for the second image to appear more prominently. If your camera doesn’t have an option to double-expose, then you’ll need to shoot the entire roll first before reloading it for the second exposure. This means you have to mark the film so that you don’t pull beyond the line when it’s time to reload for the second exposure. Shoot the silhouette first before layering a second image.


Add a Touch of Texture
A portrait becomes unique with texture overlay. Choose contrasting colors for a bigger impact. Go for repeating patterns—they will add a bit of something extra to your portrait without totally distracting focus away from your main subject.


Blend Similar Textures Together
These texture-on-texture photos by @nicktaurojr work well even when each exposure is a bit busy—you can still identify the details. Overall, it looks cohesive because the two exposures come from the same theme or element (in this case, nature).


Try @hodachrome's EBS Tip
It's impossible to talk about this topic without mentioning the expert, @hodachrome. He has explored many different ways of shooting multiple exposures that he has developed his own style. It is evident in his photos that a lot of thought goes into each shot—every exposure is placed there for a reason. He flawlessly combines two scenes to express one astounding visual story.
His technique is boss-level, but his photos will make you want to try it, anyway!


Any more tips you'd like to add? Share them in the comments!
written by shhquiet on 2021-11-09 #multiple-exposure #double-exposure


4 Comments