Diana F+ 35 mm Back: Framing Correctly
6 44 Share TweetWhen we get comfortable with modern digital cameras or with the Diana F+
120 film format and then start using the 35 mm back for the Diana F+, most the times we get back from the lab a few surprises. The impression given from the photographs is that they are “zoomed” or that they have been chopped. That’s because what you see is not what you get.
Naturally, 35 mm film is smaller than the 120 film format and by using the different frame masks that come with the 35 mm back for the Diana F+, different portions of the film will be exposed. So, how to know what is going to be photographed?
In the beginning, you get it by guessing, but with practice, you’ll understand that it is a mathematical reason:
- 33×34mm (square with sprocket holes)
- 24×36mm (standard landscape)
- 33×48mm (panoramic with sprocket holes)
- 24×48mm (standard panoramic)
Let’s imagine that you are looking through the viewfinder in your Diana F+ with the standard lens. The image that is going to be photographed is much like what you see, given that you are using 120 film that occupies the whole frame and produces a vignette effect in the corners.
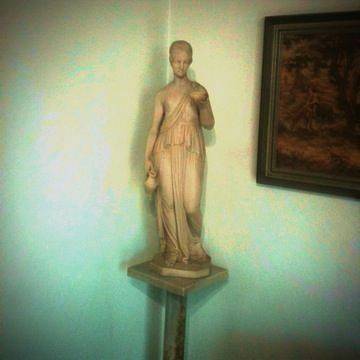
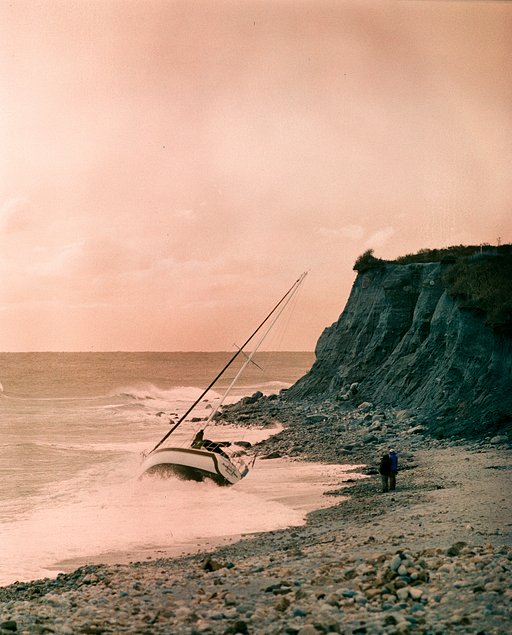
What happens when you install the 35 mm back in your Diana F+, as the film is now narrower, you will get a smaller photograph. The only part that you are going to get (compared to what you see and to 120 film) is where the light will hit the film. That means the top and the bottom of your image will be cut. (There is an example on the following photos, the darker part on the 2nd photo is what you’re getting with 35 mm film).
Each person uses a different technic, some use the “golden ratio”, that is a mathematical calculation used by great artists like Botticelli in “Birth of Venus”, which means, you align the head or the main area of focus with an imaginary central line (vertical) in the image. But, you should be careful not to chop the heads of your friends (horizontally).
When using the 35 mm back, you should pay attention to how you typically shoot. The lens you use can help you, for example, a wide lens has a bigger field of vision making it easier for you to get more stuff in your photograph. For that reason, lots of Lomographers like to use the Diana F+ 35 mm back with lenses like the 55 mm or the 38 mm instead of the standard 75 mm.
Besides that, you can use the 33×34mm frame mask (square with sprockets) with the 55mm lens and what you get in your film will be a lot like what you can see through the viewfinder, not needing any viewfinder adapter as you would need if you were using 120 film.
Now you just have to choose the way that pleases you the most, and go out on a nice Lomographic adventure!
This guide was written by Community member ayslin1. Get your own Diana F+
at the Online Shop or gallery stores near you.
written by ayslin1 on 2011-06-03 #gear #tutorials #camera #lens #tipster #focus #diana-f #diana-f-35mm-back #35mm-back-framing #tecnic


6 Comments