Tipster: Making a Fisheye Lens for the LomoApparat
2 Share TweetOur community always has the craziest ideas, and recently we had some inquiries about a possible fisheye lens adapter for the LomoApparat 21 mm Wide-angle Camera.
Unfortunately this is not a feature available with the camera, but because we love to go above and beyond for your wildest analogue ideas we came up with two ideas to hack a fisheye lens onto your LomoApparat.
Existing Lomography accessory tools are always great pieces to use to modify your other cameras, but we have also tried a DIY lens. Which one will be the best solution?


Lomography FishEye Lens
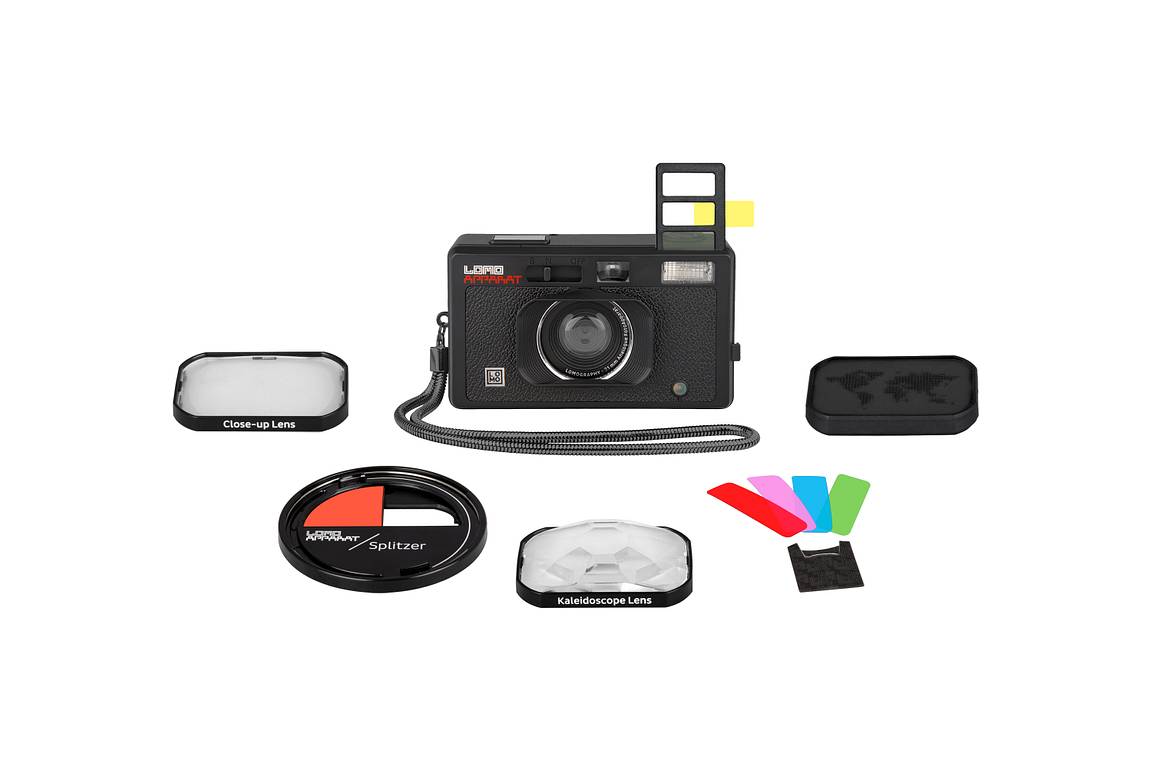
The easiest way to modify your LomoApparat and capture some fisheye photos is by using the lens accessory you find in the Lomo’Instant Automat Accessory Kit. You might already be familiar with this lens if you are a proud owner of a Lomo’Instant Automat. In your kit, you can find a variety of lenses, one of which is the Fisheye attachment – perfect for this hack.


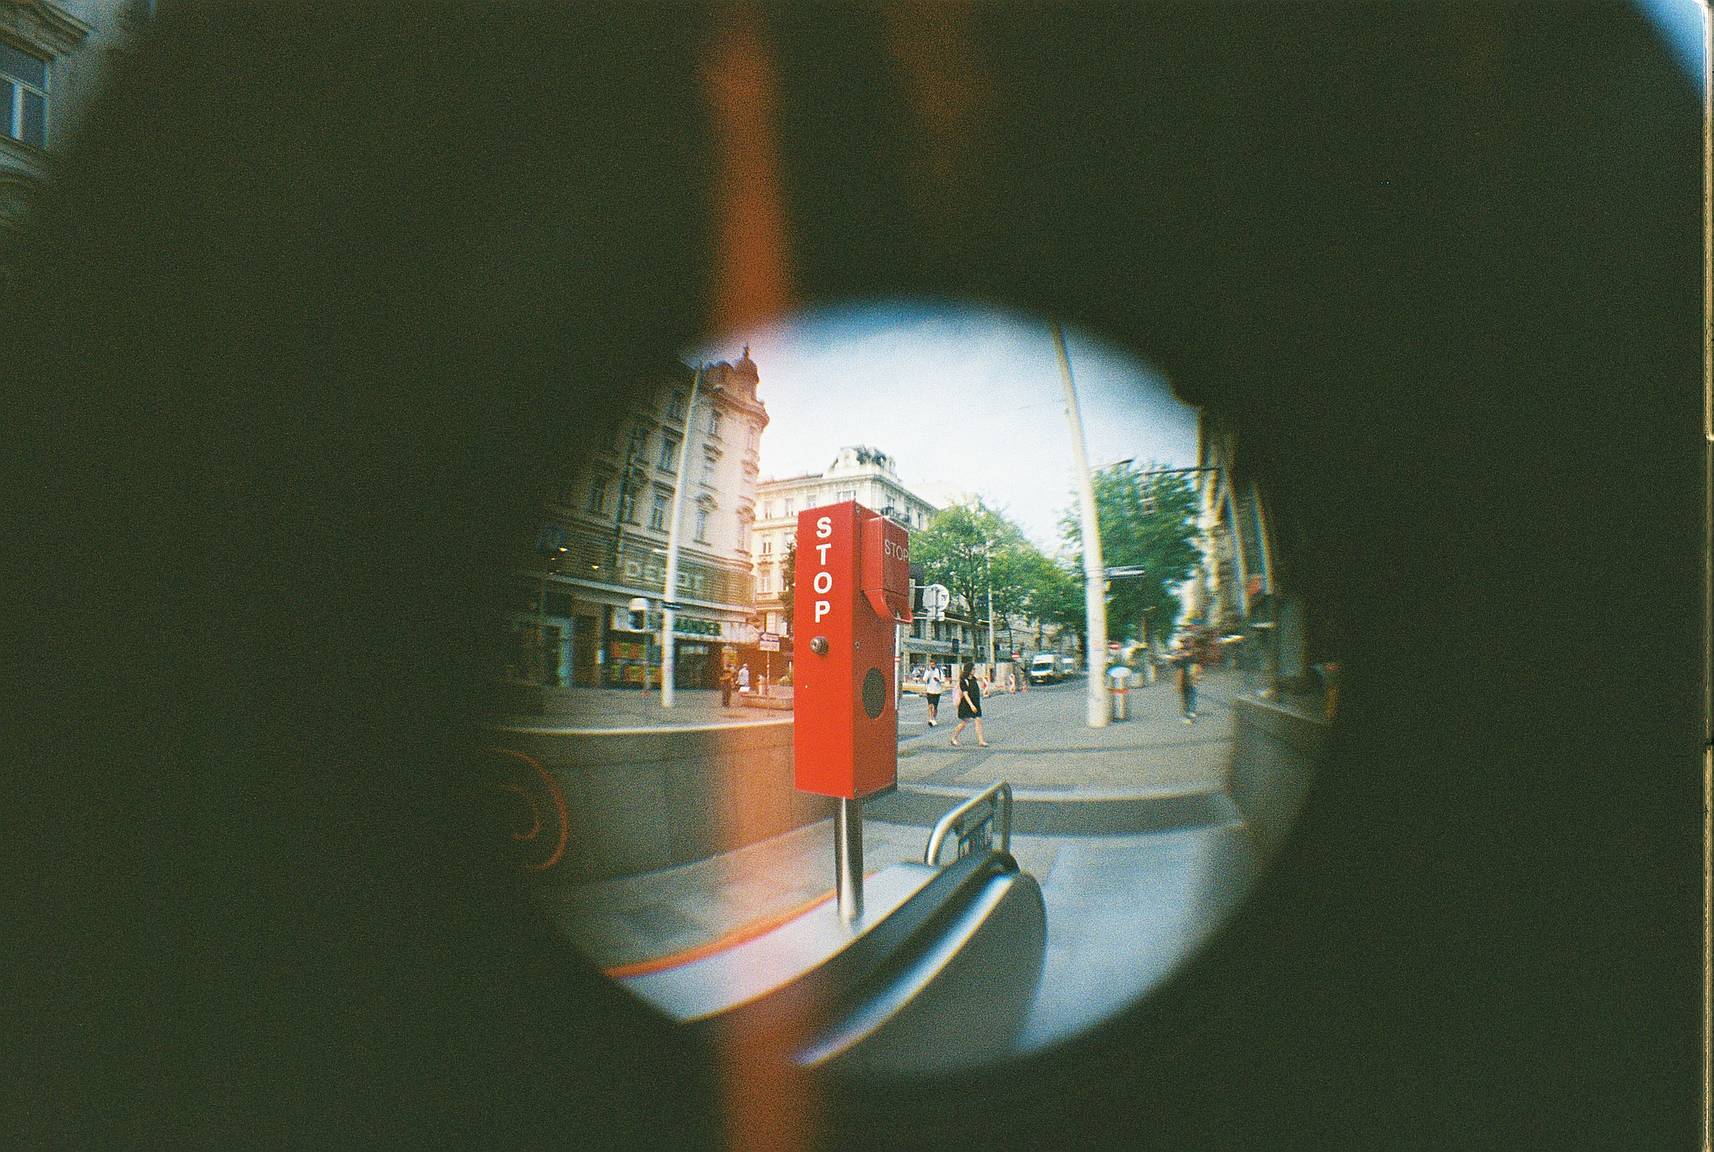
The lens attachment can be easily fitted onto your LomoApparat. Take some Patafix or Blu-Tack and stick it to your lens hood. Now attatch the lens to it. It couldn't be more simple! The lens diameter fits the LomoApparat like a glove, giving you that sexy circle to your photos. The wider size of the lens translates into a larger portion of your negative exposed. The bigger surface gives you an image with more details and captures all the action in your scene.
We have shot these pictures with a Lomography Color Negative 35 mm ISO 400, and, as always, we recommend shooting in sunny areas to get vivid colors. Since, in this case, we are also blocking parts of the original lens, it will give better results to look for well-illuminated scenes.


DIY Option
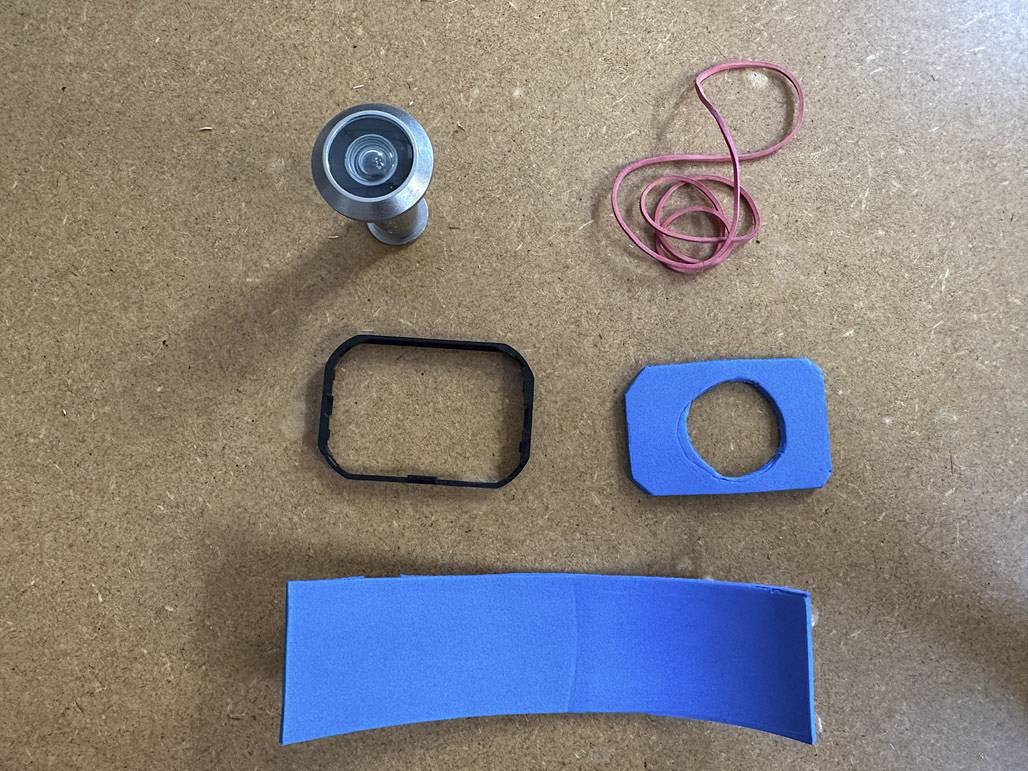
If you do not yet have the Lomo'Instant Automat accessory kit in your photographic arsenal, here is a DIY option for photographic craftsmen. You will need:
- Foam sheet
- Elastic bands
- Glue
- Spy hole for door


We had some foam sheets available, along with some elastic bands and glue that can stick firmly to the plastic to tighten the foam together. Lastly you will need a spy hole for a door which you will easily find in any hardware store.
Proceed to cut a slice of foam the size of the spy hole length. Then with the remaining parts, cut two rectangles the size of the attachment rim. Then outline the size of the spy hole with the foam rolled around it.

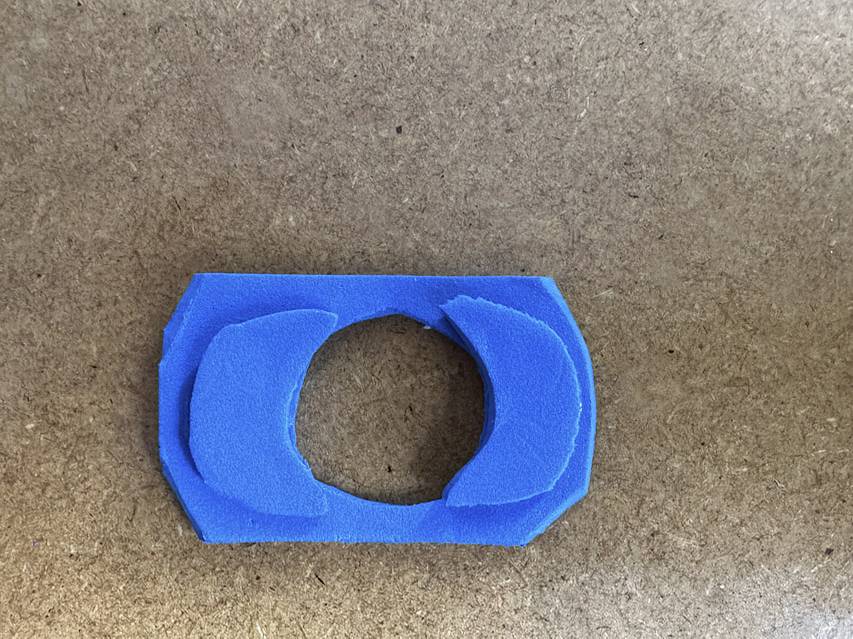


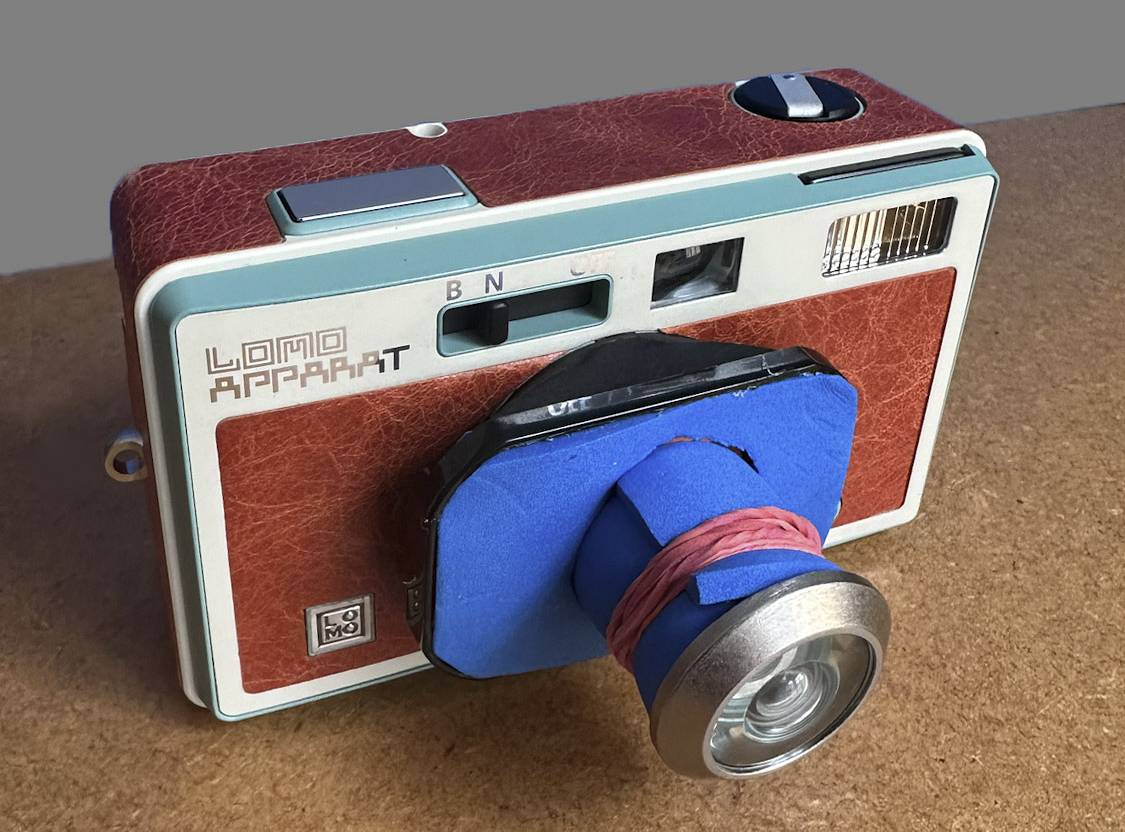
To make sure that the lens will not fall out (since it is long and heavy) fill the apparat lens with some extra foam. Place the lens at the center and then glue the foam to the rim. Now your lens should be able to support itself. Since this is not crush-proof, be careful when shooting. Do not make any sudden moves or funky twitches. It is a delicate assembly after all.
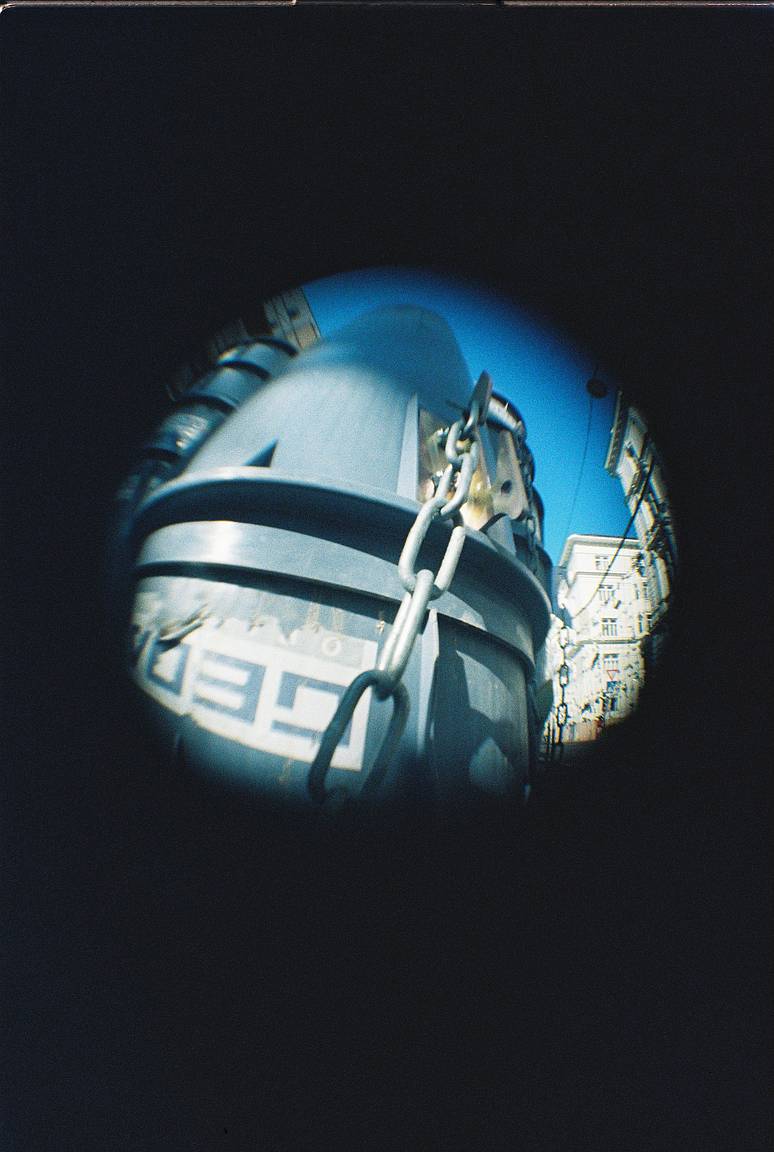
The size of the spy hole will not cover the entire lens, so just like for any fisheye lens, parts of your frames will be cut out. The actual lens and space available to record the image is extremely small and you will need plenty of light to get visible pictures. The LomoApparat has an aperture of f10 and shutter Speed 1/100 – just keep in mind that the spyhole will now cut some light away from the lens.
Let's keep the experimental spirit alive – send us your ideas for hacks and modifications and we will try them out!
written by eparrino on 2023-10-24 #gear #tutorials #diy #analogue #experimental #tipster #fisheye-lens #lomoapparat #modifications-hacks


No Comments